Connecting via OneRoster
The OneRoster API is an industry standard for the secure exchange of data between applications and student information systems. You can use the OneRoster connector to sync data from your SIS or upload OneRoster-formatted CSVs to Apple School Manager.
This documentation covers the following:
Supported SIS providers
The OneRoster connector supports many SIS providers, including:
-
Aeries
-
eSchoolData
-
Follet Aspen
-
Infinite Campus
-
PowerSchool
-
SchoolTool
-
Skyward
-
SMS
-
Qmlativ
-
-
Veracross
In addition to the SIS providers listed above, the OneRoster connector also supports many other SIS providers that conform to the OneRoster 1.1 or OneRoster 1.2 standard.
Note Only OneRoster 1.1 formatted CSVs are currently supported.
Using the OneRoster connector in a flow
The OneRoster connector provides actions that allow you to retrieve and work with data from your SIS. To use the OneRoster connector in a flow, add it as an action step. See Action steps.
Claris Connect also provides templates that make use of the OneRoster connector which you can use to upload data to Apple School Manager. See Creating your flow from a template below.
Creating your flow from a template
You can use one of the following templates to create a flow in Claris Connect that syncs or uploads data to Apple School Manager:
OneRoster SIS
-
Go to https://connect.claris.com/.
-
Sign in using your Managed Apple Account and password.
You land on either the Projects or Templates tab. If you don’t have any projects, the Templates page appears.
-
On the Templates page, click the OneRoster SIS template.
-
Review the information needed to complete the template setup, then click Next.
-
On the Connect page, next to OneRoster, click Connect New Account. In the dialog that appears, choose your SIS, enter the following information for your SIS, then click Sign In:
-
OneRoster API URL
-
Client ID
-
Client secret
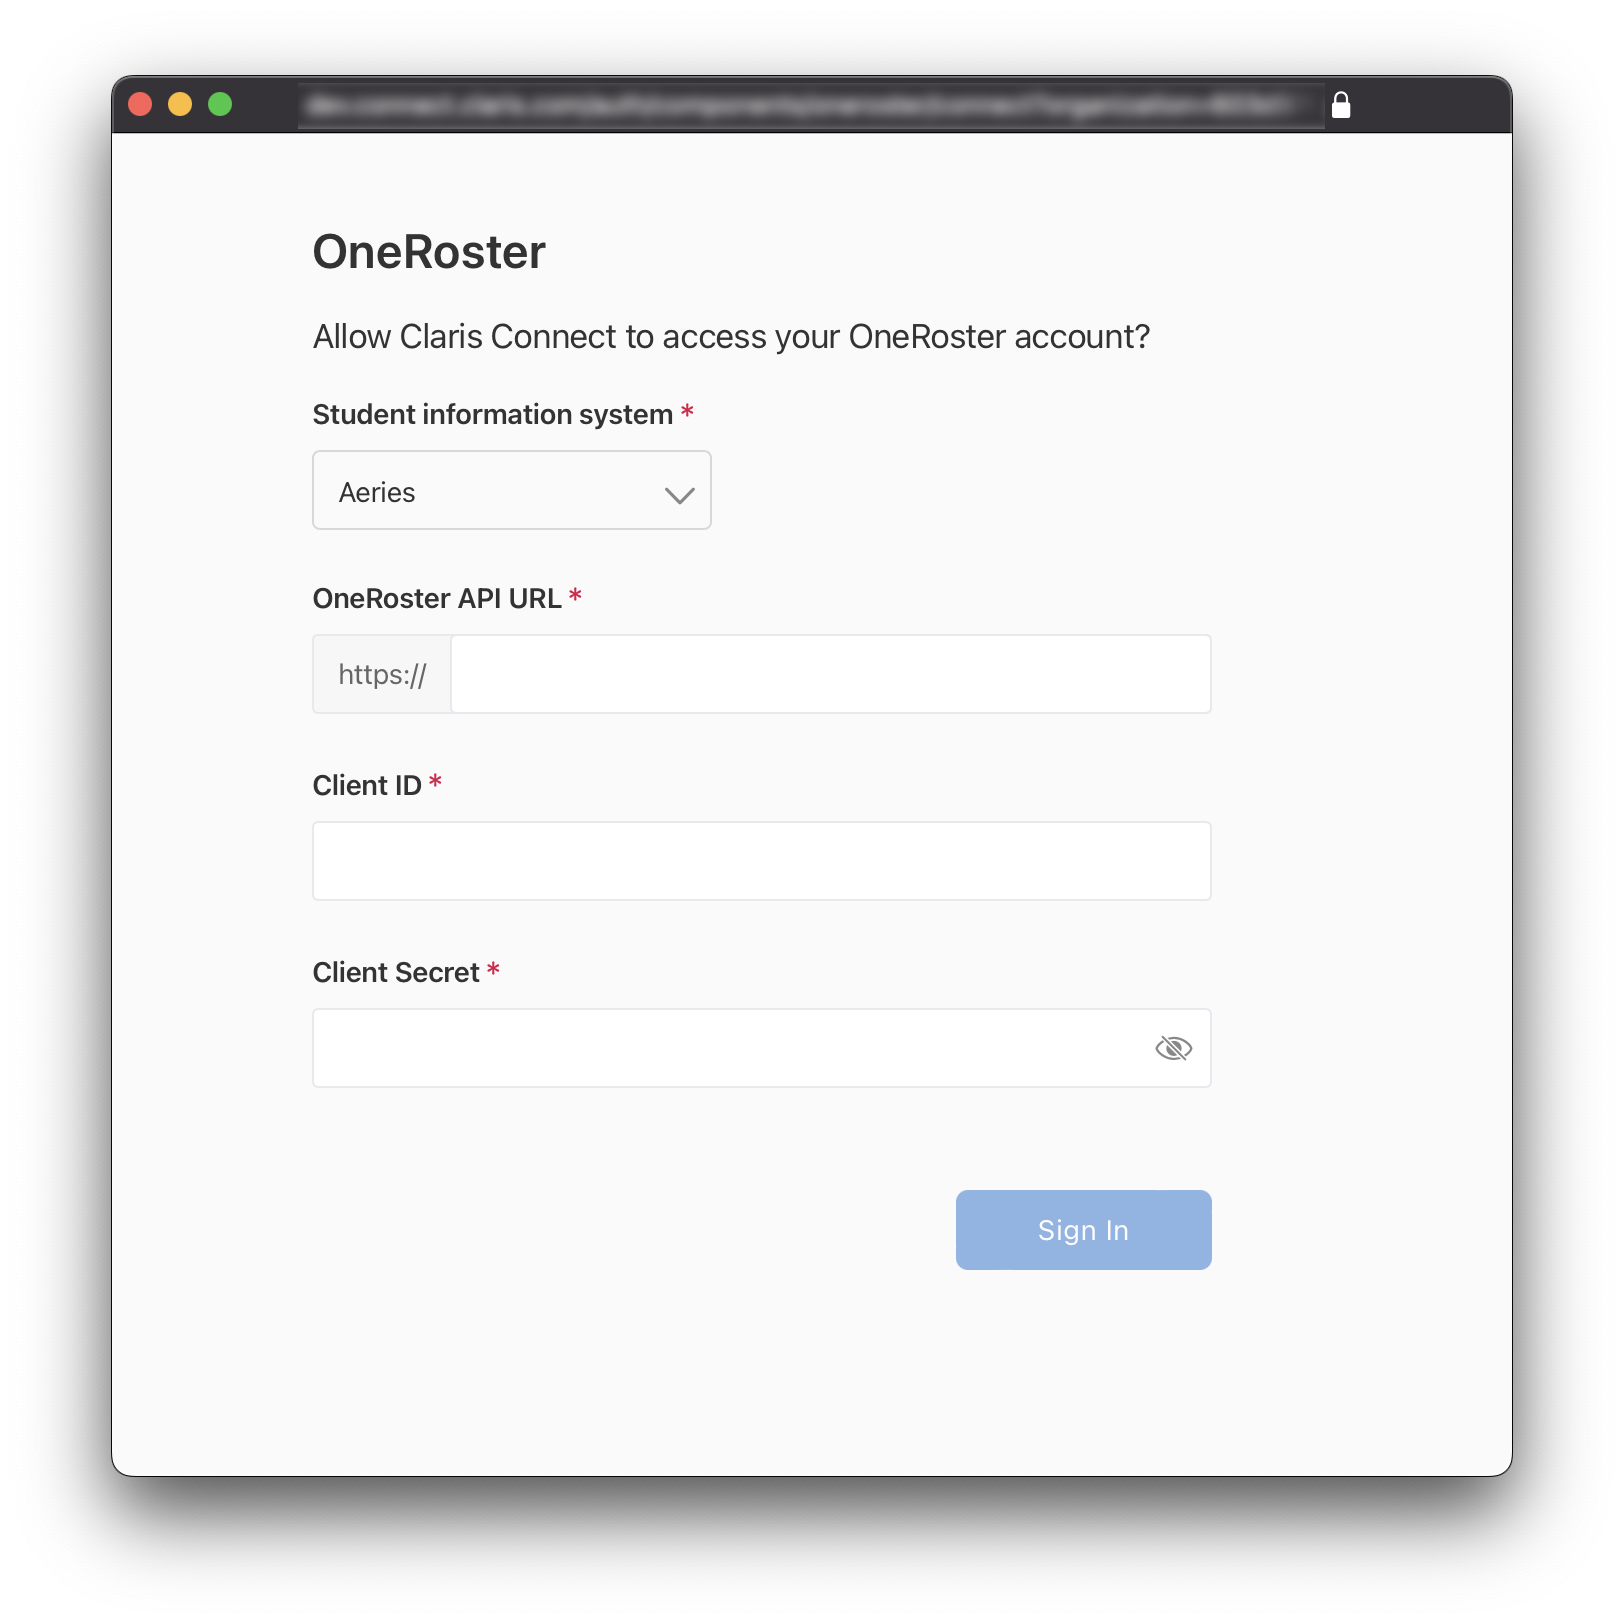
Note If you choose "Other," you will need to enter the name of your SIS manually and configure additional settings. See OneRoster SIS, Other below before continuing with template setup.
-
-
On the Connect page, next to Apple School Manager, click Connect New Account.
-
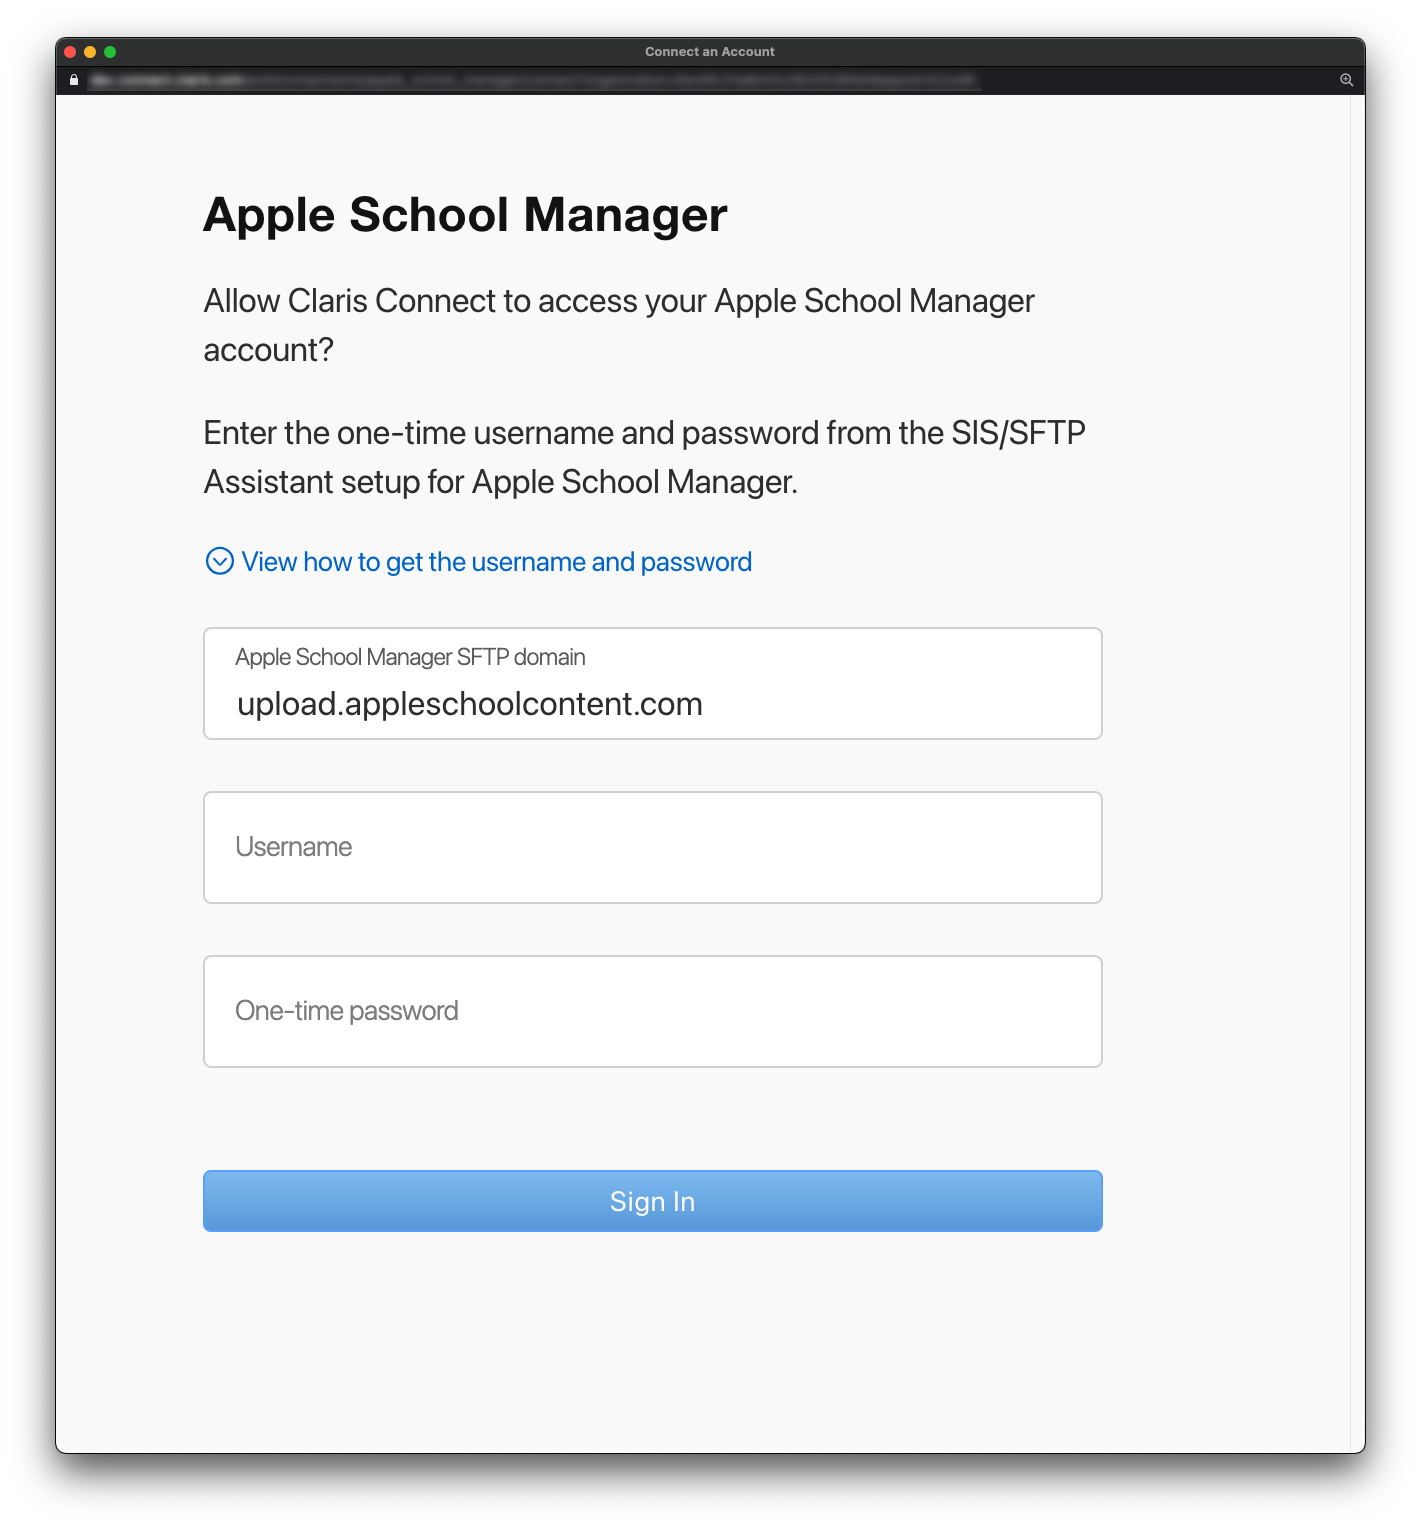
In the Apple School Manager dialog box (which has the SFTP domain pre-filled), perform these actions:
-
Click View how to get the username and password for information on the username and one-time password in Apple School Manager.
-
Open a new browser window and sign in to Apple School Manager.
-
Copy and paste the username and then the password from Apple School Manager into the dialog box, and click Sign In.
-
-
When both accounts are connected, click Next.
-
On the Configure page, set the hour and time zone for when you want the flow to run, and select whether it should run on the weekend (True is yes, and False is no).
Tips
-
To choose a US time zone, first type US/ in the box for the time zone list.
-
Choose an hour when there is little activity on your SIS portal. Schedule the flow to run on the weekend only if there is activity then.
-
-
Click Next to go to the Finish page, then click Go to Project.
A dialog box prompts you to turn on saving request and response data for the project.
-
To turn on the option for saving request and response data, click Start.
You can view the request and response data for each step of a flow run on the History tab. See Viewing flow history.
Congratulations! Your flow is now complete and will run at the time scheduled. If you want to change when the flow runs, simply click the first step of the flow and adjust the fields as necessary.
OneRoster SIS, Other
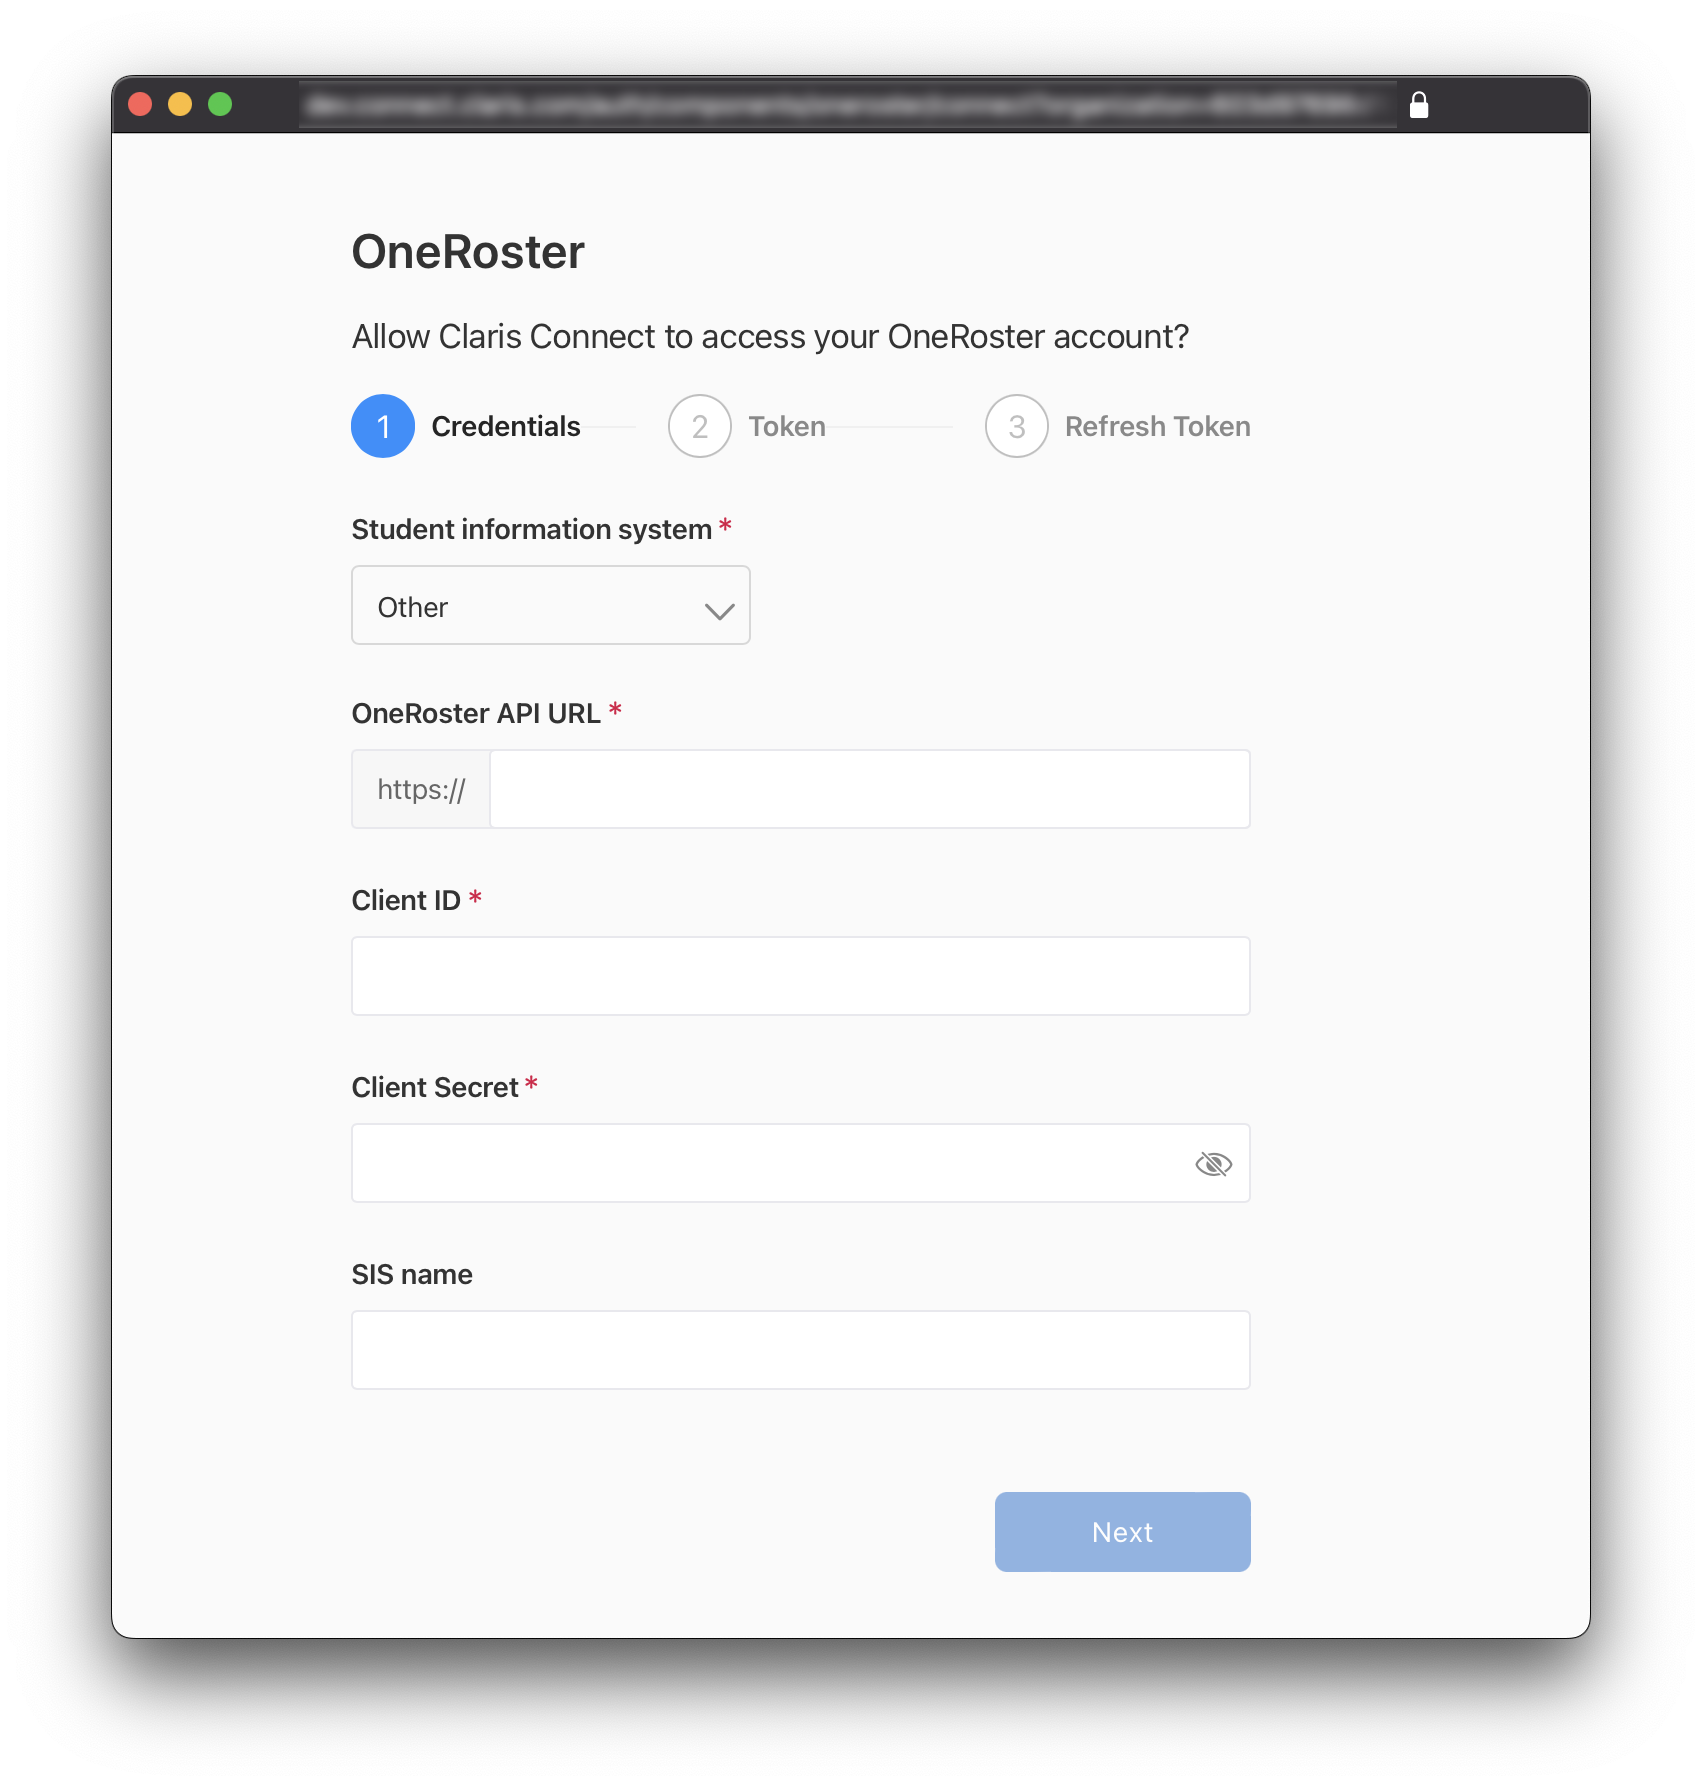
If you choose "Other" from the list of student information systems, you will need to enter a few more details before you can continue.
-
On the Credentials page, enter the following information, then click Next.
-
OneRoster API URL
-
Client ID
-
Client secret
-
SIS name
-
-
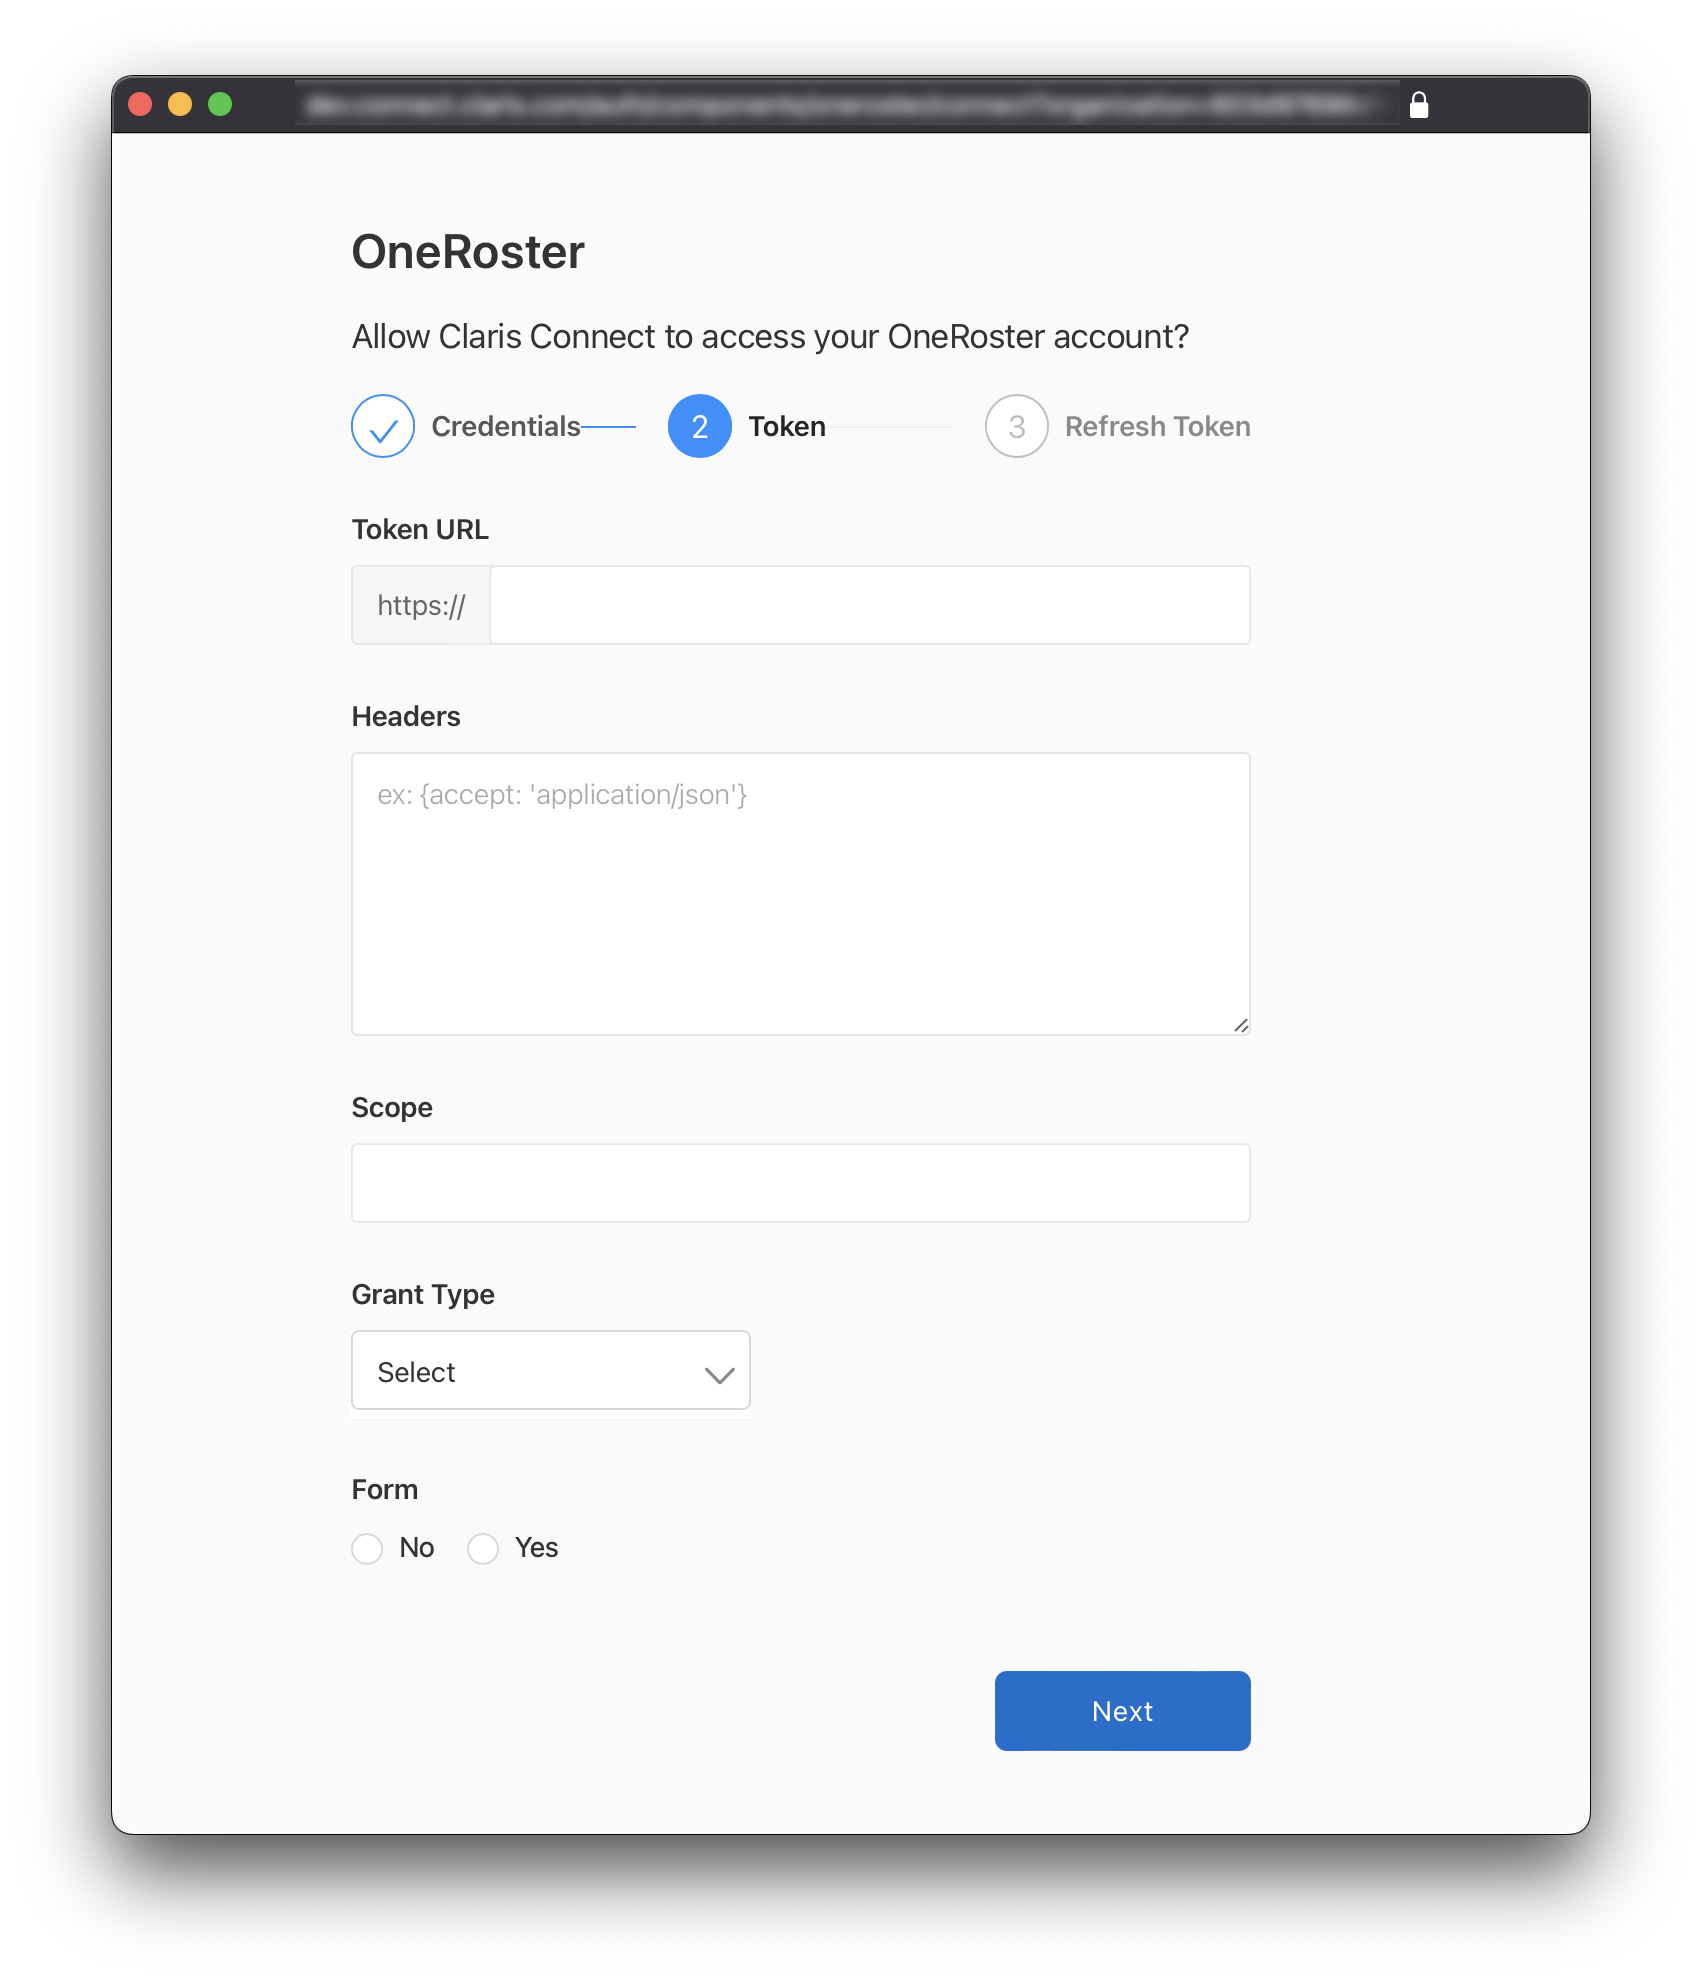
On the Token page, enter the following information, then click Next:
-
Token URL
-
(Optional) Headers
-
(Optional) Scope
-
(Optional) Grant Type
-
(Optional) Form
-
-
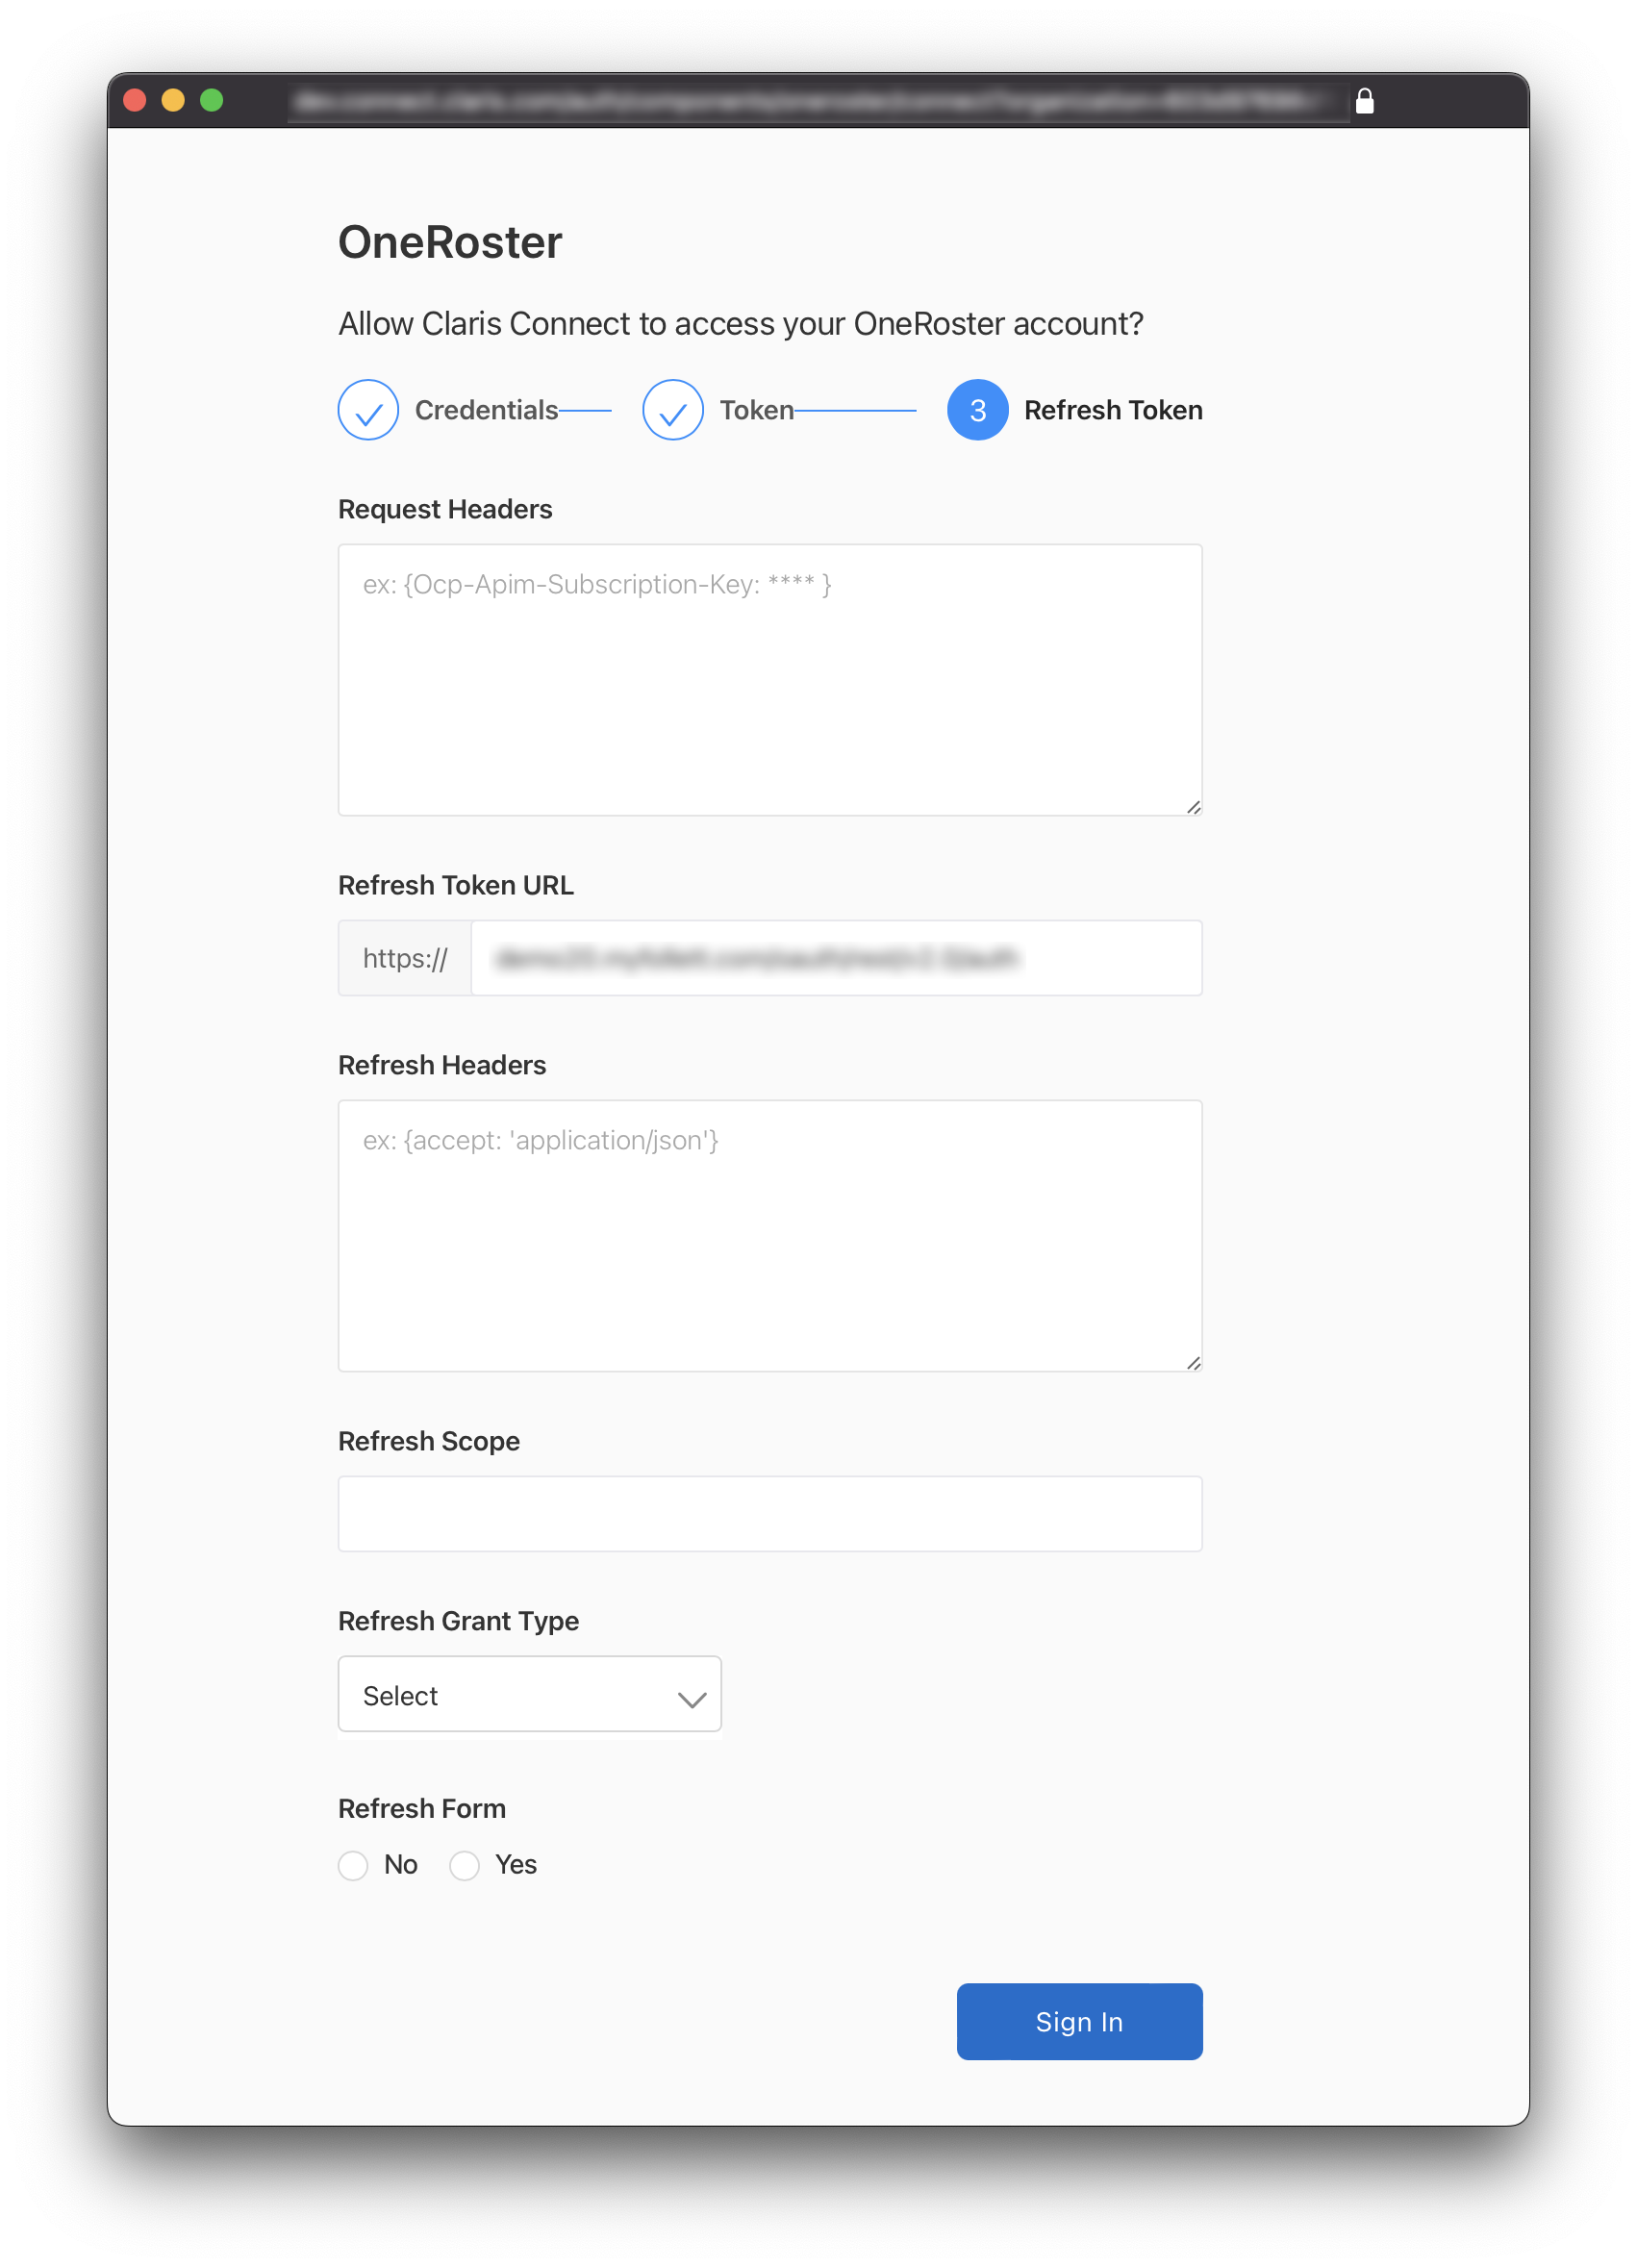
On the Refresh Token page, enter the following details, then click Sign In.
-
(Optional) Request Headers
-
(Optional) Refresh Headers
-
(Optional) Refresh Scope
-
(Optional) Refresh Grant Type
-
(Optional) Refresh Form
-
OneRoster CSV
-
Go to https://connect.claris.com/.
-
Sign in using your Managed Apple Account and password.
You land on either the Projects or Templates tab. If you don’t have any projects, the Templates page appears.
-
On the Templates page, click the OneRoster CSV template.
-
Review the information needed to complete the template setup, then click Next.
-
On the Connect page, next to File Account for SFTP, click Activate New Account. In the dialog that appears, do one of the following to configure a file account that can be used with an SFTP client to upload files to Apple School Manager:
-
With Authentication set to ‘username/password,’ copy the information in the dialog box, then click Save:
-
With Authentication set to ‘private/public key,’ set the public key and copy the rest of the information, then click Save.
-
-
On the Connect page, next to Apple School Manager, click Connect New Account.
-
In the Apple School Manager dialog box (which has the SFTP domain pre-filled), perform these actions:
-
Click View how to get the username and password for information on the username and one-time password in Apple School Manager.
-
Open a new browser window and sign in to Apple School Manager.
-
Copy and paste the username and then the password from Apple School Manager into the dialog box, and click Sign In.
-
-
When both accounts are connected, click Next.
-
On the Configure page, click Save, then click Next.
-
Click Next to go to the Finish page, then click Go to Project.
A dialog box prompts you to turn on saving request and response data for the project.
-
To turn on the option for saving request and response data, click Start.
You can view the request and response data for each step of a flow run on the History tab. See Viewing flow history.
Congratulations! Your flow is now complete and will run when you upload CSVs with the File Account you created during template setup.
Filtering SIS import data
By default, all data is included when importing from your SIS. However, after you create your flow from the template, you can configure data filtering options in the step that imports data.
-
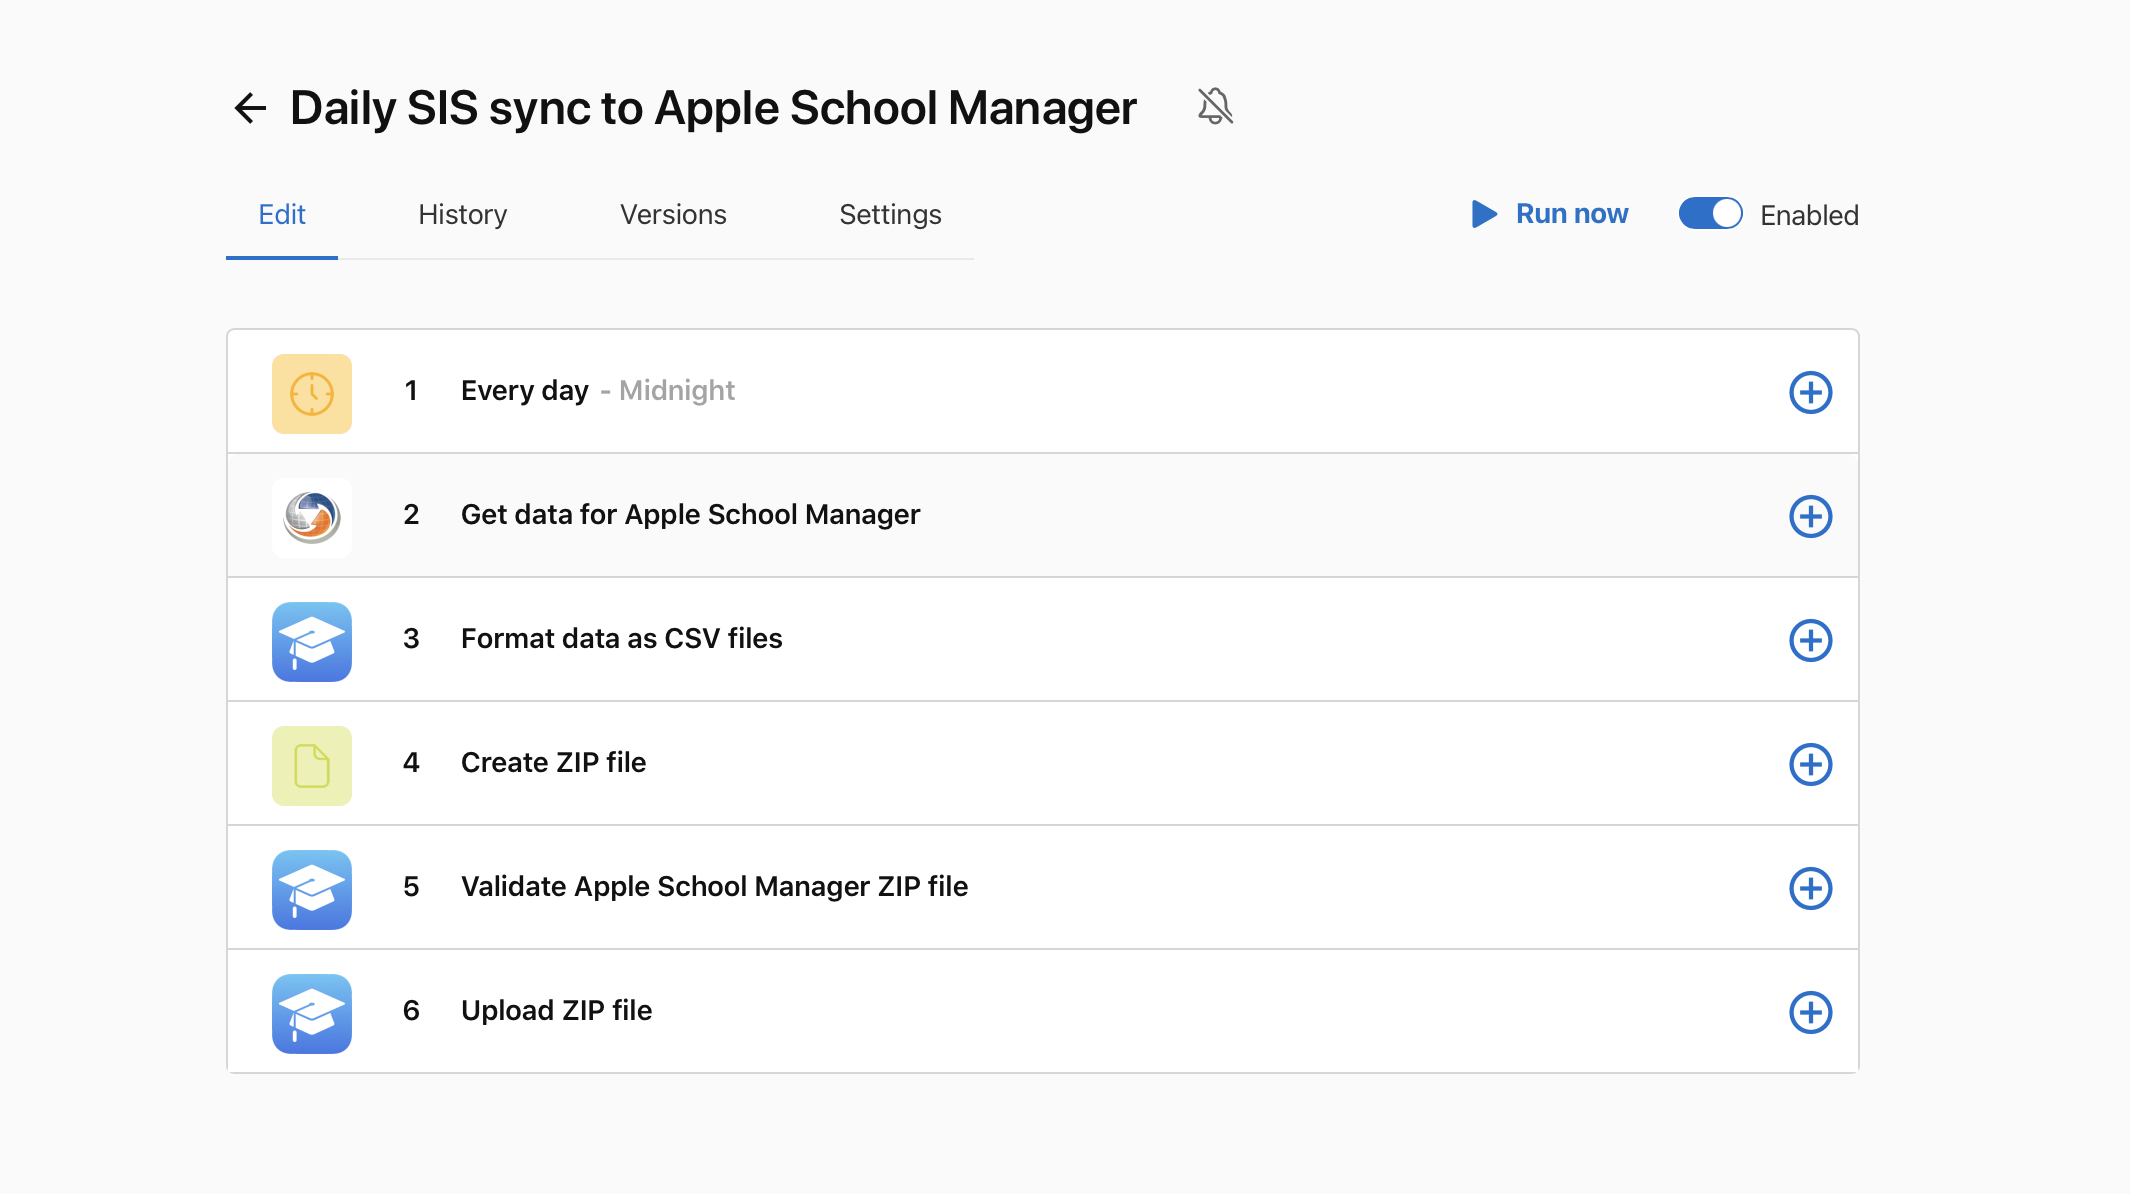
On the Flows page, click the flow you wish to configure.
-
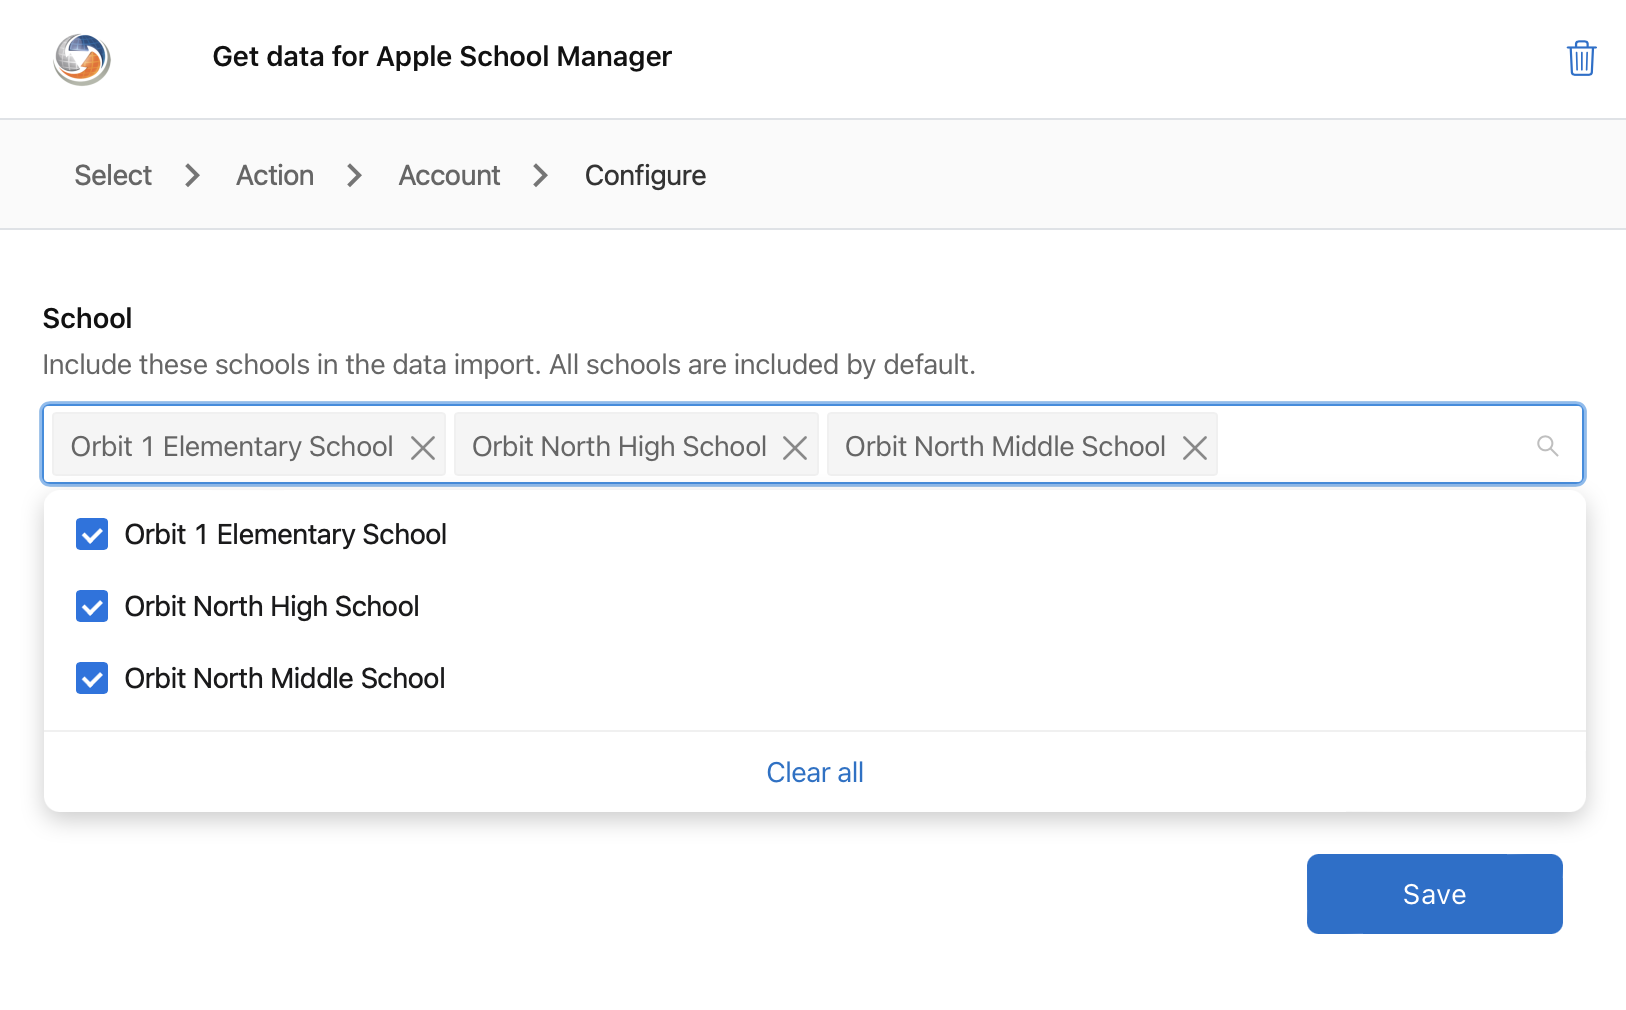
Click the Get data for Apple School Manager step.
-
On the Configure page, click into the field you want to filter by, in this example "School".
-
Choose the entries from the list you wish to include, click out of the list, the click Save.
In addition to being able to filter by school, you can also filter by:-
Class status
-
Course status
-
Enrollment status
-
Org status
-
Instructor status
-
Student status
-
Active students
-
Active teachers
-
Active terms
-
The next time your flow runs, it will filter data based on the settings you configured in the import step. You can also run the flow manually with the Run now button. See Manually run a flow