Uploading school data to Apple School Manager
Claris Connect provides an Apple School Manager connector that lets you securely upload school data in CSV file format to Apple School Manager. There are two main steps in the process:
-
You upload a ZIP file containing a set of CSV files using an SFTP client. This step triggers the Claris Connect flow.
-
After the flow is triggered, Claris Connect transfers the ZIP file to Apple School Manager. This step is the action in the flow. (As part of this step, the data is converted to ASM format if needed.)
This documentation covers the following:
About uploading school data using SFTP
You might need to use SFTP to upload to Apple School Manager if:
-
Your SIS isn’t currently supported by Apple School Manager.
-
You don’t have a SIS, but you want to import school data from your current system.
SFTP upload requires that you install a third-party SFTP client. Claris Connect and Apple School Manager each generate unique URLs and credentials to use in configuring SFTP upload via that client. You can also use a public key for key-based authentication.
Supported data file formats
Your school data files must be in one of these formats:
-
Apple School Manager CSV
-
OneRoster 1.1 CSV
Apple School Manager provides these templates for your school data:
| Template | Contents |
|---|---|
| Students | Student account information |
| Staff | Staff account information, such as account information for instructors |
| Courses | Course definitions |
| Classes | Course and instructor information |
| Rosters | Class, student, and location information |
| Locations | Location information |
For detailed information about SFTP setup in Apple School Manager and downloading and using templates, see this Apple Support article.
OneRoster is an open standard specification for the exchange of school data. Use OneRoster if your school district has implemented that standard. For information about the OneRoster CSV file format, see the CSV Format section. For uploading OneRoster files to Apple School Manager, the required files are:
-
manifest.csv
-
org.csv
-
courses.csv
-
users.csv
-
enrollments.csv
-
classes.csv
About file accounts in Claris Connect
In Claris Connect, you create a file account for uploading files using an SFTP client. A file account is currently only available to Apple School Manager users via the SFTP utility. The utility provides a trigger that runs when you upload a ZIP file to your file account.
When you create the account, a host URL and credentials are generated for password authentication, or a public key can be entered for key-based authentication. You use this information when you set up the SFTP client to connect to the host server for the file upload.
After you create a file account, you can use the File Accounts tab in Claris Connect to view the account information, regenerate the password, change the public key, or delete the file account using the link at the bottom of the page.
You can’t delete a file account if it is in use in a flow. If you regenerate the file account credentials, you must update the connection in your SFTP client.
Creating your flow from the template
Prerequisites
-
You must have an SFTP client installed.
-
You must have prepared your ZIP file of CSVs in either OneRoster or Apple School Manager format.
When you are ready, use a template to create your flow in Claris Connect. The template wizard walks you through a set of preconfigured steps.
-
Go to https://connect.claris.com/.
-
Sign in using your Managed Apple Account and password.
-
On the Templates page, click the Apple School Manager CSV icon or the OneRoster CSV icon.
-
Review the information needed to complete the template setup, then click Next.
-
On the Connect page, next to File Account for SFTP, click Activate New Account. In the dialog that appears, do one of the following to configure a file account that can be used with an SFTP client to upload files to Apple School Manager:
-
With Authentication set to ‘username/password,’ copy the information in the dialog box, then click Save.
-
With Authentication set to ‘private/public key,’ set the public key and copy the rest of the information, then click Save.
-
-
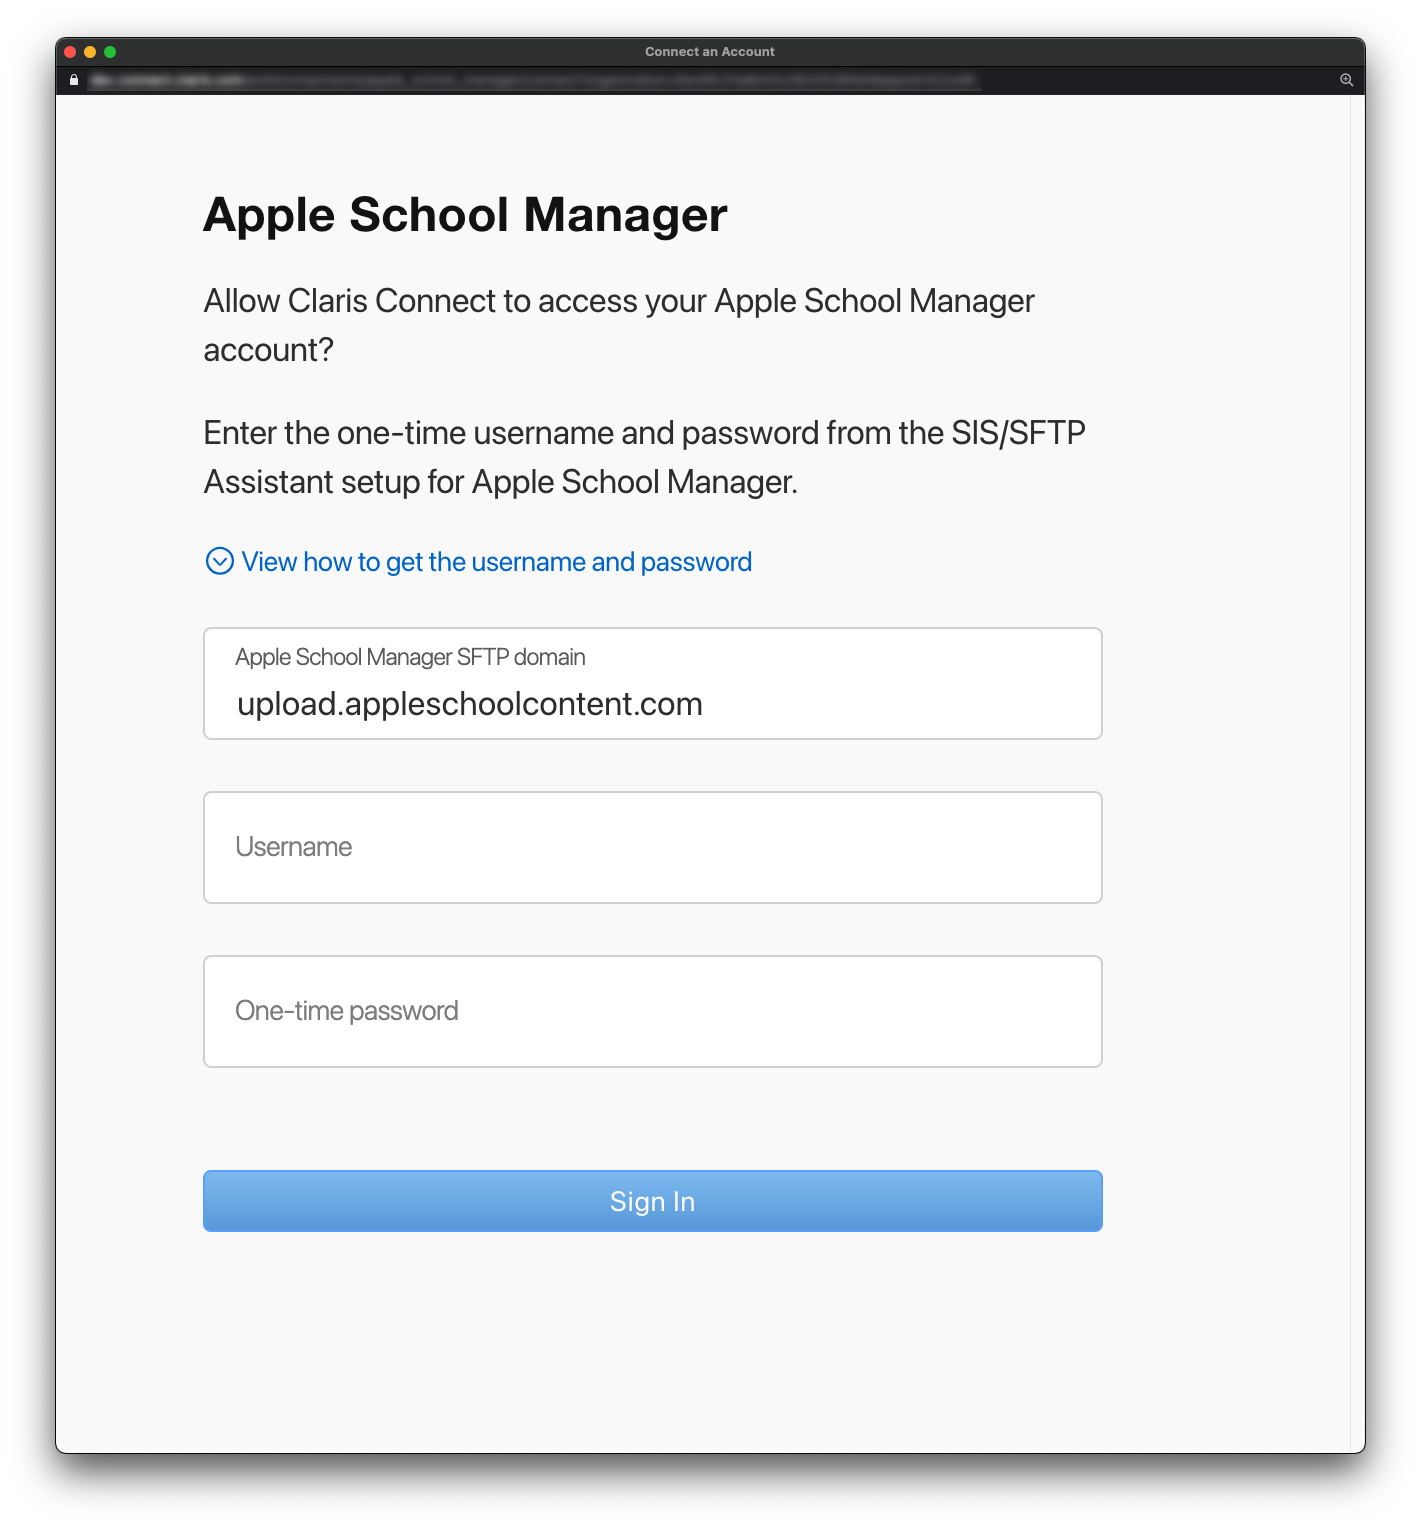
On the Connect page, next to Apple School Manager, click Connect New Account.
The Apple School Manager dialog box appears, with the SFTP domain pre-filled.
-
Click View how to get the username and password for information on the username and one-time password in Apple School Manager.
-
Open a new browser window and sign in to Apple School Manager.
-
Copy and paste the username and the password from Apple School Manager into the dialog box, then click Sign In.
-
-
On the Configure page, which displays the trigger step File uploaded to Claris Connect file account, click Save.
-
Click Next to go to the Finish page, then click Go to Project.
A dialog box prompts you to turn on saving request and response data for the project.
-
To turn on the option for saving request and response data, click Start.
You can view the request and response data for each step of a flow run on the History tab. See Viewing flow history.
To trigger the flow:
-
Upload the school data ZIP file to your Claris Connect file account in an SFTP client. This step initiates the flow run.
-
After you start the flow run, check the History tab to view the run status.
Click in the flow run to see the status of each flow step, and click each step to view the HTTP response and request. Claris Connect detects and displays errors if the file you uploaded is not in a valid file format.