Okta using SAML
Follow the steps below to configure single sign-on (SSO) for Claris Studio with Okta using SAML. To establish trust between your identity provider and a Claris Studio team, you'll need to:
-
Create a SAML application.
-
Edit the integration details.
-
Assign users.
-
Enter the metadata URL in Claris Studio.
Open the Claris Studio setup page
-
Sign in to your Claris Studio team.
-
Click the Users tab on the left, then click Configure External IdP.

-
In the Configure External Identity Provider dialog, for Protocol, choose SAML. Keep this page open to come back to later.
Create a SAML application
-
Sign in to your Okta administrator account at https://<okta-subdomain>.okta.com/admin/getting-started where <okta-subdomain> is your business’s Okta subdomain.
-
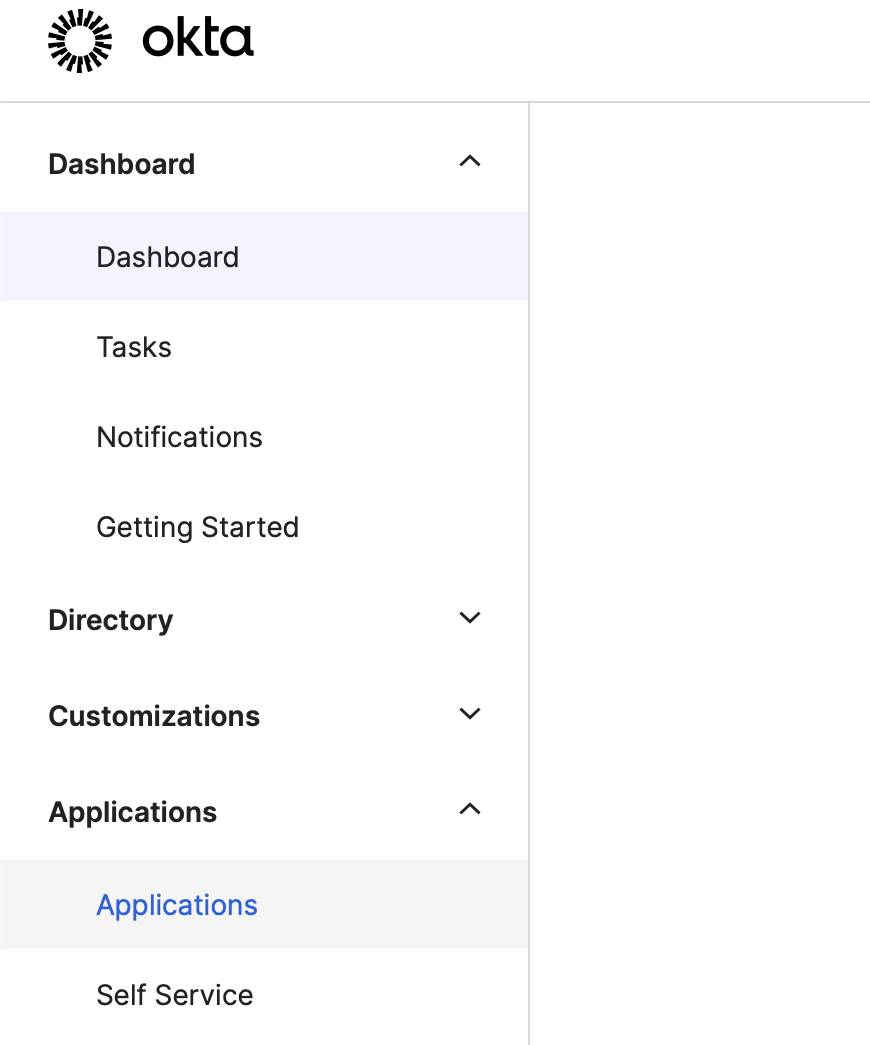
In the left sidebar, click Applications > Applications.
-
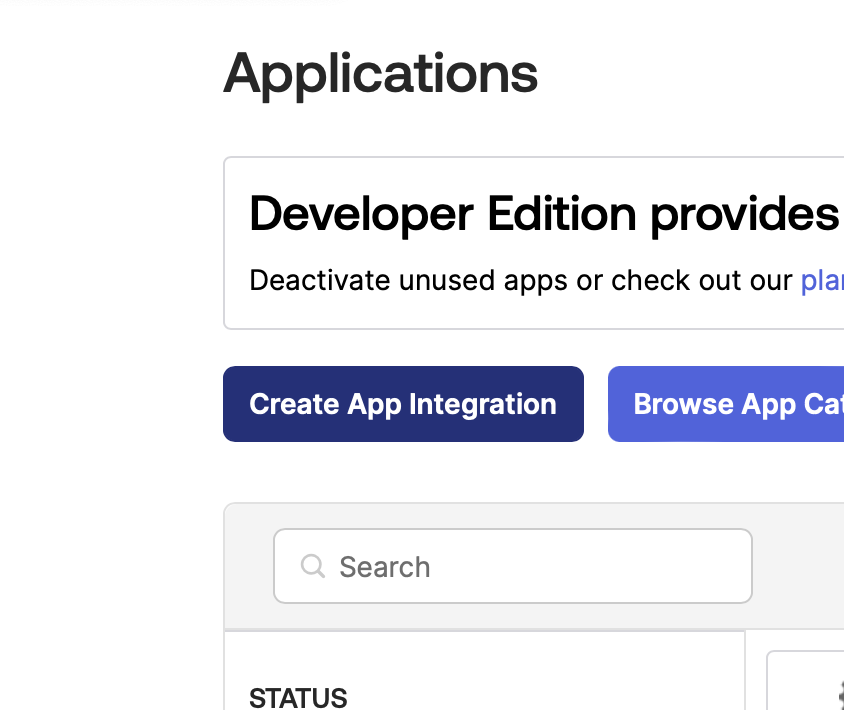
On the Applications page, click Create App Integration.
-
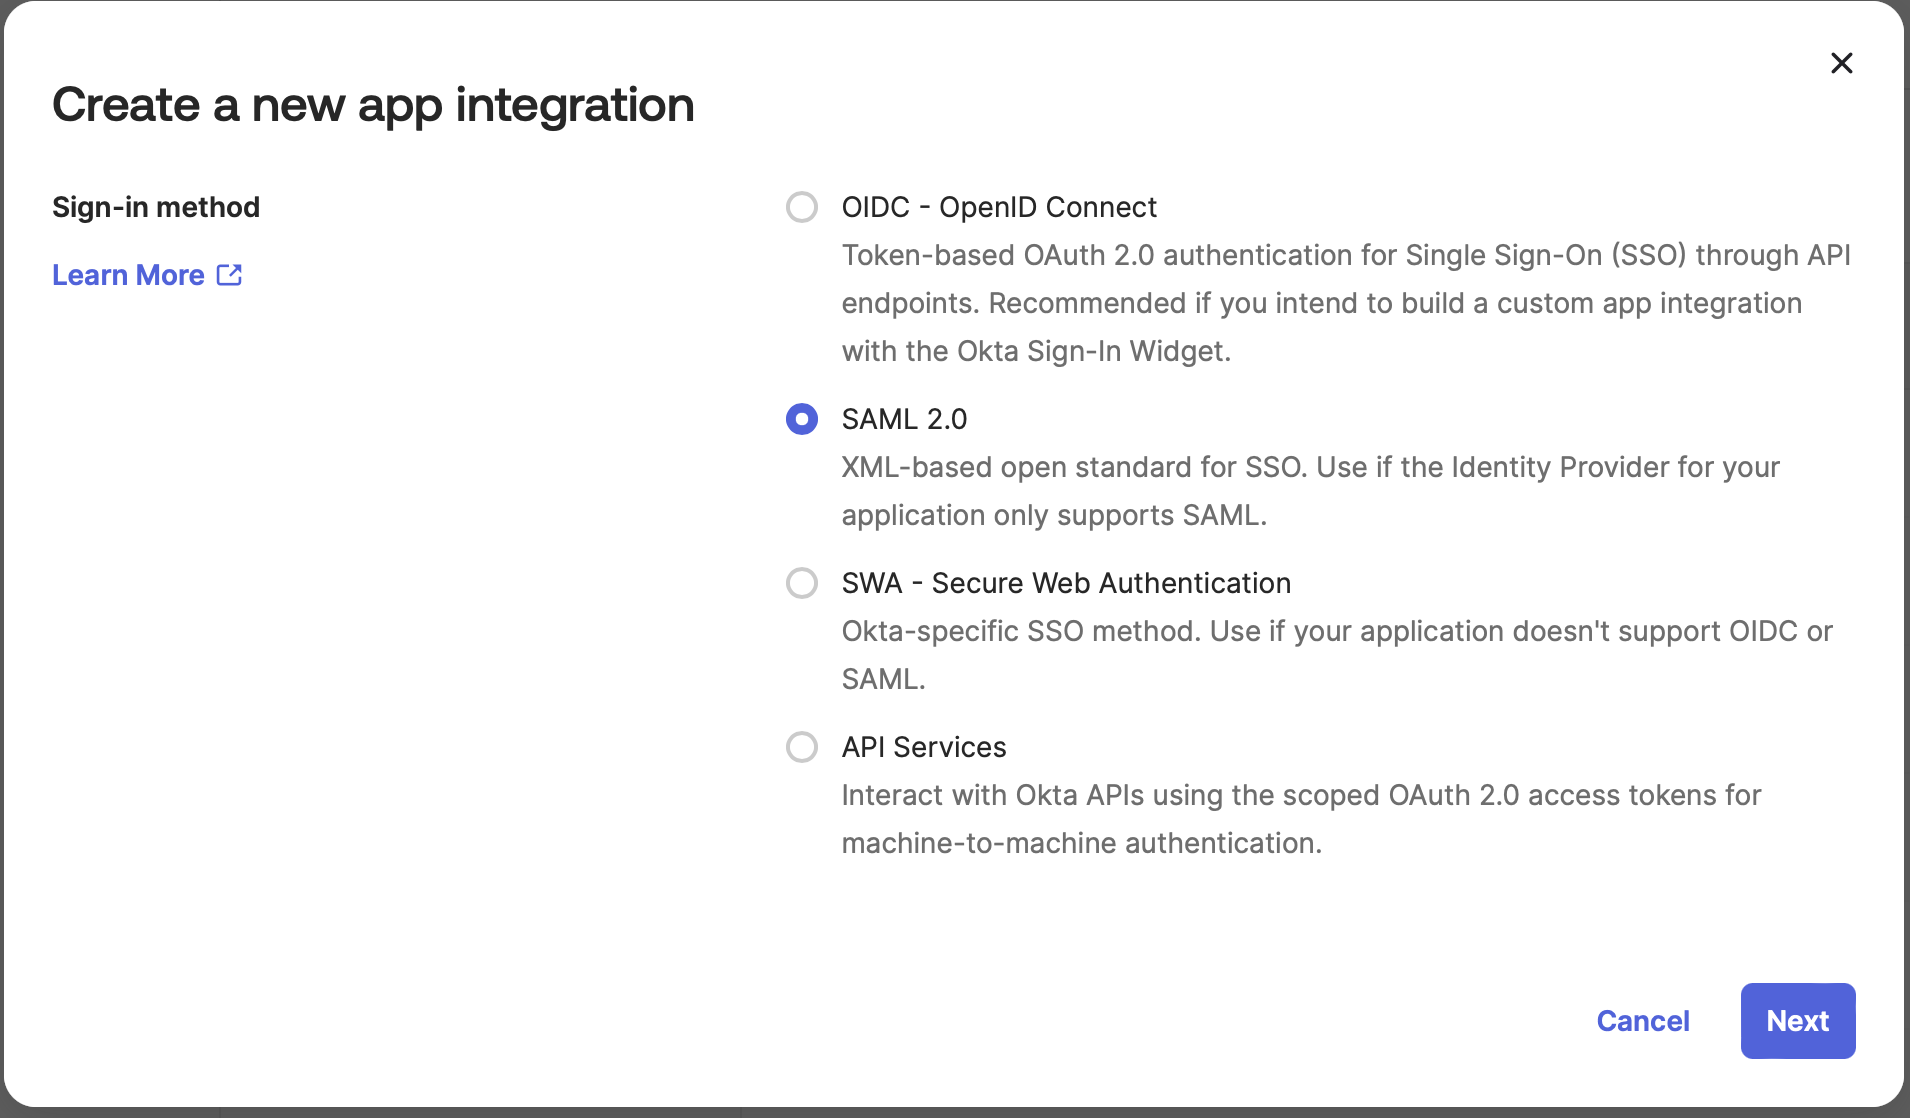
For Sign-in method, select the SAML 2.0 option, then click Next.
Edit SAML application information
-
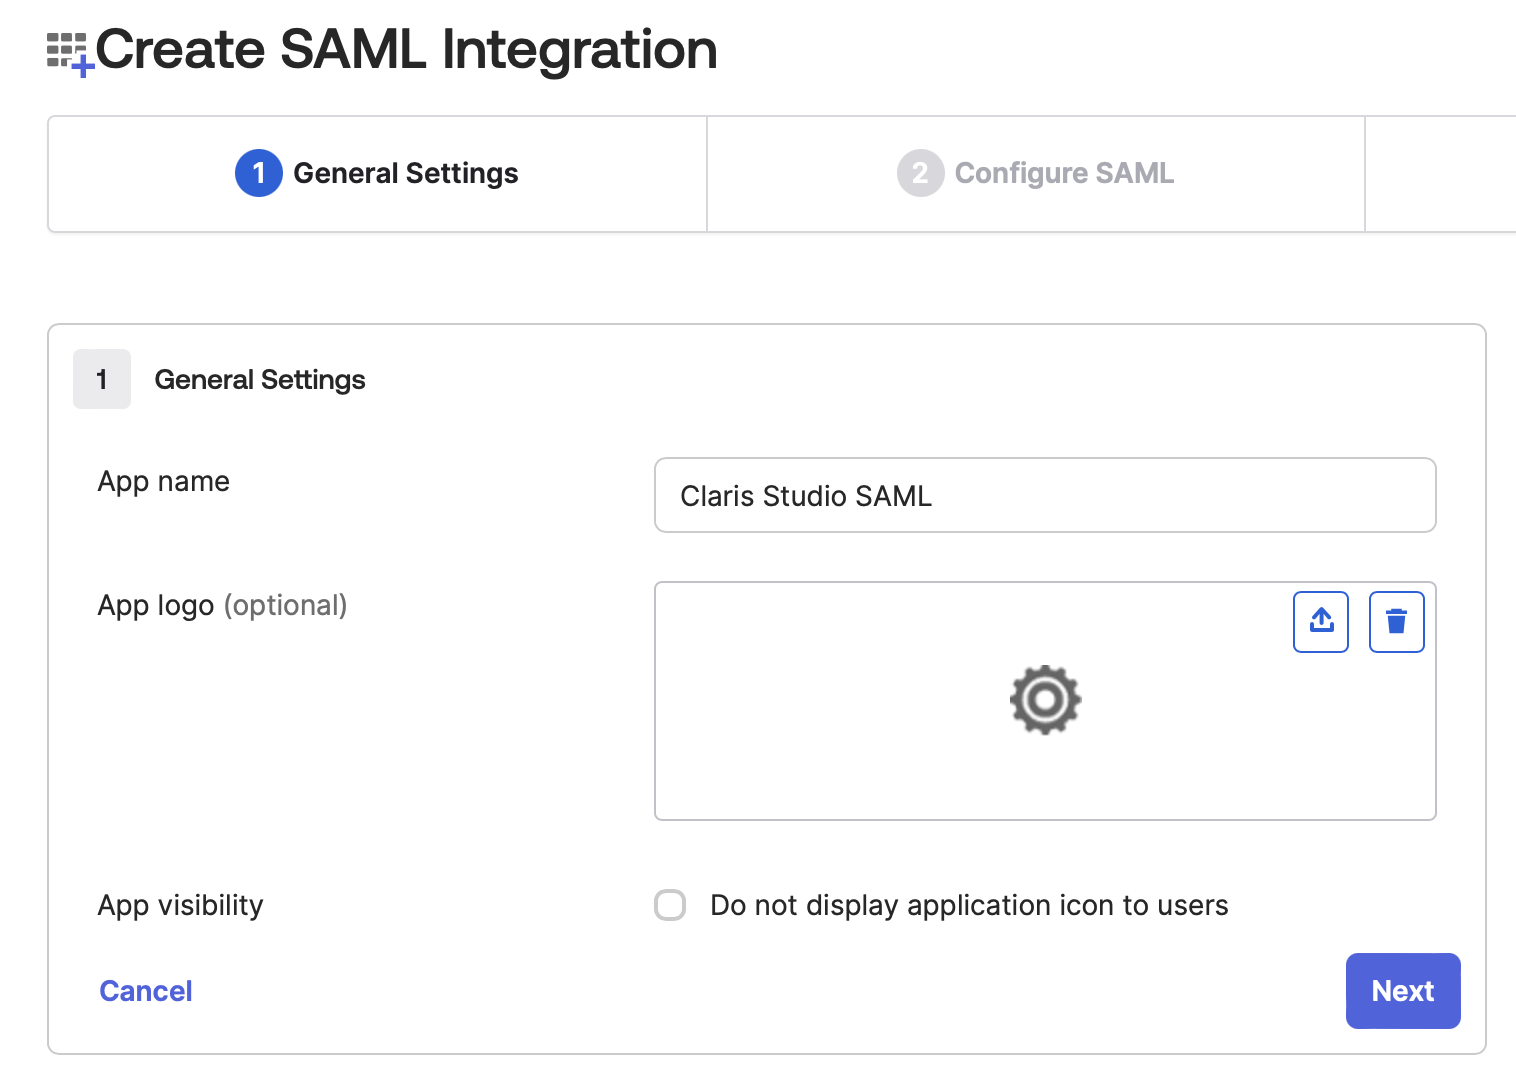
You’ll now see a form to add new data. For App name, enter a name that will help you distinguish this integration from any others.
Click Next.
-
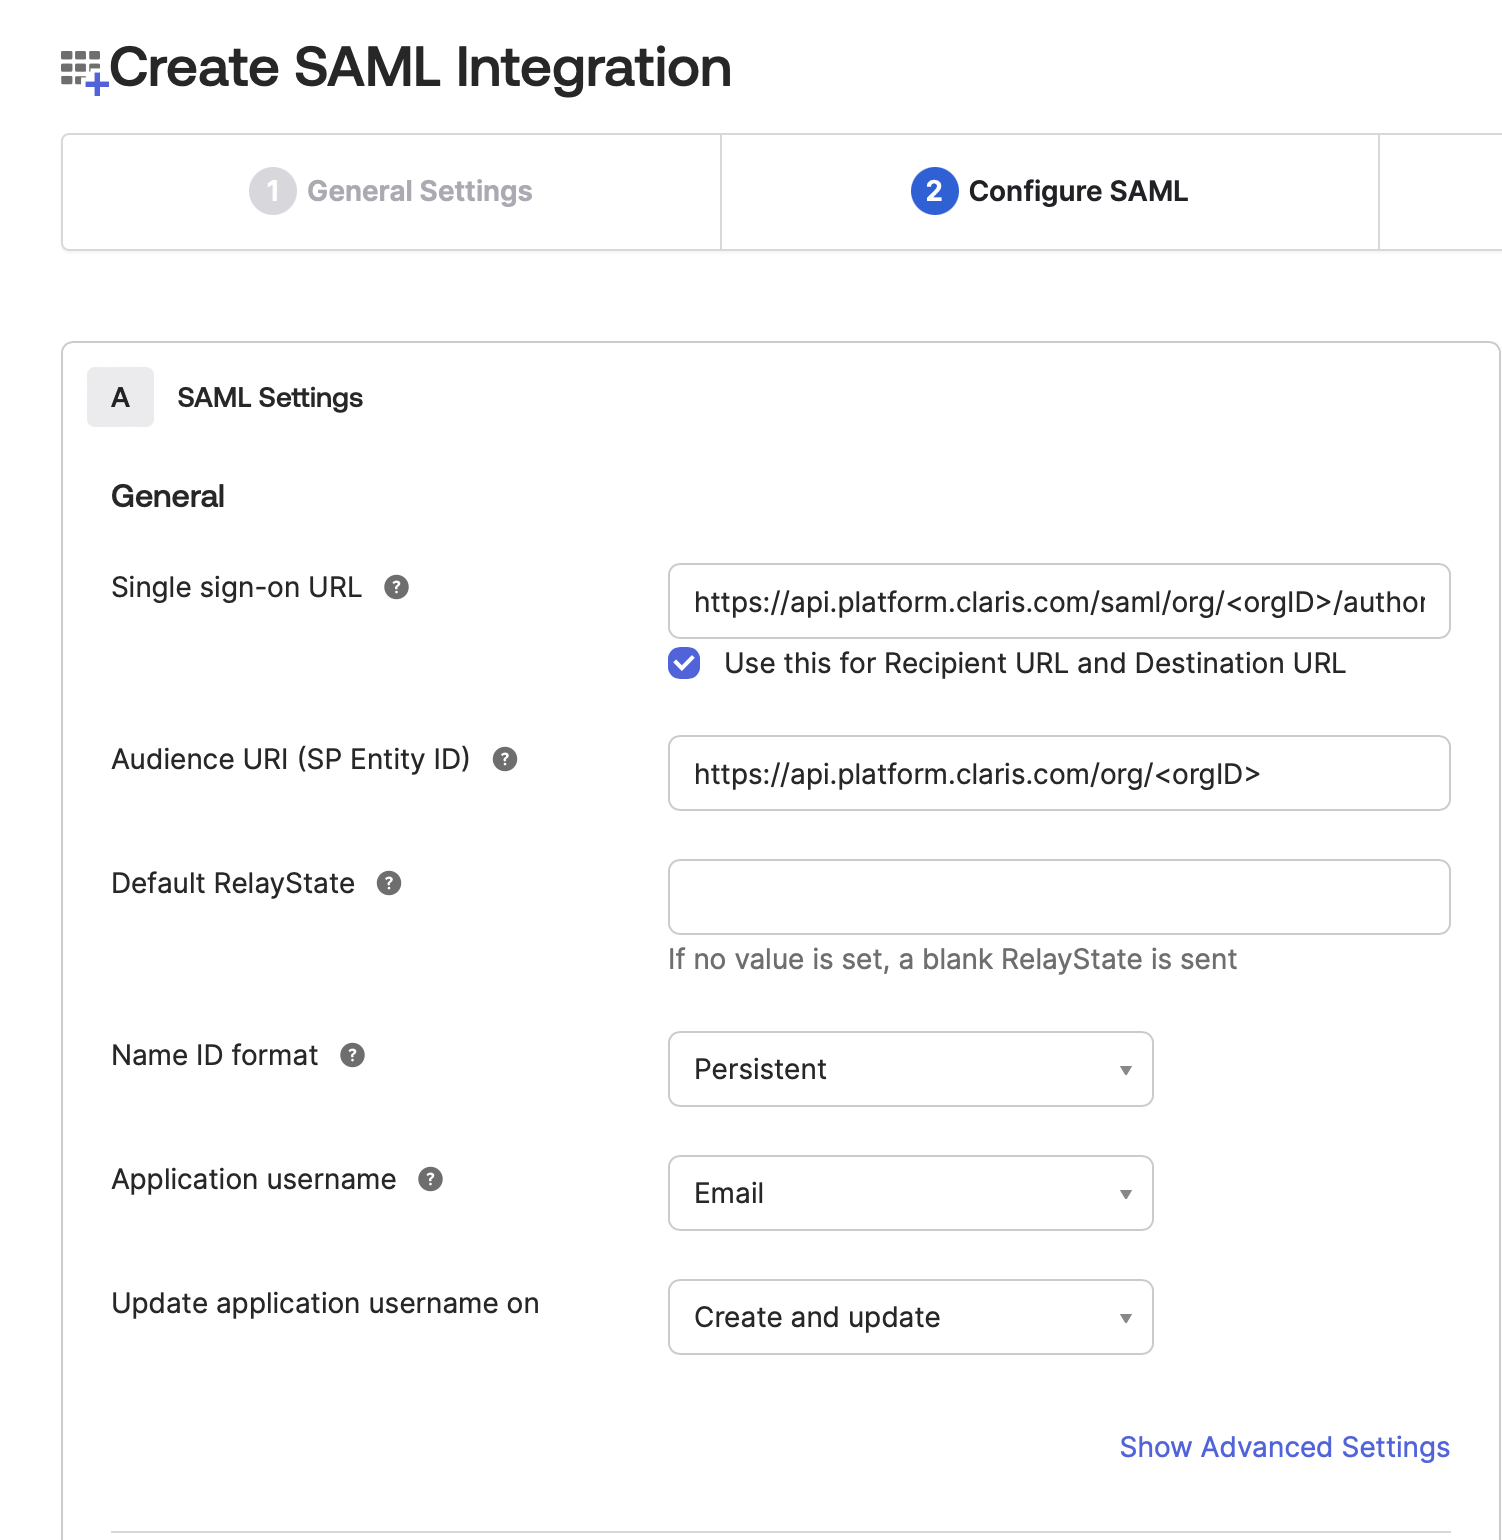
In Configure SAML step, enter the following details for each field:
-
Single sign-on URL: In Claris Studio, copy Assertion Consumer Service URL (see “Open the Claris Studio setup page” earlier) and paste it in here.
-
Use this for Recipient URL and Destination URL: Keep this option selected.
-
Audience URI: In Claris Studio, copy Entity ID (see “Open the Claris Studio setup page” earlier) and paste it in here.
-
Default RelayState: Keep this empty.
-
Name ID format: Choose Persistent.
-
Application username: Choose Email.
-
Update application username on: Choose Create and update.
-
-
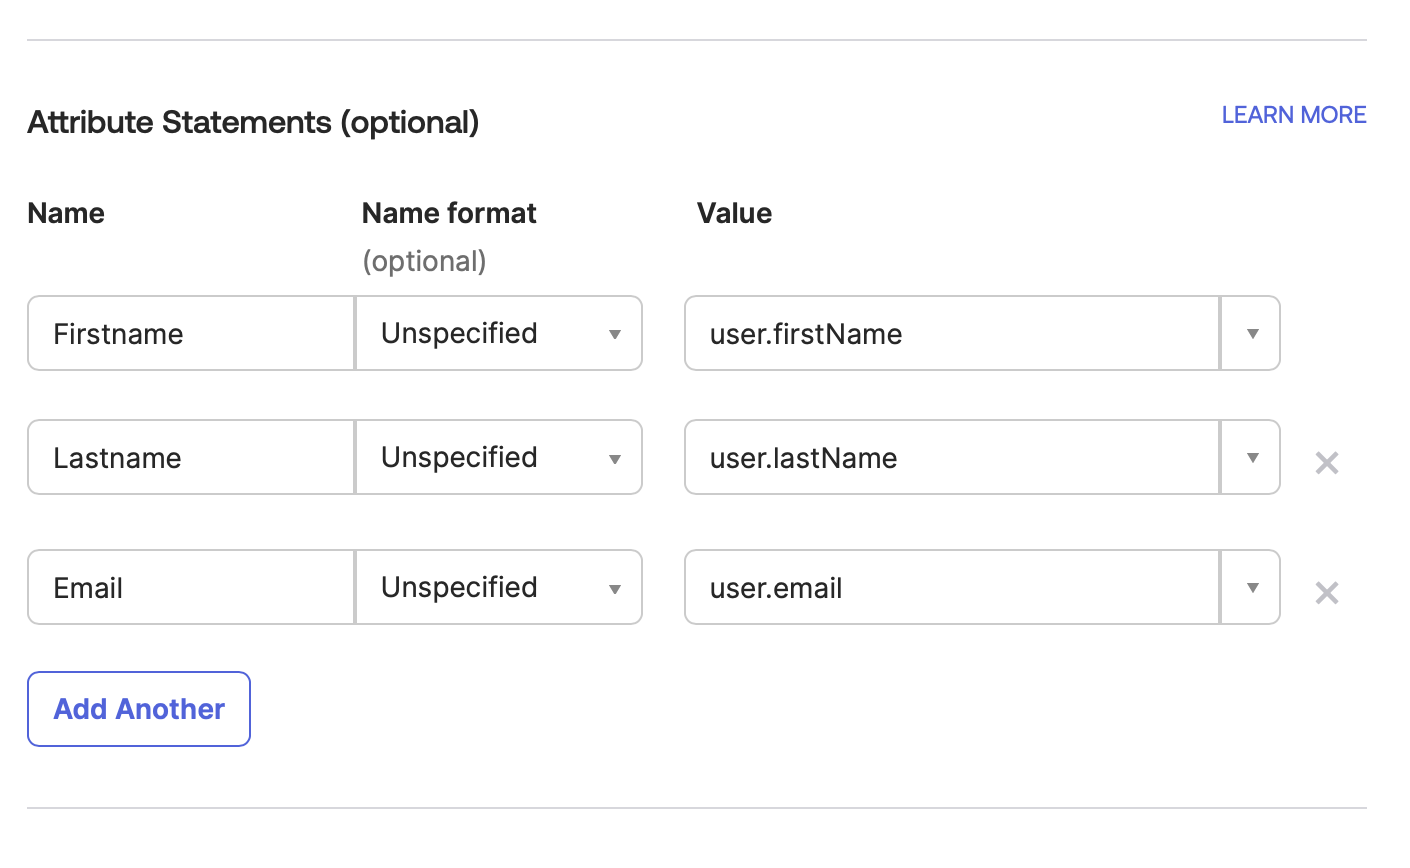
Fill out the Attribute Statements section. Add the following mappings where Name format will always be Unspecified. Remember that the mapping Name values should be typed exactly as shown because they are case sensitive.
-
Firstname → choose user.firstName value
-
Lastname → choose user.lastName value
-
Email → choose user.email value
-
-
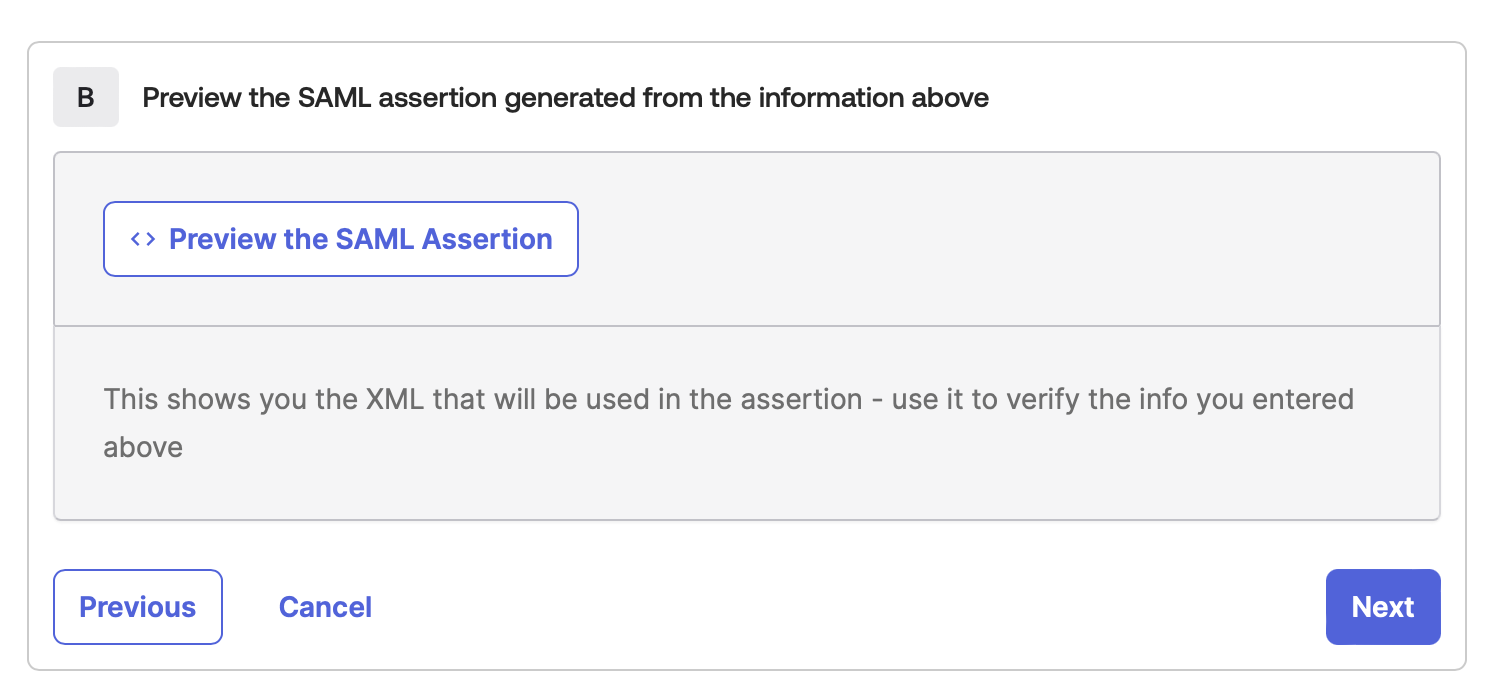
Click Next.
-
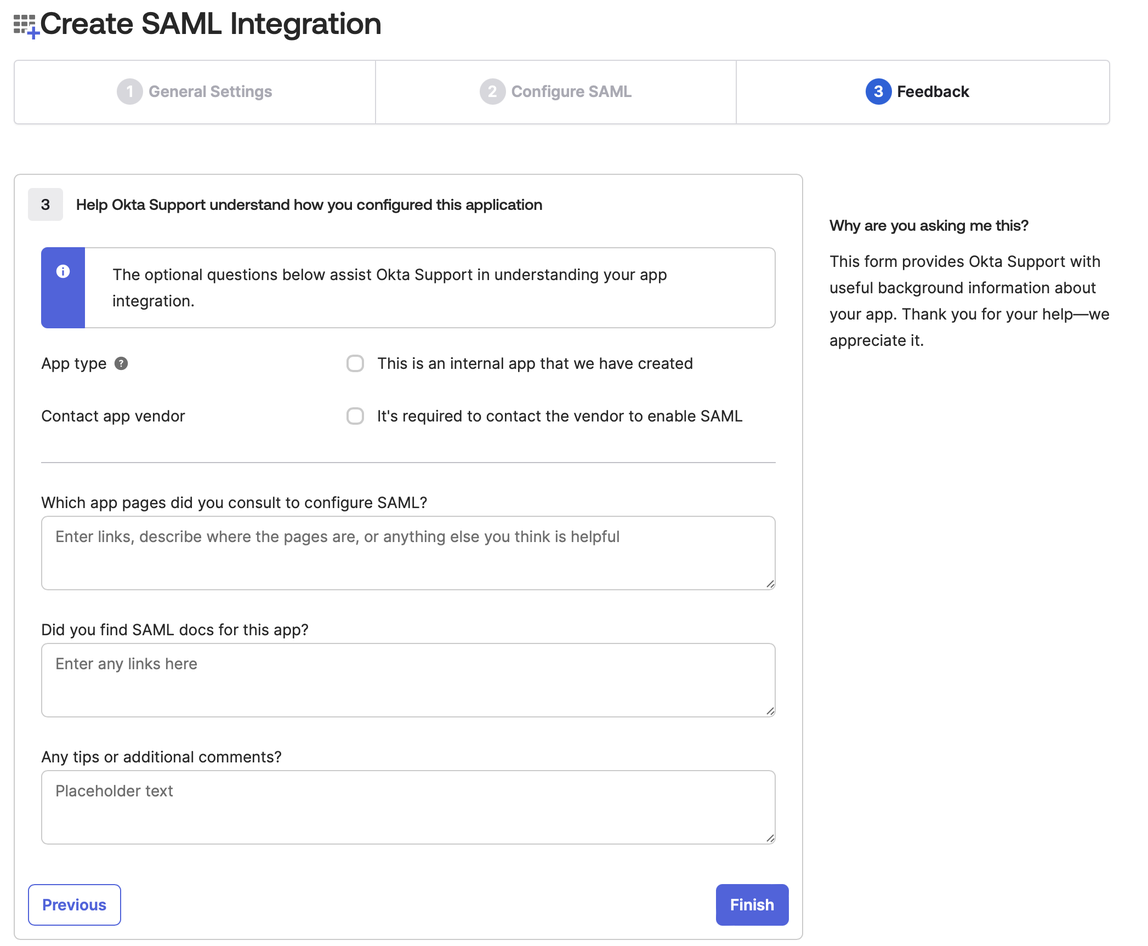
You may now see a screen asking for feedback from Okta. You can click Finish here without supplying any information.
-
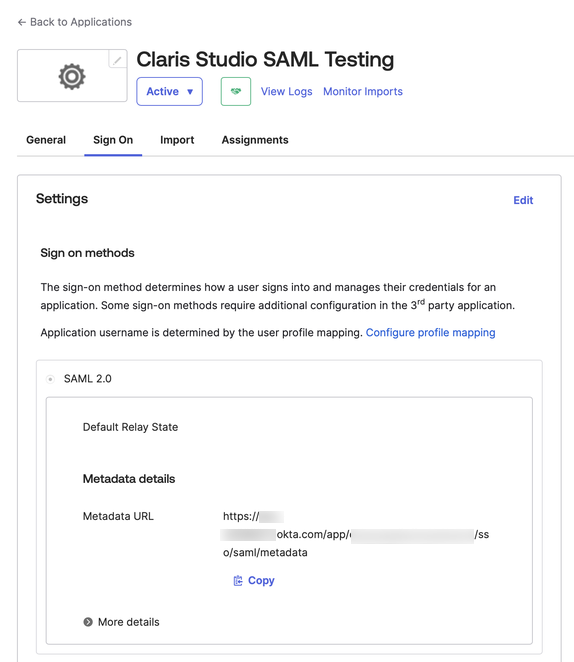
You should now be redirected to the Sign on section of your newly created app. Under Metadata Details, copy the Metadata URL and save it somewhere secure where you can retrieve it later.
Assign users to your SAML integration
-
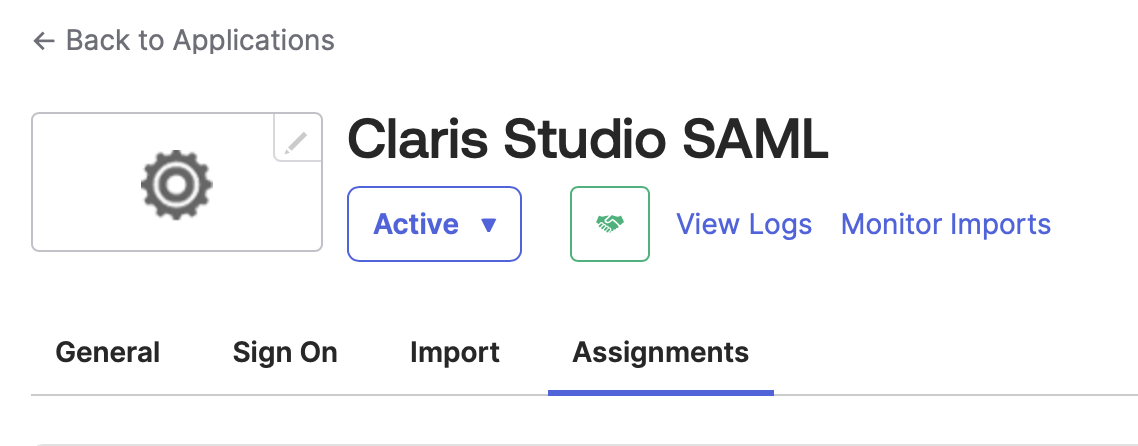
Click the Assignments tab, then click Assign to People or Assign to Groups.
-
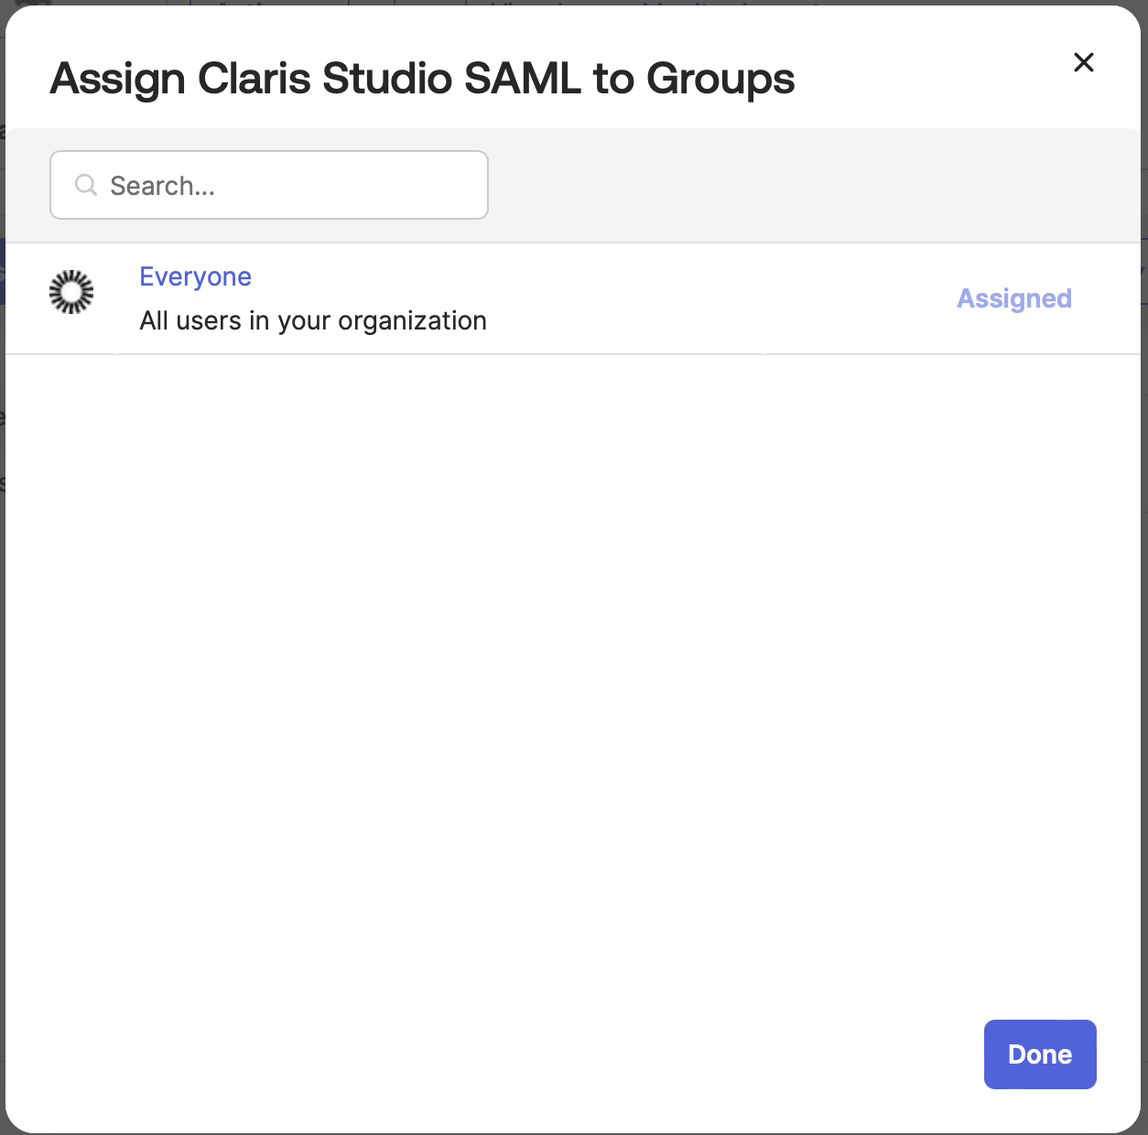
Select all people or all groups from your Okta organization that should have access to this Claris Studio team.
To assign to everyone, for the Assign to Groups option, click Assign next to the Everyone option.
Click Done when finished.
Enter values into Claris Studio
- Go back to the Claris Studio page you opened earlier (see “Open the Claris Studio setup page”).
-
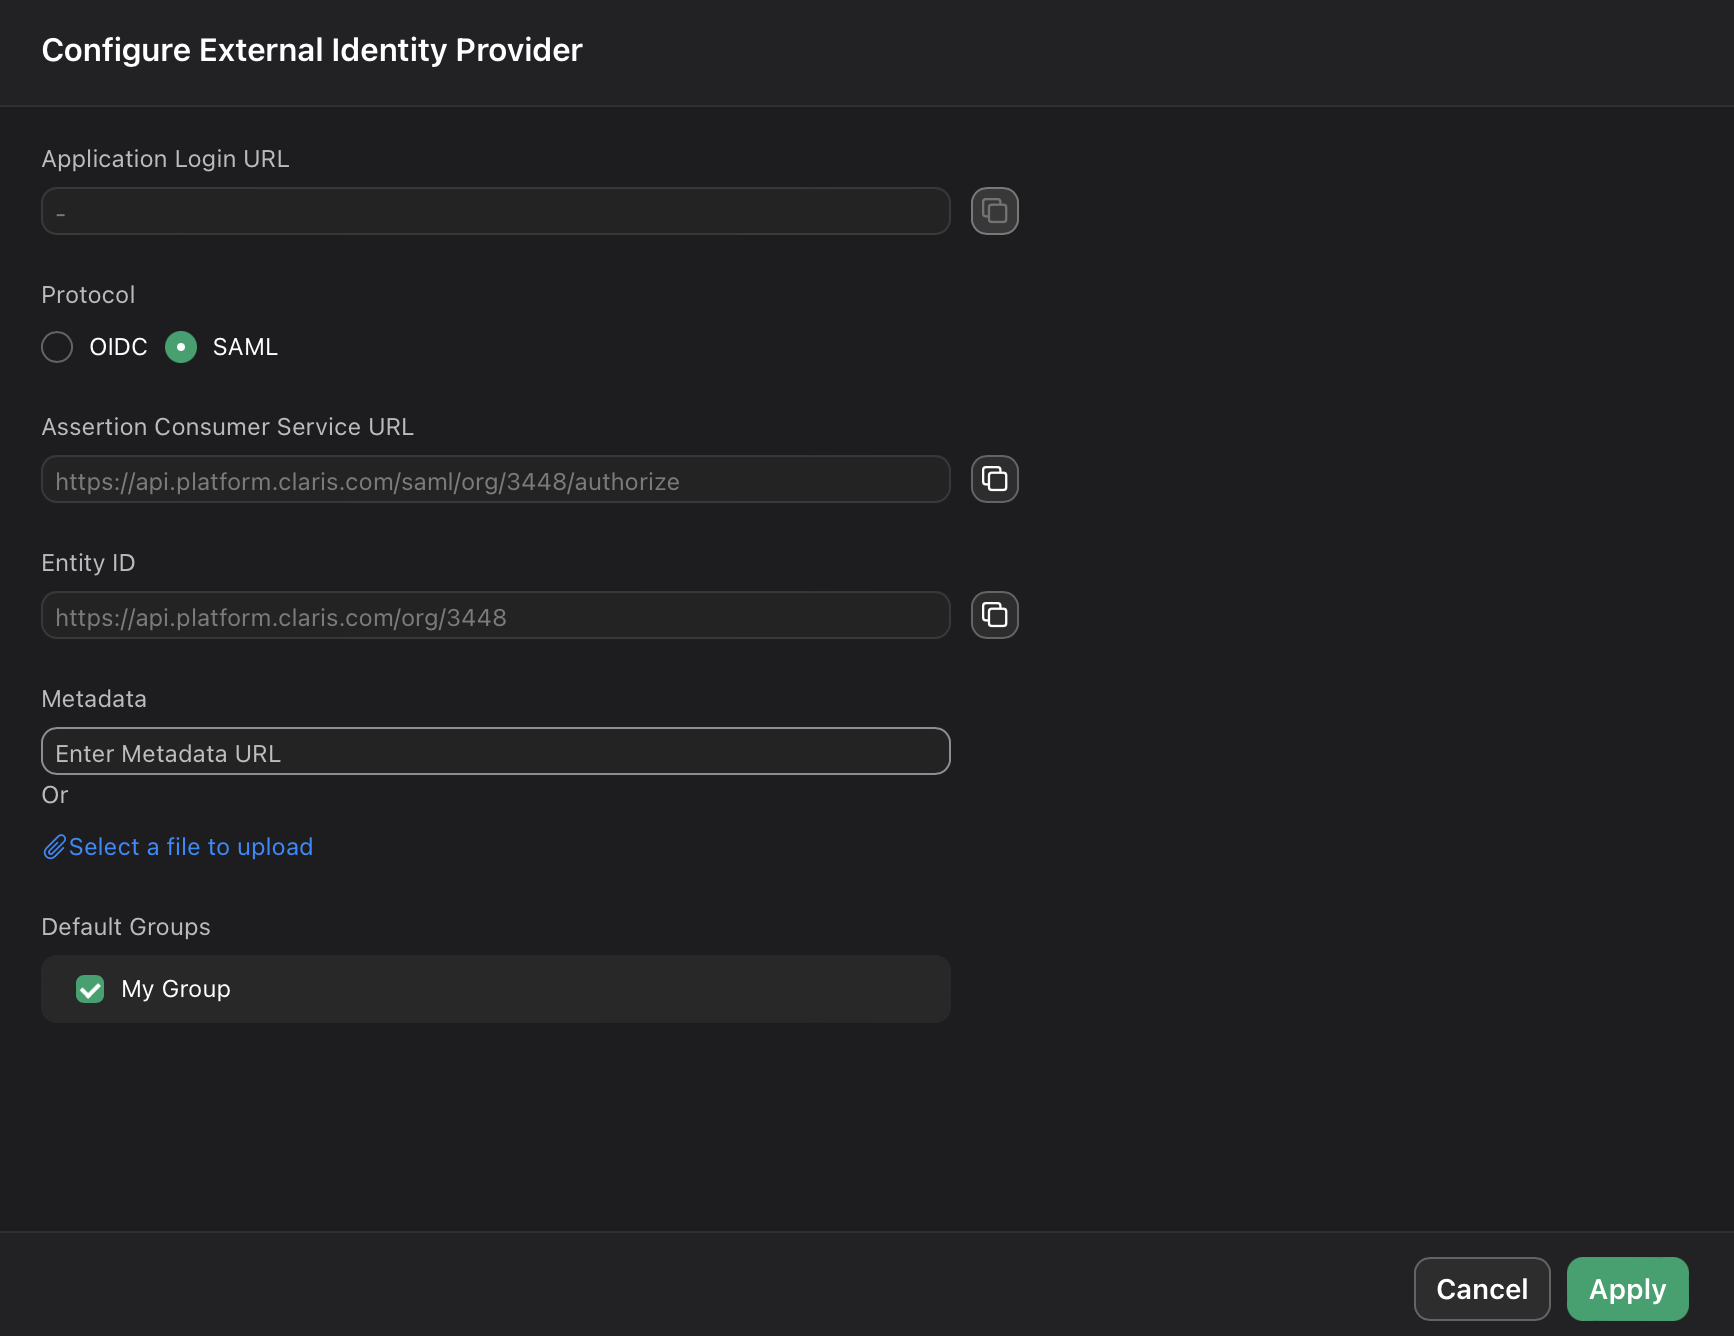
In the Configure External Identity Provider dialog, for Protocol, choose SAML. Then for Metadata, paste the Metadata URL value that you saved in “Edit SAML application information.”
-
Select one or more Default Groups that you want to sign in using this external IdP, then click Apply.
If you have no groups, you can create one here and add users to it later. See Work with groups for more information.
- On the Users page, copy the link labeled Application Login URL and provide it to users. Using this URL enables them to sign in to Claris Studio with their SSO credentials.