Microsoft Entra ID using OIDC
Follow the steps below to configure single sign-on (SSO) for Claris Studio with Microsoft Entra ID using OpenID Connect (OIDC). To establish trust between Microsoft Entra ID and a Claris Studio team, you’ll need to:
-
Create an enterprise application.
-
Update it with your Claris Studio team details.
-
Create secrets.
-
Save those secrets in Claris Studio.
Open the Claris Studio setup page
-
Sign in to your Claris Studio team.
-
Click the Users tab on the left, then click Configure External IdP.

-
In the Configure External Identity Provider dialog, for Protocol, choose OIDC. Keep this page open to come back to later.
Create an enterprise application
-
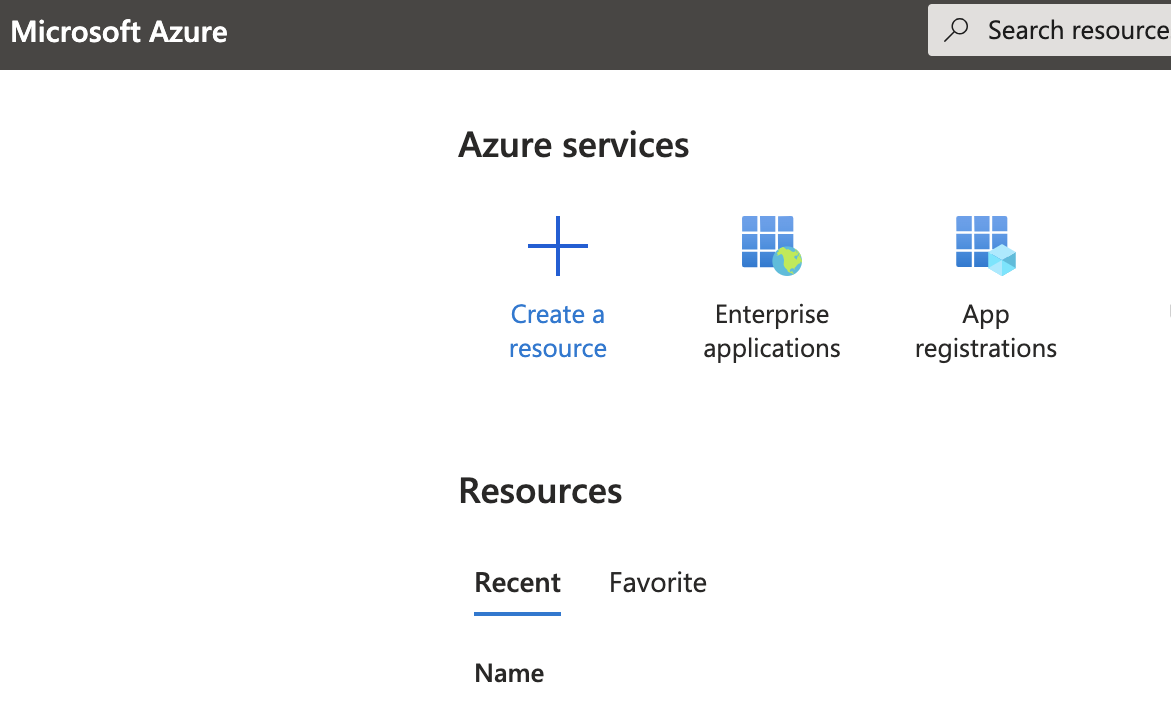
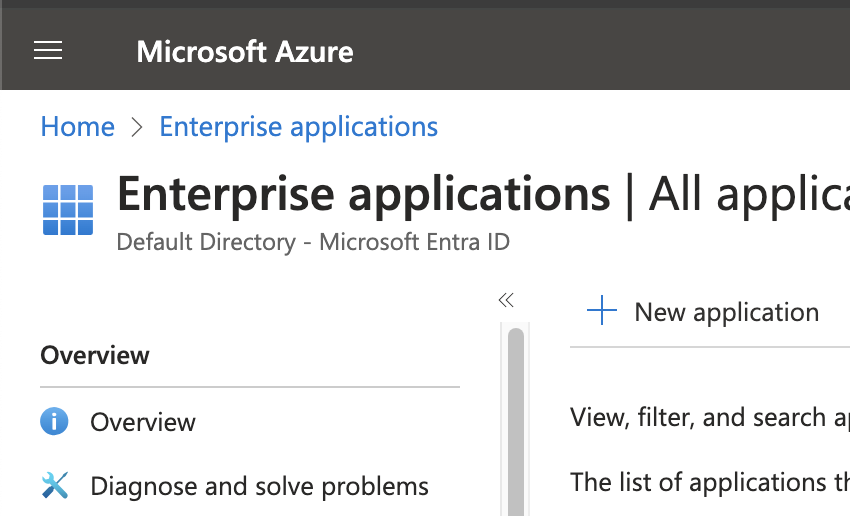
Sign in to the Azure portal. Under Azure services, click Enterprise Applications. On the next page, click + New Application near the top left corner.
-
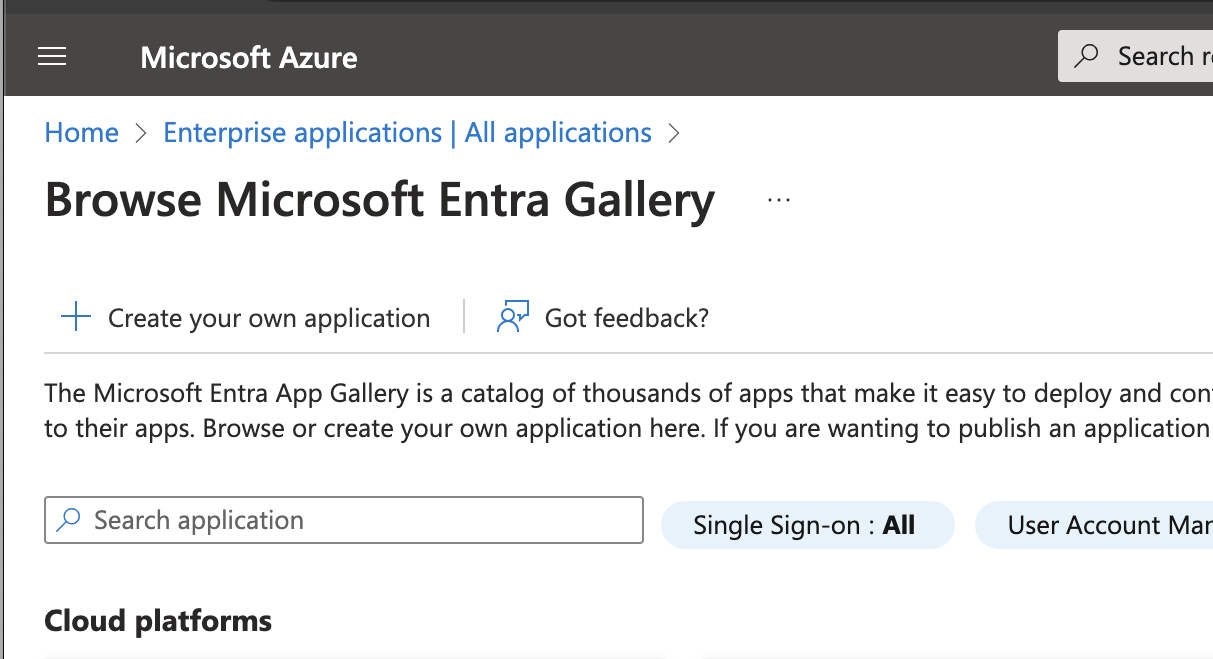
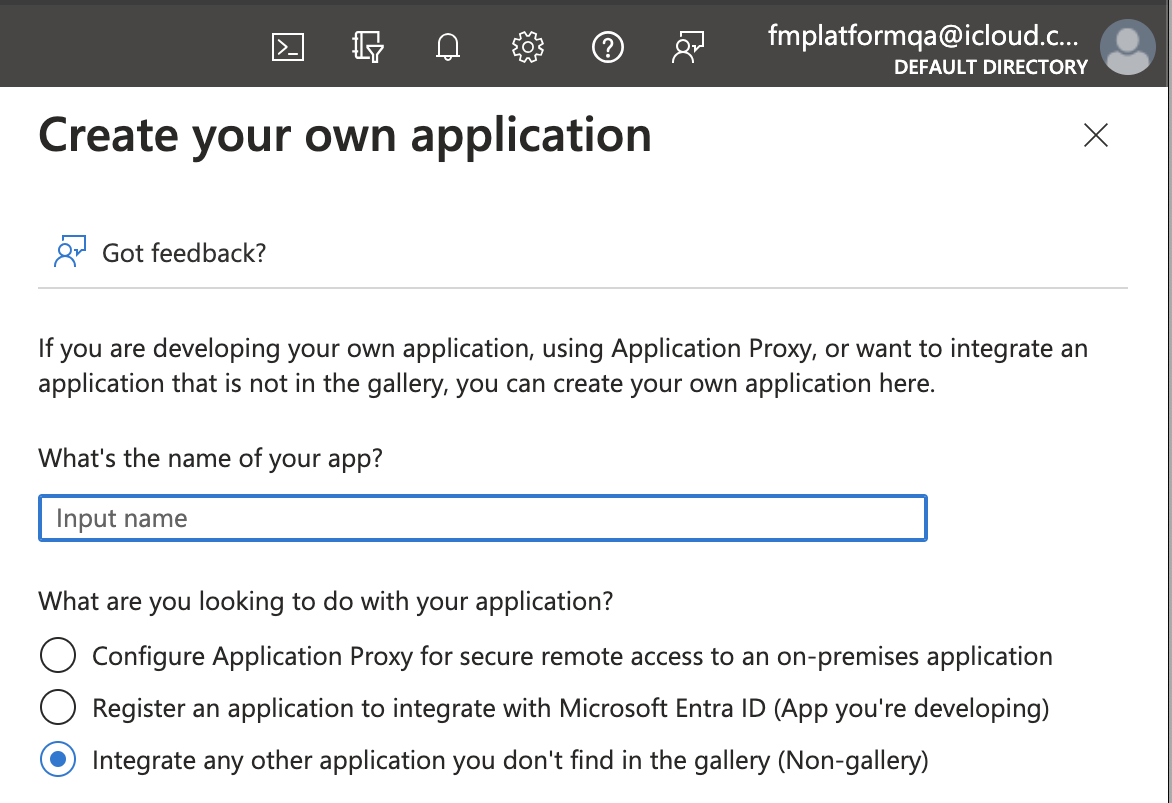
To create a custom application for Claris Studio, click + Create your own application. Enter a name for your app, then select the Integrate any other application you don't find in the gallery option.
-
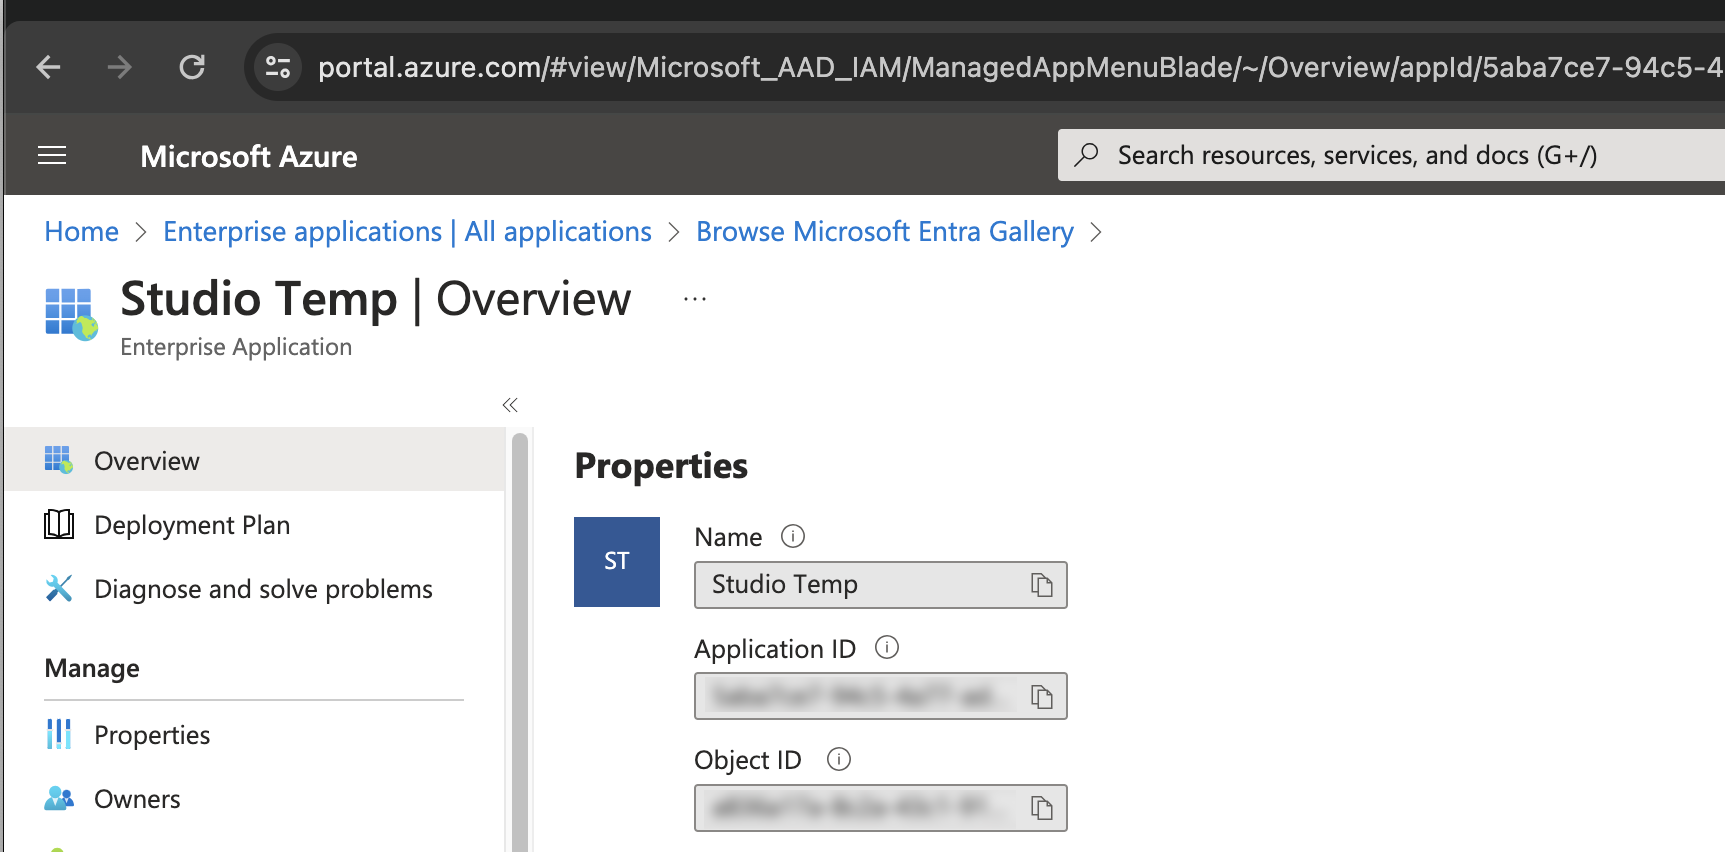
In your new application, copy the Application ID value by clicking its clipboard icon.
Save this value somewhere secure and label it as Application ID. You’ll need this value again later.
-
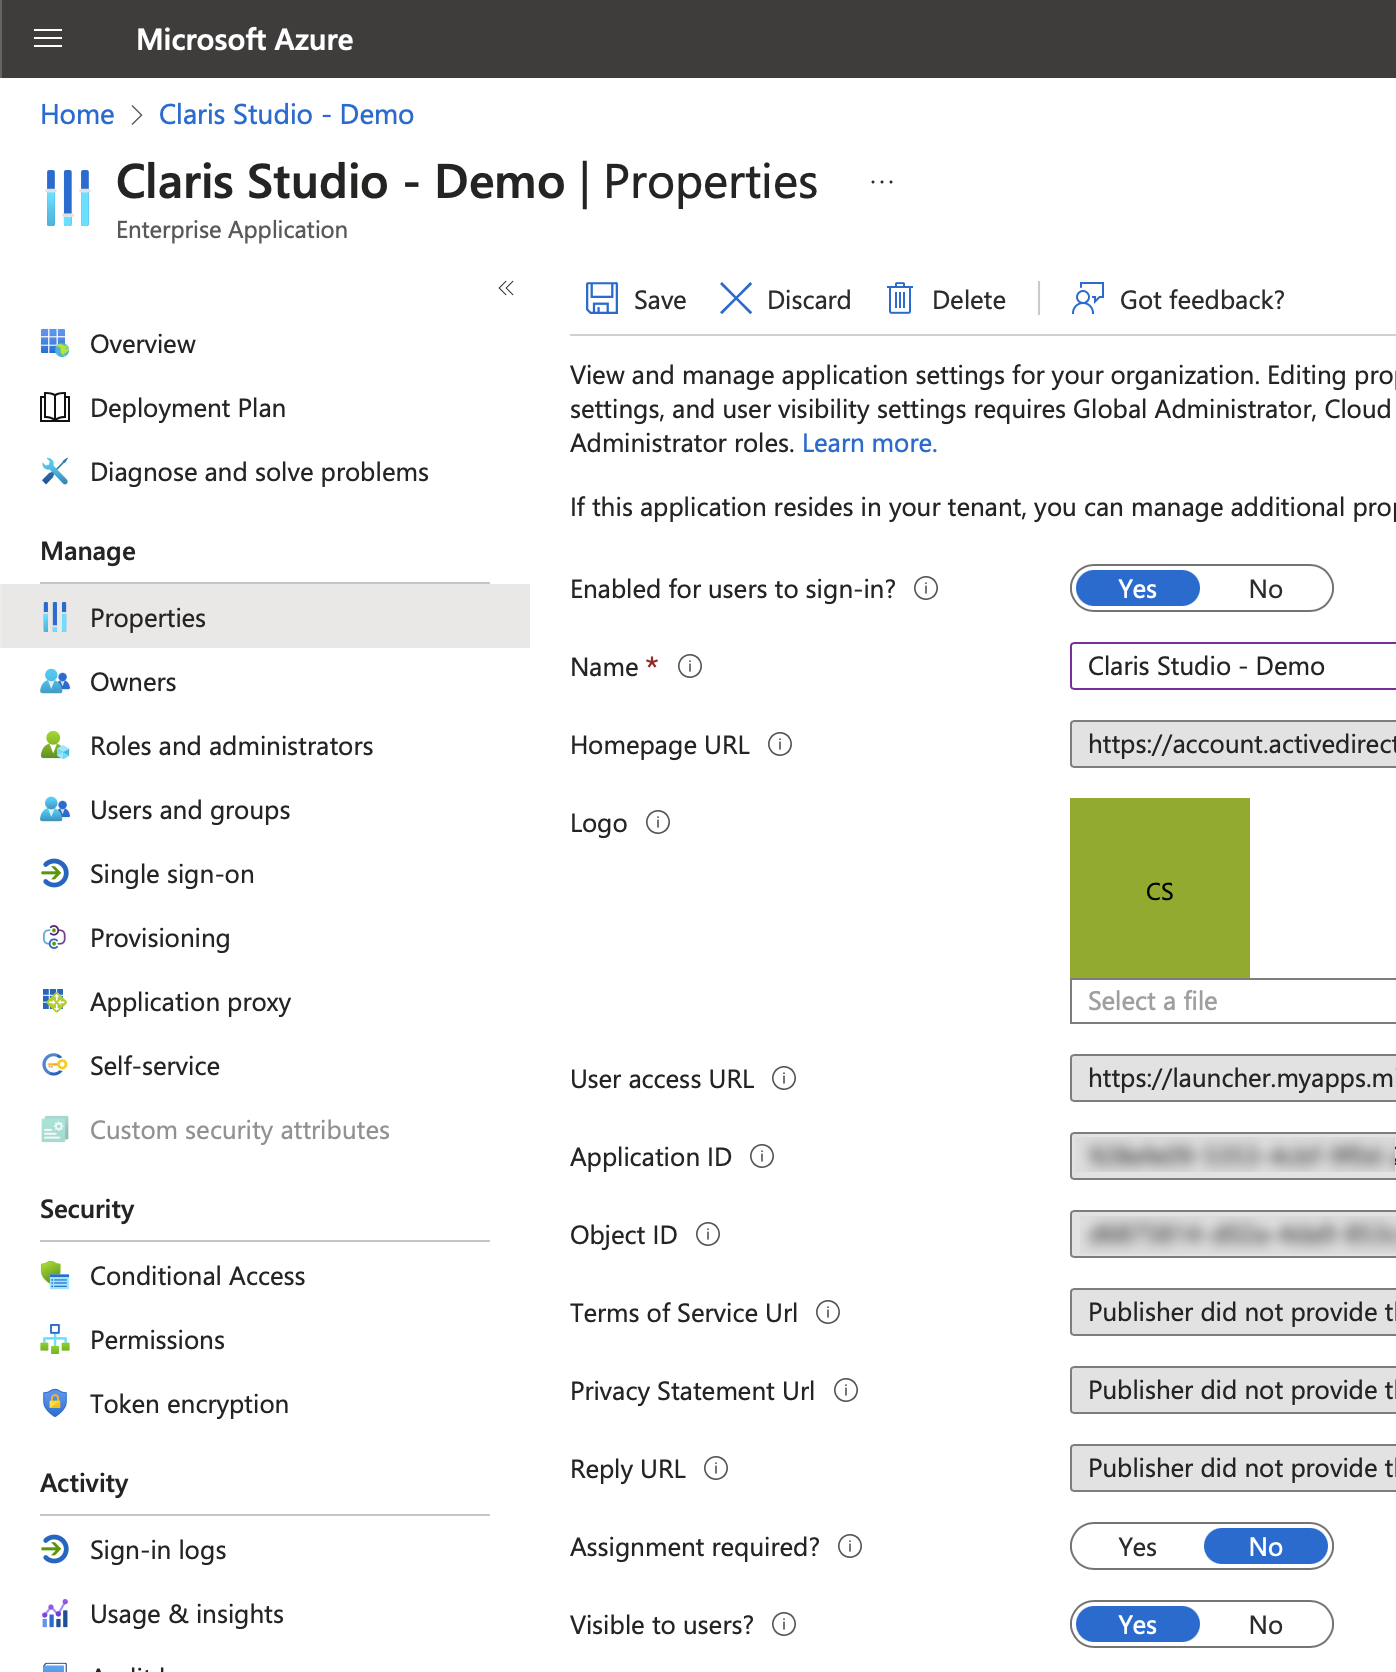
In the left sidebar under Manage, click Properties. Then, for the switch labeled Assignment required?:
-
Set it to No if you would like all of the users under your Azure instance to be able to access Claris Studio.
-
Leave it set to Yes if you would like to individually enable users to sign in to Claris Studio.
If you made changes on this page, be sure to click Save near the top of the page.
-
Register your app
-
Go to the Azure portal home page. Under Azure services, click App registrations. (This option should be near the Enterprise applications option you chose earlier.)
-
On this page, click All applications. Then find your application, and click to open it.

-
In the left sidebar, under Manage, click Authentication. Then do the following:
-
Click Add a platform.
-
In the right sidebar, choose Web.
-
In Claris Studio, copy Application Redirect URL (see “Open the Claris Studio setup page” earlier) and paste it in the Redirect URIs field.
-
At the bottom of the right sidebar, click Configure.

-
-
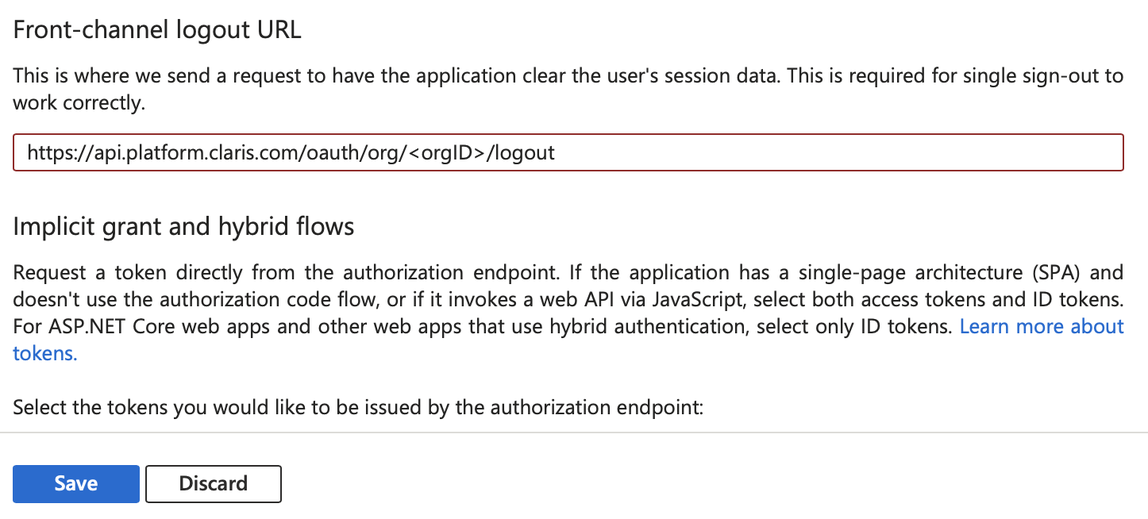
Note If you would like to keep users signed into Azure after signing out of Claris Studio, you can skip this step.
To sign out users from Azure and Claris Studio together, for Front-channel logout URL, paste the Application Redirect URL you copied earlier, but replace authorize at the end of the URL with logout.
Click Save when done.
Create application secret
-
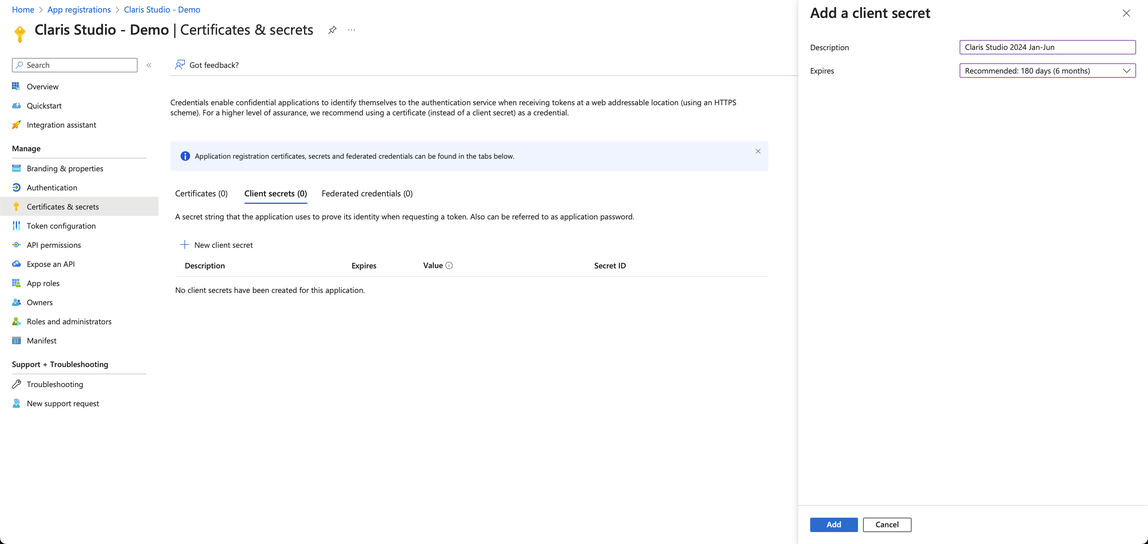
In the left sidebar under Manage, click Certificates & secrets. Then, click + New client secret.
Enter a description that will help you distinguish this secret from any others and set the expiry for as long as you would like. After expiration, you’ll need to come back to this step and recreate a client secret. Click Add when you’re done.
-
For the new client secret you just created, copy the secret Value by clicking its clipboard icon. Save this value somewhere secure and label it as Secret Value. You’ll need this value again later.
-
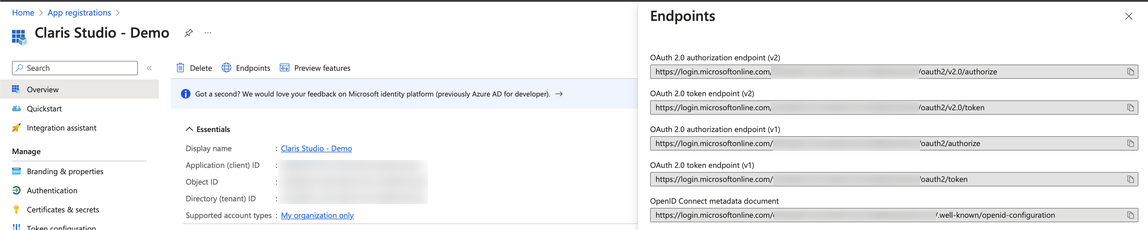
In the left sidebar, click Overview. Then click Endpoints and copy the URL that is labeled OpenID Connect metadata document by clicking its clipboard icon. Again, save this somewhere secure and label it Metadata URL. You’ll need this value again later.
Enter values into Claris Studio
- Go back to the Claris Studio page you opened earlier (see “Open the Claris Studio setup page”).
-
In the Configure External Identity Provider dialog, for Protocol, choose OIDC, then provide the following information:
-
Client ID: the Application ID token that you copied in “Create an enterprise application”
-
Client Secret: the Secret Value token that you copied in “Create application secret”
-
Metadata URL: the Metadata URL that you copied in “Create application secret”
-
-
Select one or more Default Groups that you want to sign in using this external IdP, then click Apply.
If you have no groups, you can create one here and add users to it later. See Work with groups for more information.
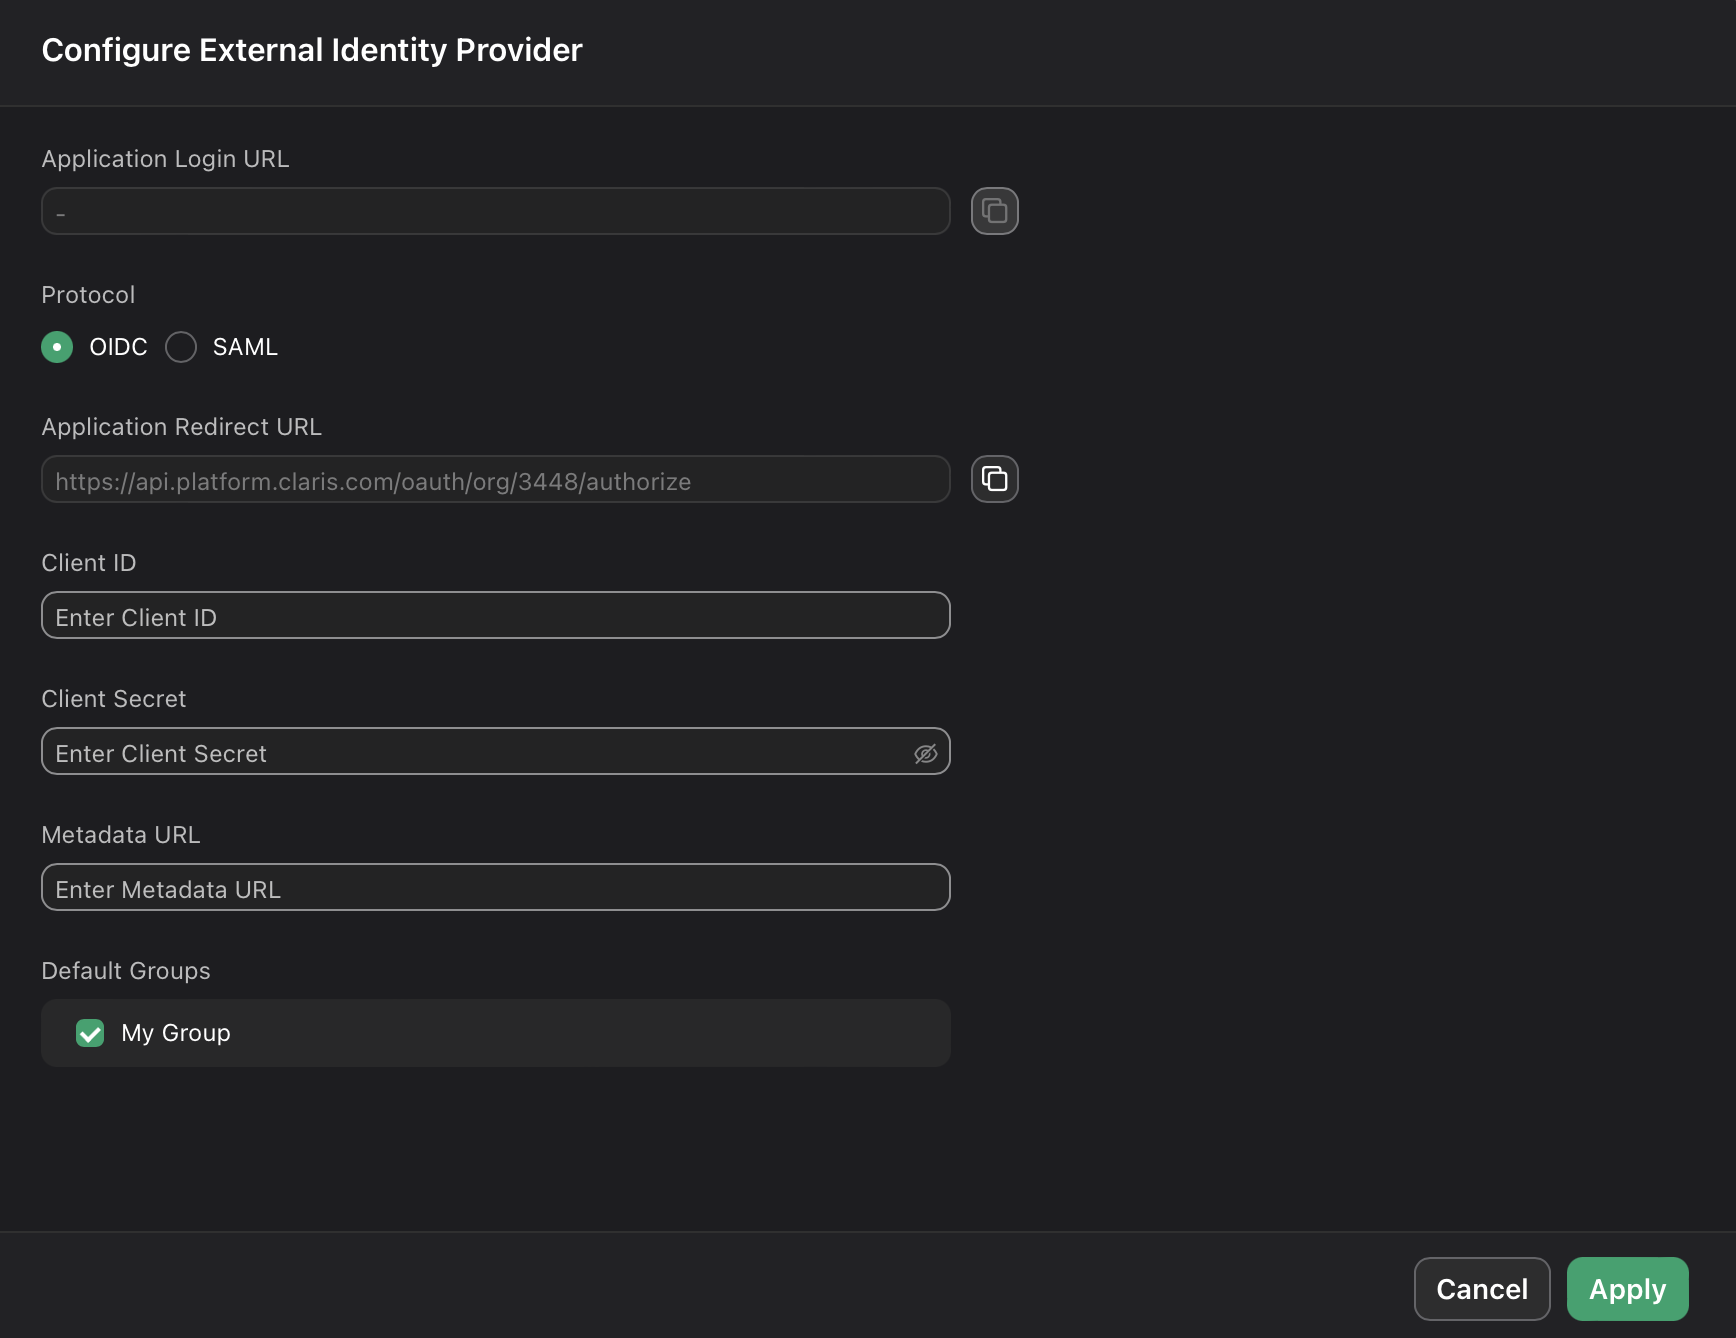
- On the Users page, copy the link labeled Application Login URL and provide it to users. Using this URL enables them to sign in to Claris Studio with their SSO credentials.