Google Workspace using OIDC
Follow the steps below to configure single sign-on (SSO) for Claris Studio with Google Workspace using OpenID Connect (OIDC). To establish trust between your identity provider and a Claris Studio team, you’ll need to:
-
Create a Google Cloud OIDC application client with specific settings for Claris Studio.
-
Enter the created application details in Claris Studio.
Preparing for Google OIDC
To follow these instructions, you'll need:
-
a Google Workspace account for your business with licenses for multiple users
-
A verified domain for this account.
You can confirm your domain is verified by signing in to the Google Workspace console and confirming that there is not a
Verify Domainwarning (as shown here). -
A super admin account for your Google Workspace's administrator console. The first user account that set up Google Workspace for your business is likely to be a super admin account.

Open the Claris Studio setup page
-
Sign in to your Claris Studio team.
-
Click the Users tab on the left, then click Configure External IdP.

-
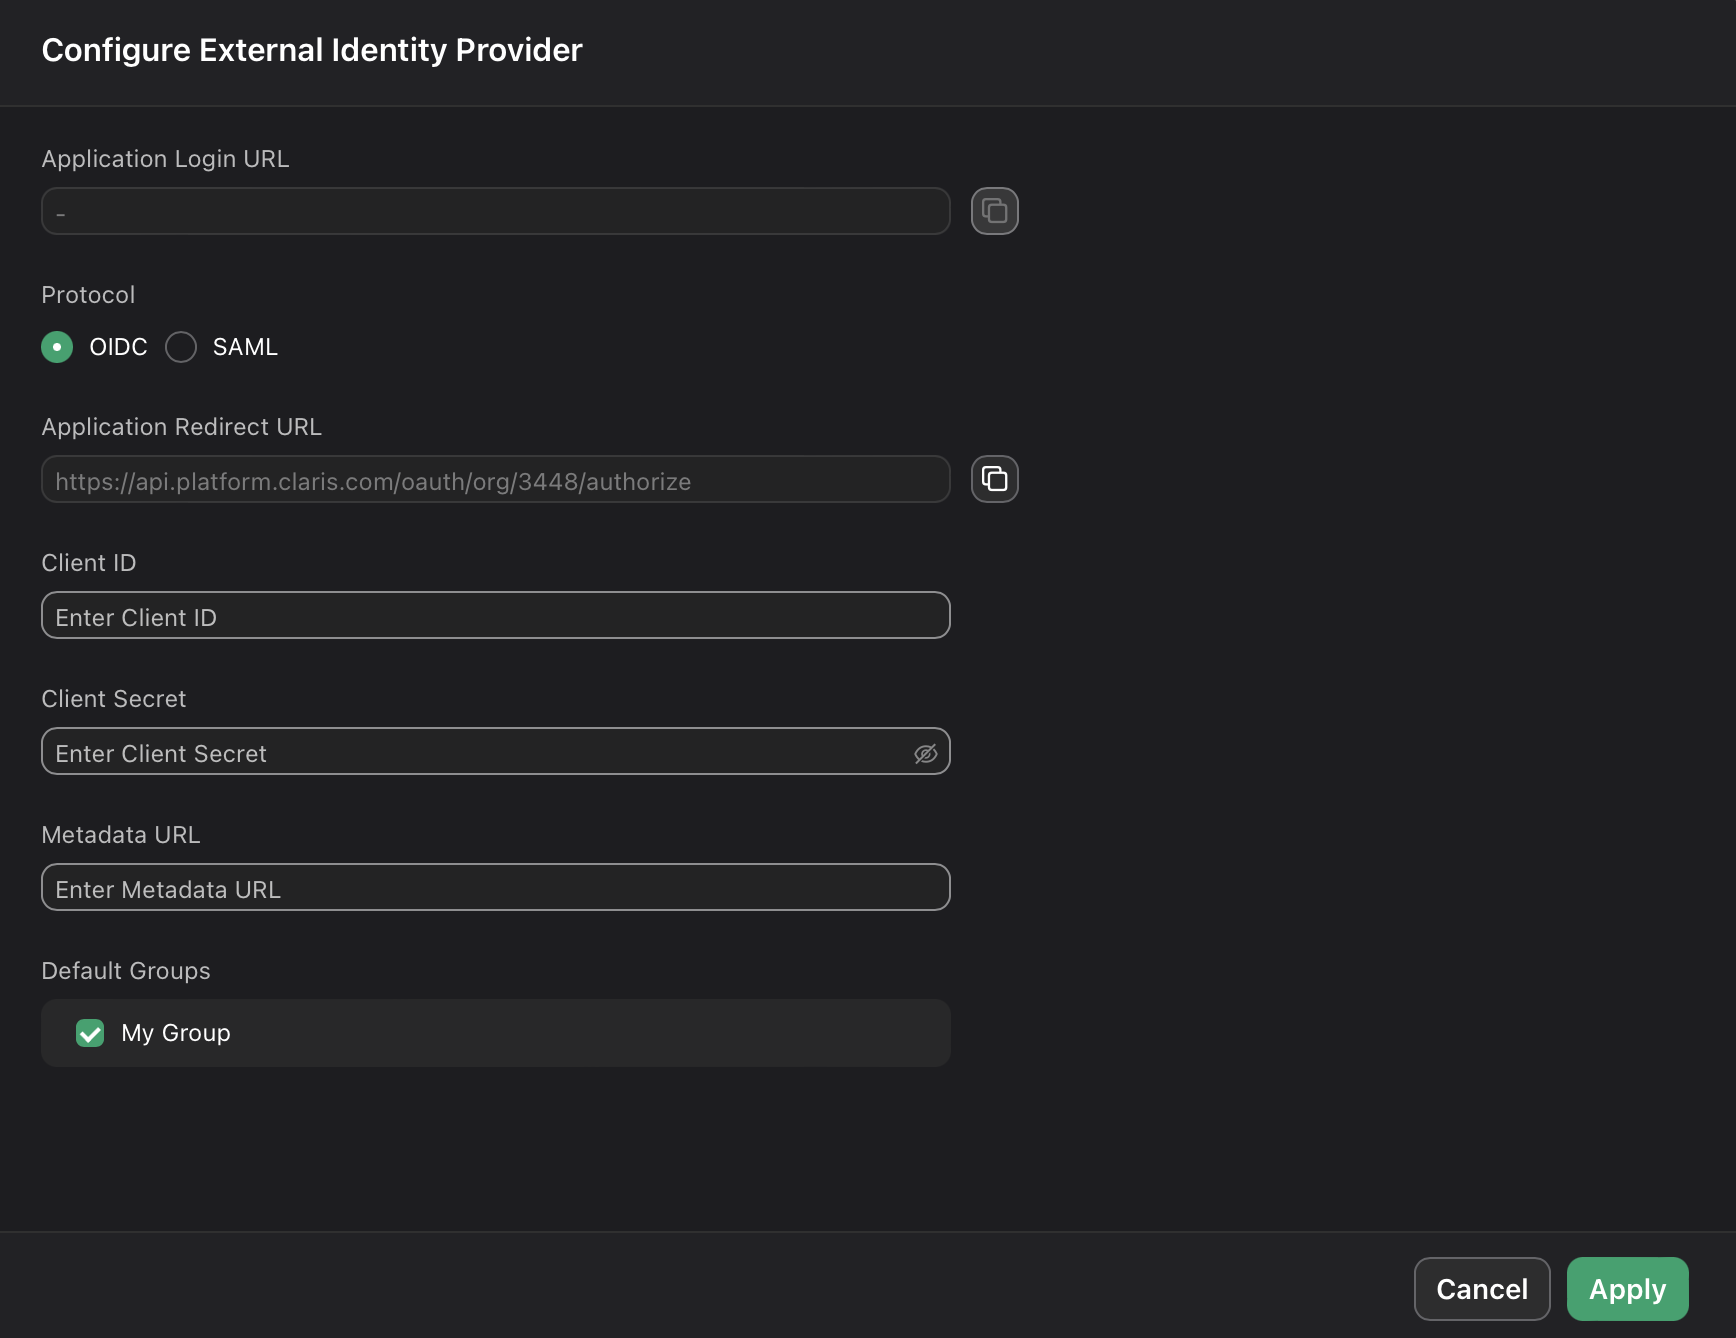
In the Configure External Identity Provider dialog, for Protocol, choose OIDC. Keep this page open to come back to later.
Create an OIDC application
-
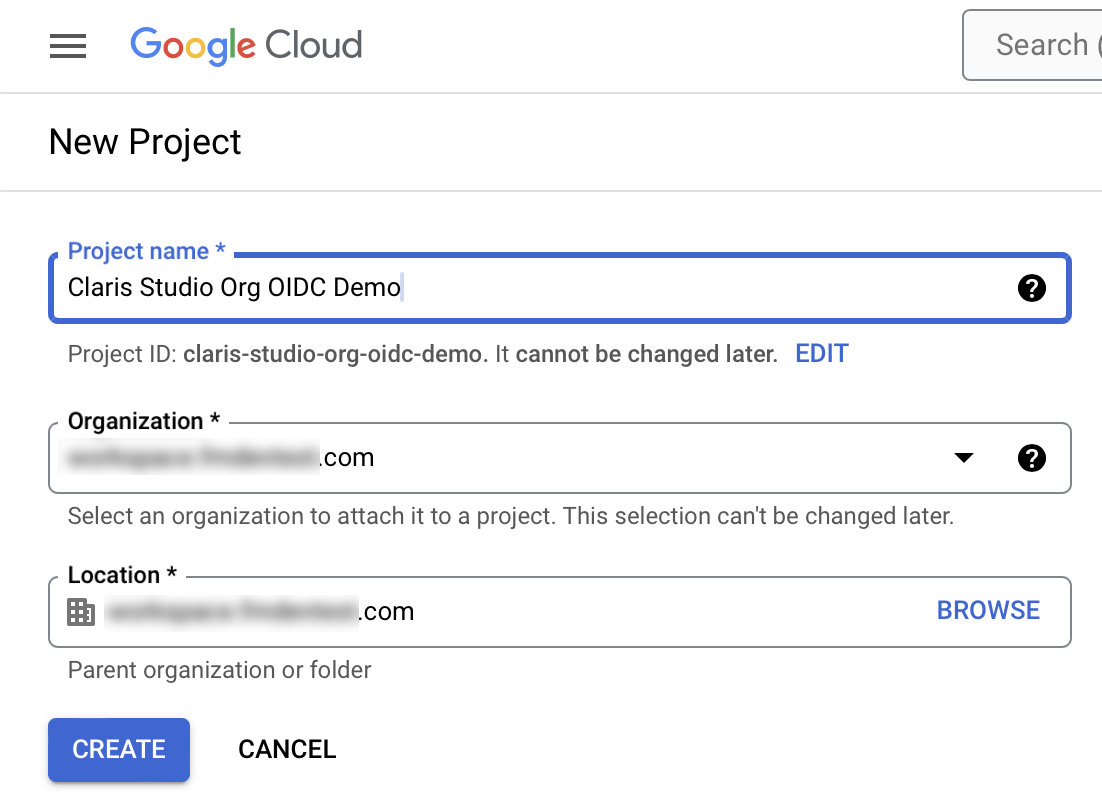
In Google Cloud Platform, sign in and create a new project. Enter a descriptive name, then add your organization and the organization's location. Click Create.
-
Your new project is now selected. If the navigation menu in the left sidebar isn't already open, click the menu icon at the top to open it.
Choose APIs & Services > Credentials. Or, go to the Credentials page.

-
On the Credentials page, there’s a warning and an option to configure your OAuth consent screen. Click Configure Consent Screen, or go to the OAuth consent screen page.

-
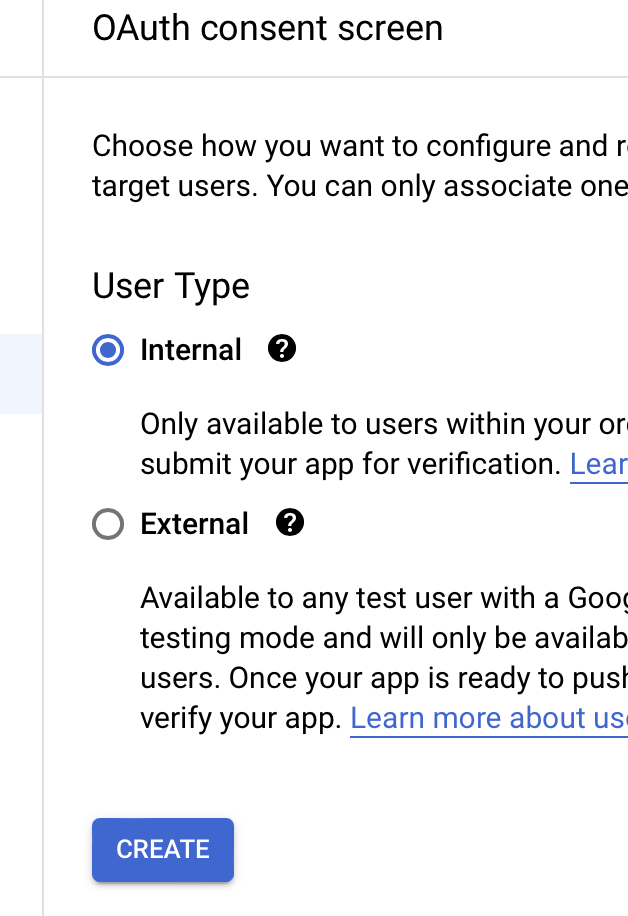
For the OAuth consent screen, choose Internal, then click Create.
-
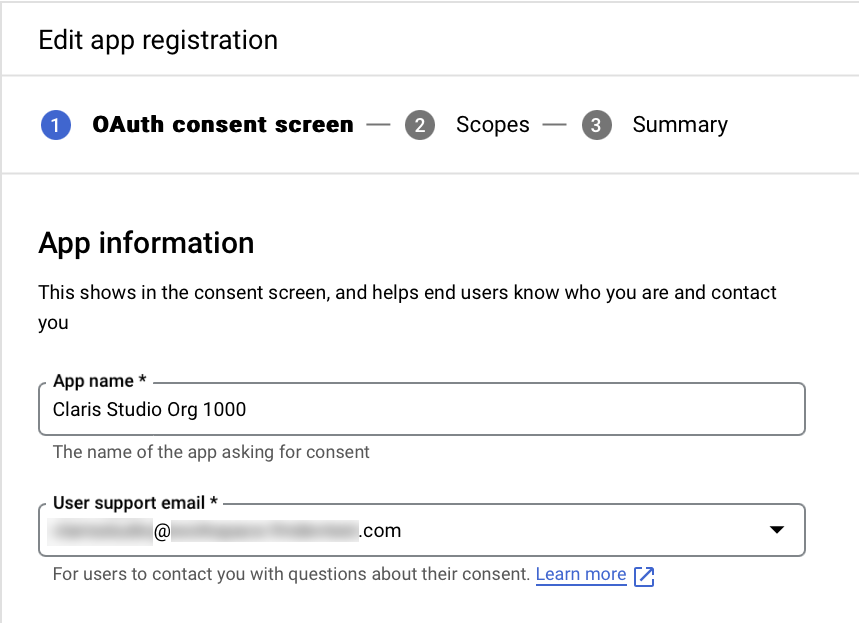
On the next screen, enter the following details. All other fields are optional. Click Save and Continue when finished.
-
App Name: Enter a name that includes your Claris Studio team name so that your business's users can recognize it when signing in (for example, "Claris Studio - Acme Corp. Sales Team").
-
User support email: Enter the email address of someone in your organization that users can go to if they have questions or concerns.
-
Developer contact information: Enter your own email address.
-
-
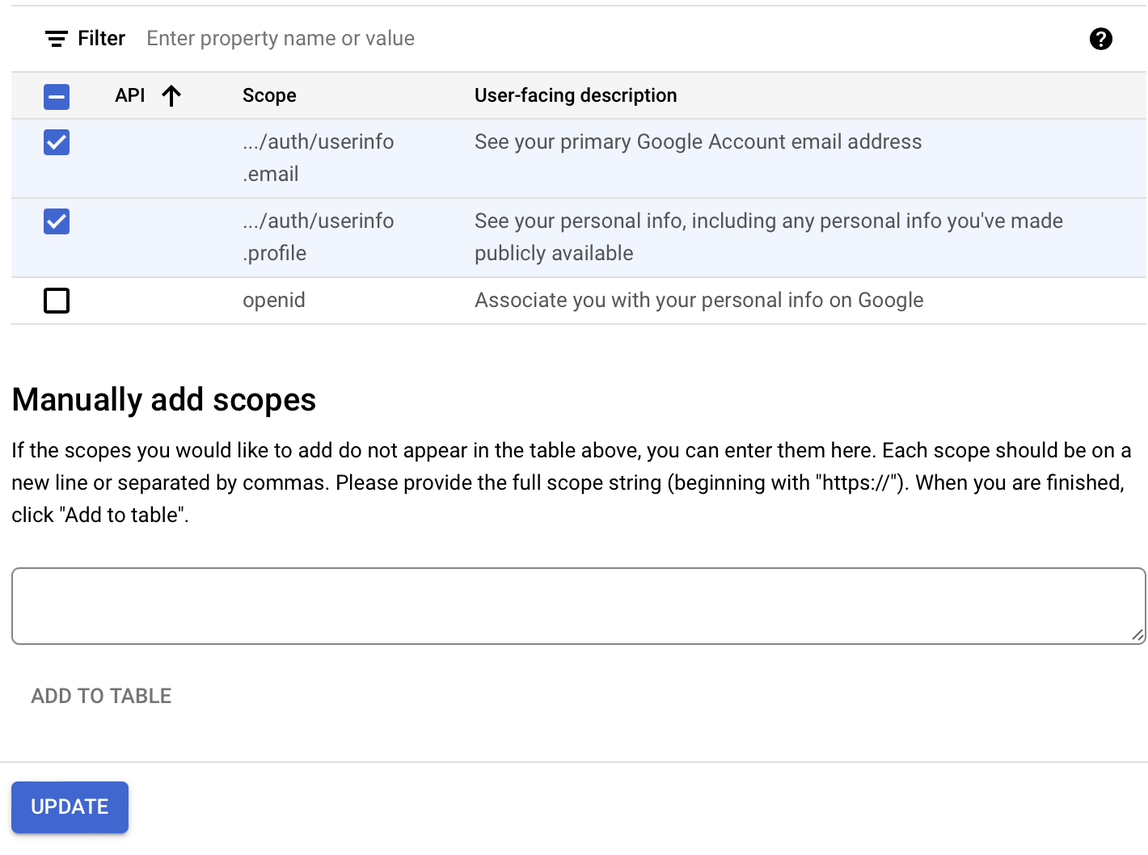
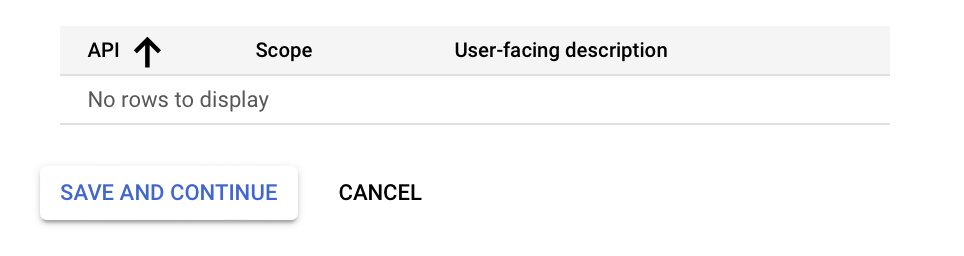
On the scopes setup screen, click Add or Remove scopes, then enable the following scopes:
-
.../auth/userinfo.email with user-facing description See your primary Google Account email address.
-
.../auth/userinfo.profile with user-facing description See your personal info...
Click Update when finished.
-
-
Click Save and Continue.
-
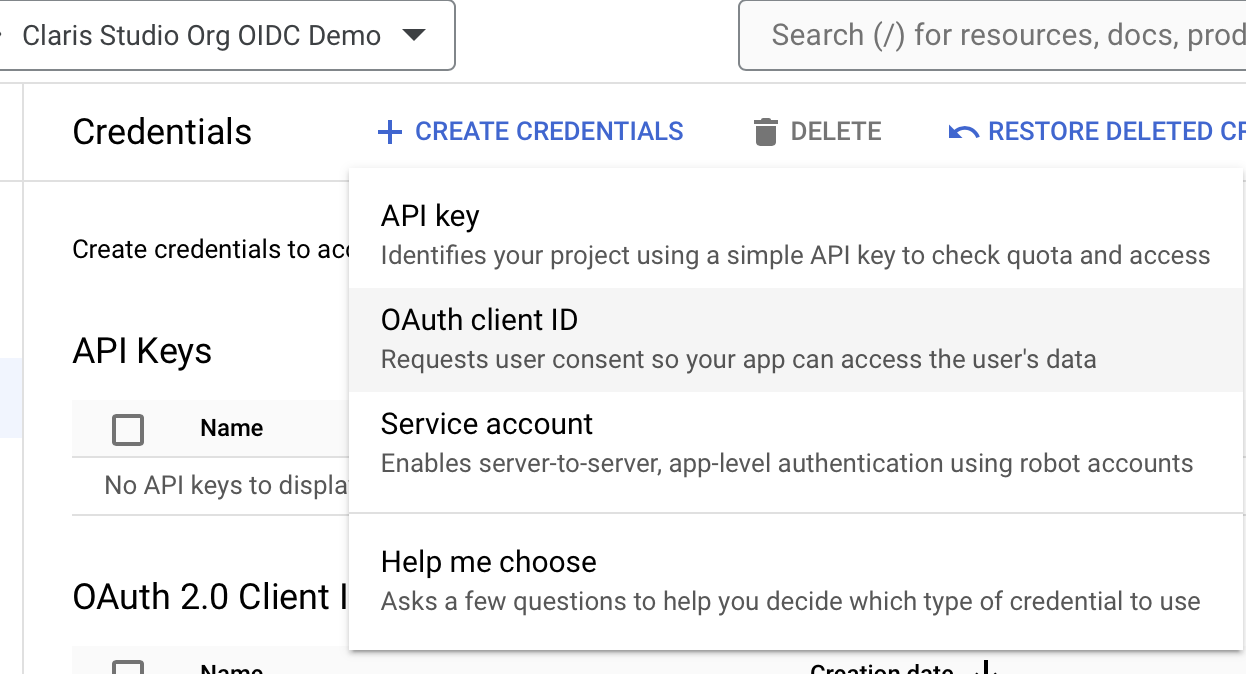
Return to the Credentials page (click Credentials in the left sidebar or go to the Credentials page). Click Create Credentials > OAuth client ID.
-
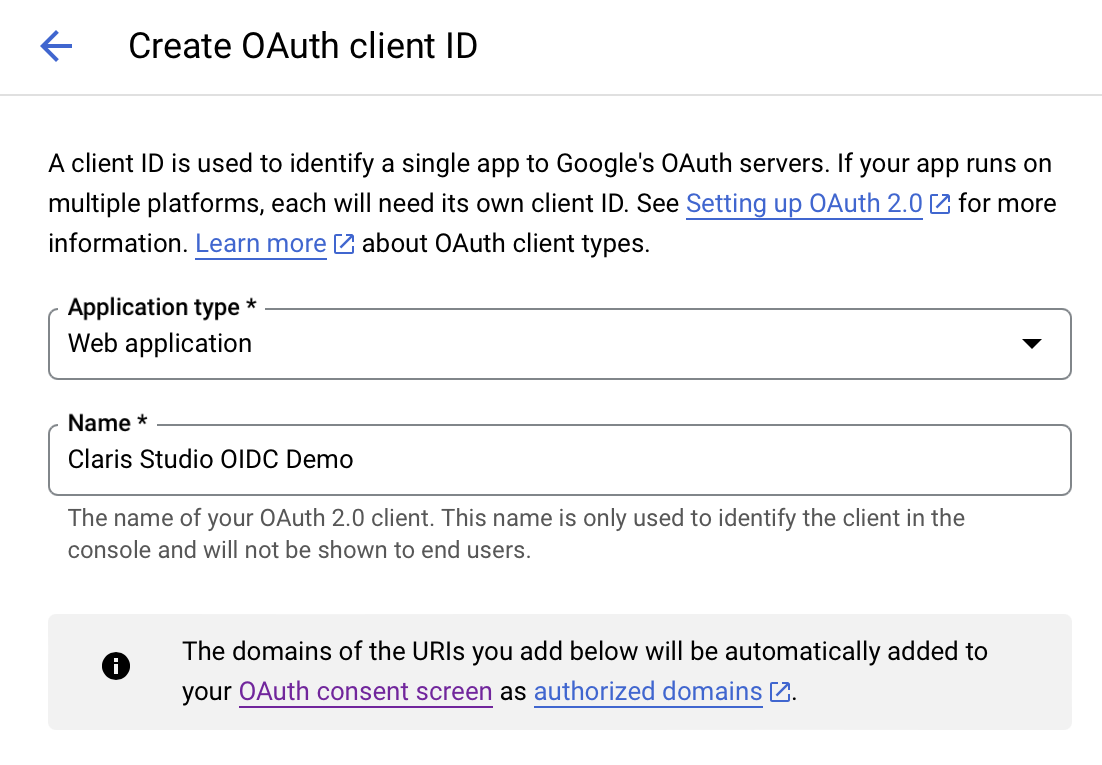
For Application type, choose Web application, then fill in the following fields.
-
Name: Enter a descriptive name.
-
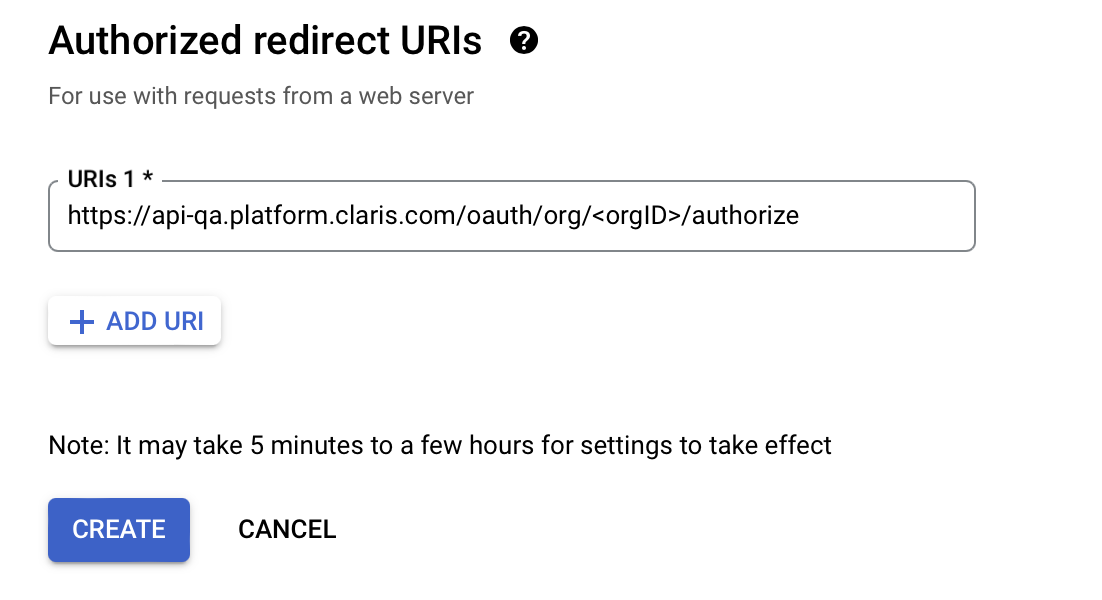
Authorized redirect URIs: In Claris Studio, copy Application Redirect URL (see “Open the Claris Studio setup page” earlier) and paste it here.
Click Create when finished.
-
-
You'll now see your Client ID and Client secret.
To copy each, click the clipboard icon and save the value somewhere secure. You'll need these two values later.

Enter values into Claris Studio
- Go back to the Claris Studio page you opened earlier (see “Open the Claris Studio setup page”).
-
In the Configure External Identity Provider dialog, for Protocol, choose OIDC, then provide the following information:
-
Client Secret: the Client secret token that you copied earlier
-
Client ID: the Client ID token that you copied earlier
-
Metadata URL:
https://accounts.google.com/.well-known/openid-configuration
-
-
Select one or more Default Groups that you want to sign in using this external IdP, then click Apply.
If you have no groups, you can create one here and add users to it later. See Work with groups for more information.
- On the Users page, copy the link labeled Application Login URL and provide it to users. Using this URL enables them to sign in to Claris Studio with their SSO credentials.