Create a flow
When you create a flow, you select connectors and utilities to configure the flow. The available connectors and utilities are shown during configuration. Each connector and utility has badge text that lists the supported triggers and actions.
To view a badge's text:
-
Hold the pointer over the badge, then click
 .
.
If the badge has a long list of triggers or actions, scroll the text.
Not all connectors and utilities have triggers and actions, and if they don't, they are dimmed in their respective lists.
Notes
-
This section contains a running example of configuring a flow. The flow adds a user's email to a Mailchimp subscriber list when that user submits a Formstack form. It requires Formstack and Mailchimp accounts, a published Formstack form, and a Mailchimp subscriber list.
-
As you configure flows, you sign in to each app account that the flow will connect to. If you haven't previously created a connection in Claris Connect, you connect the new account. If you have previously connected, you can select the existing account.
When you connect an account in a flow, the account is available for all flows within the project. If you work in a different project, you have to connect your accounts in that project.
To configure a flow
Step 1: Select the project and name the flow
-
Select the project in which you want to add the flow.
-
On the Flows tab of the project, click New Flow.
After you click New Flow, A flow called "Untitled" is created. You can double-click the flow name to rename it.
Step 2: Configure the trigger
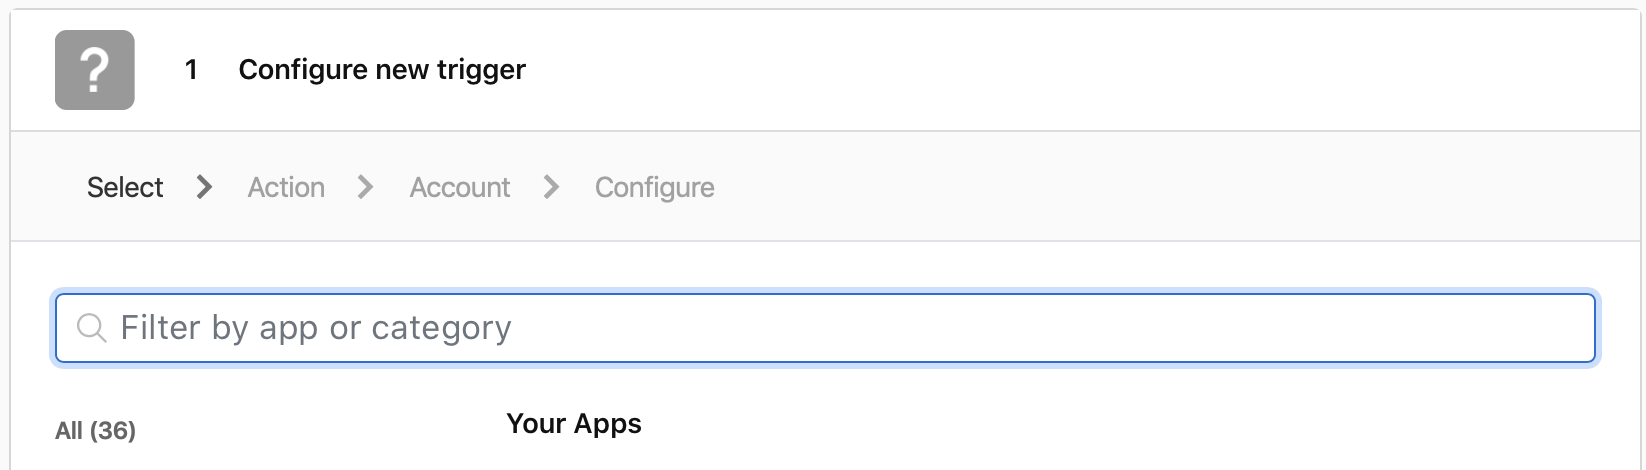
-
Click the app or utility you want to trigger the flow. See Using triggers.
For example, click Formstack.
-
Select the trigger action from those listed, then click Continue.
For example, select New form submission.
-
Click Connect New Account to connect your account for the trigger app.
Claris Connect displays a dialog box to grant access and permissions the first time you connect.
-
In the trigger app's dialog box, enter your email and password, then sign in. (Depending on the app, you might also be able to create an account or sign in with Google.)
-
After Claris Connect displays a success message, click Continue.
-
In Claris Connect, complete the configuration fields for the trigger.
For example, in the Form field, enter the name of the Formstack form.
-
When you are prompted, perform the action in the trigger app then click Save Trigger.
For example, in Formstack, complete and submit an entry of the form you created.
Note Performing the action in the trigger app tests the app connection and returns step data for use in subsequent steps.
Step 3: Configure the action
An action has the same configuration steps as a trigger: choose the app, select the action, connect the app account, and complete the configuration fields.
-
Click
 on the trigger step then click Action.
 -
Click the app or utility for the action step of the flow, then click Continue.
For example, click Mailchimp.
-
Select the flow action from those listed then click Continue.
For example, select Subscribe to list.
-
Click Connect New Account to connect your account for the action app.
-
In the action app dialog box, enter your email and password and sign in. (Depending on the app, you might also be able to create an account or sign in with Google.)
-
After Claris Connect displays a success message, click Continue.
-
Complete the configuration fields for the action step, then click Save.
For example, enter the Mailchimp subscriber list in the List field. For Email, click
 on the right, and select the Formstack body.Email data object.
The flow is created after you save the action configuration, but you can edit it to add more action steps. See Edit a flow.