Use the agent in a new flow
After you install the on-premise agent and add data sources for it, the agent is automatically added to the project on the On-Premise Agents tab that you selected when you set up the agent. The agent has a status of Active and is ready to use in flows.
Note The example shown in this section is a simple flow that uses a webhook trigger and a single flow action. The selected application is FileMaker, and the flow action is Execute script. The details in this procedure vary depending on the applications or utilities you choose and the number and types of actions you define for the flow.
Overall workflow
The process for using an on-premise agent in a new flow includes these basic steps:
Step 1: Select the agent and project, and name the flow.
Step 2: Configure the trigger for the flow.
Step 3: Configure one or more actions for the flow and enable the flow.
Step 4: (Optional) Verify the flow performs as expected.
Before you begin, make sure you have a project for the new flow.
Step 1: Select the agent and project, and name the flow.
In this step, you select the on-premise agent, choose the project in which you want to create the new flow, and name the flow.
-
Select the On-Premise Agents tab.
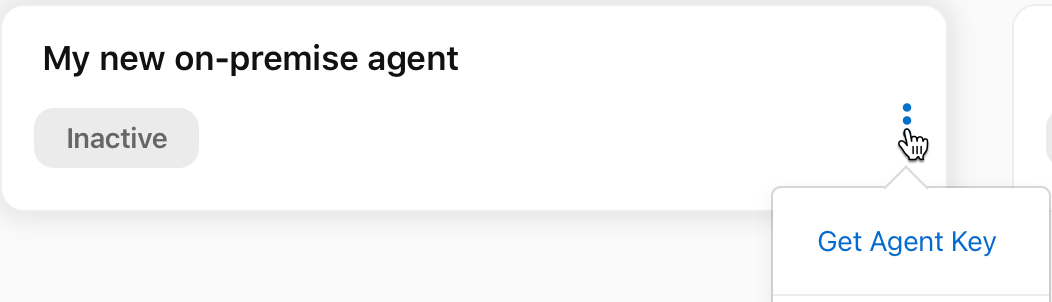
This page shows all active and inactive on-premise agents.
-
Click the options menu next to the agent, then click Get Agent Key.
-
Copy the agent key and close the Agent Key box.
-
Select the My Projects tab.
-
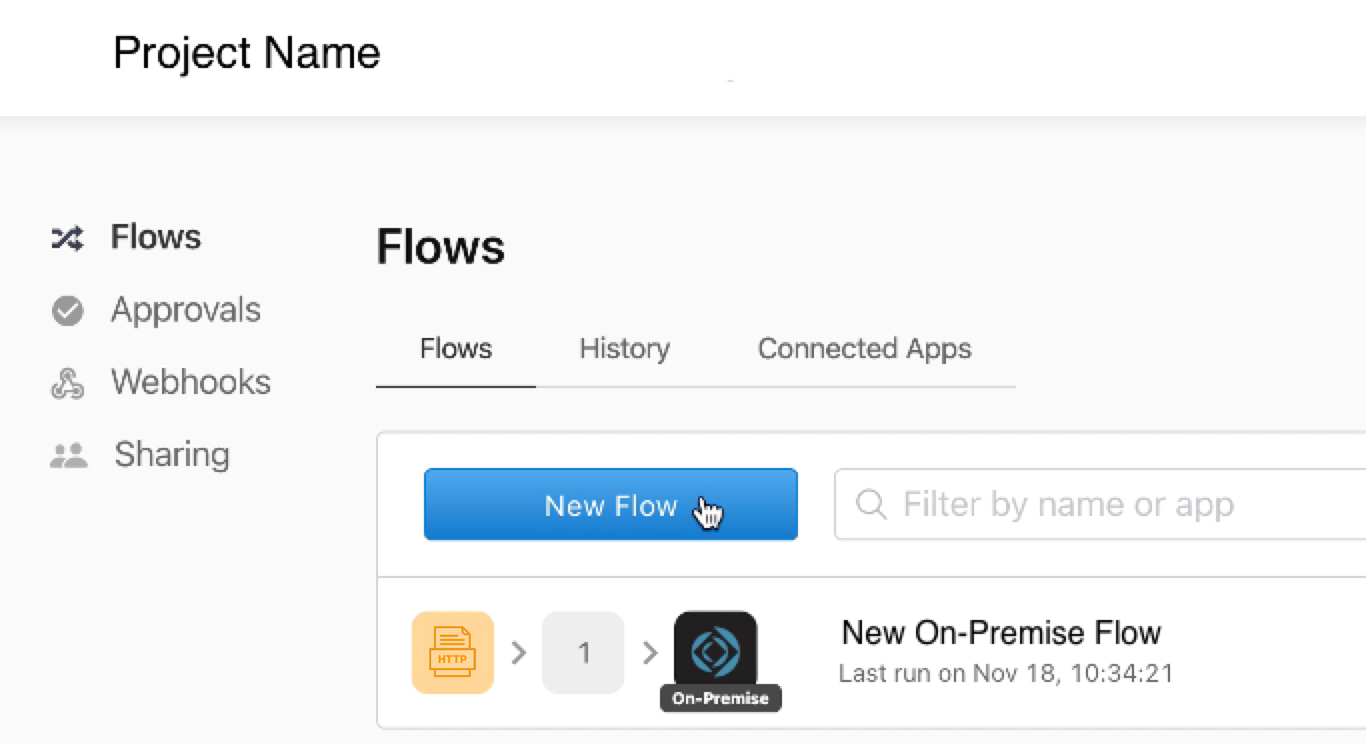
Click the project in which you want to create the new flow.
The page shows the flow or flows in the project. In this example, the project has one existing flow named New On-Premise Flow.
-
Click New Flow. Enter a unique name for the flow, then click Create.
Step 2: Configure the trigger for the flow.
In this step, you select an application or utility for the trigger, the trigger event, and an action for the trigger. In this example, the trigger is a webhook. You can use any trigger.
-
Click the HTTP icon.
The trigger for the flow is Incoming HTTP Request.
-
Click Continue to configure the trigger.
-
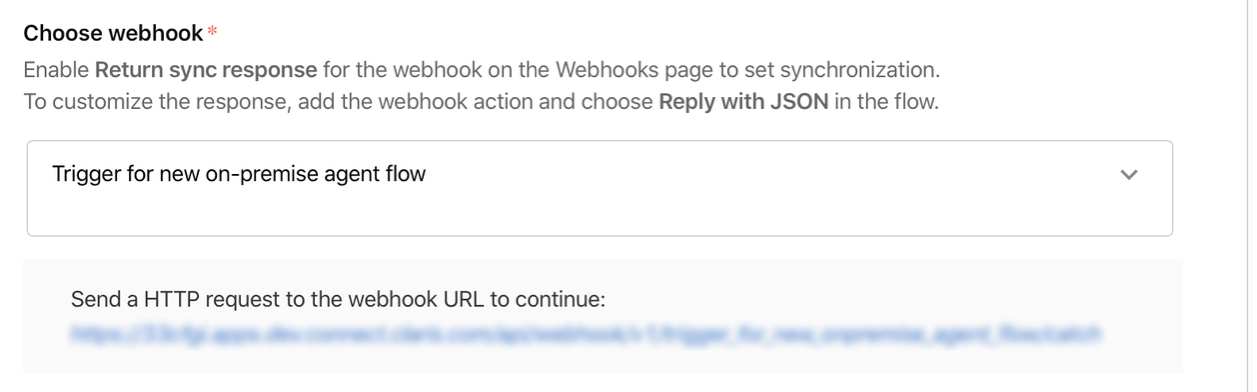
In the Choose webhook field, enter a name for the new webhook, then click Create "webhook_name". In this example, the webhook name is "Trigger for new on-premise agent flow".
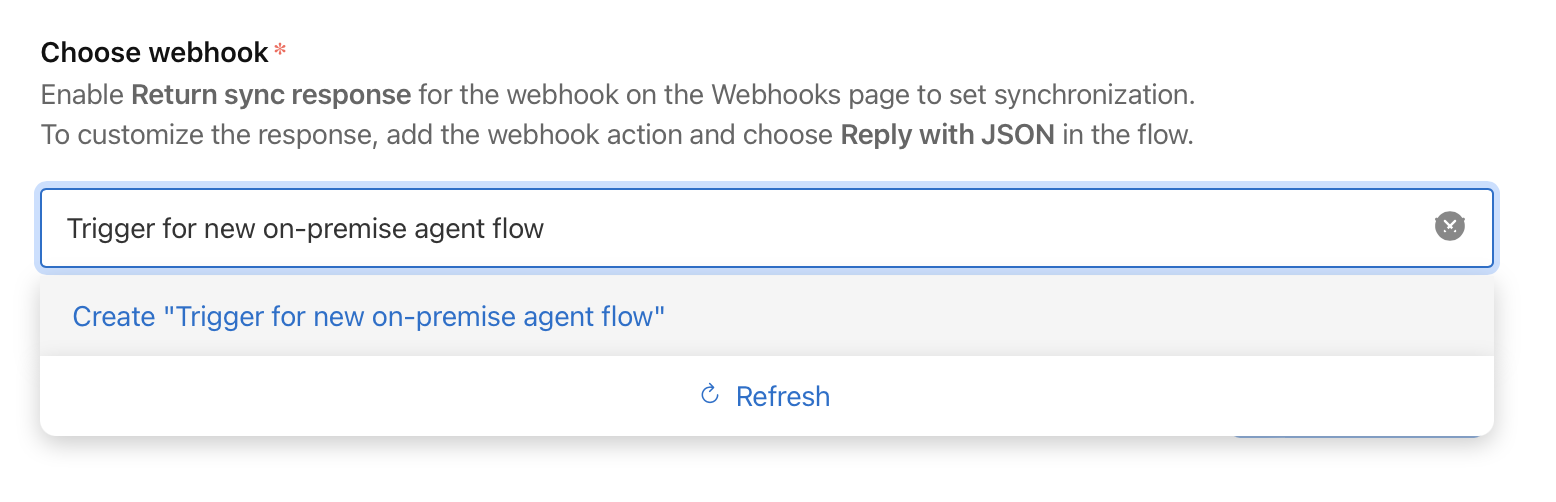
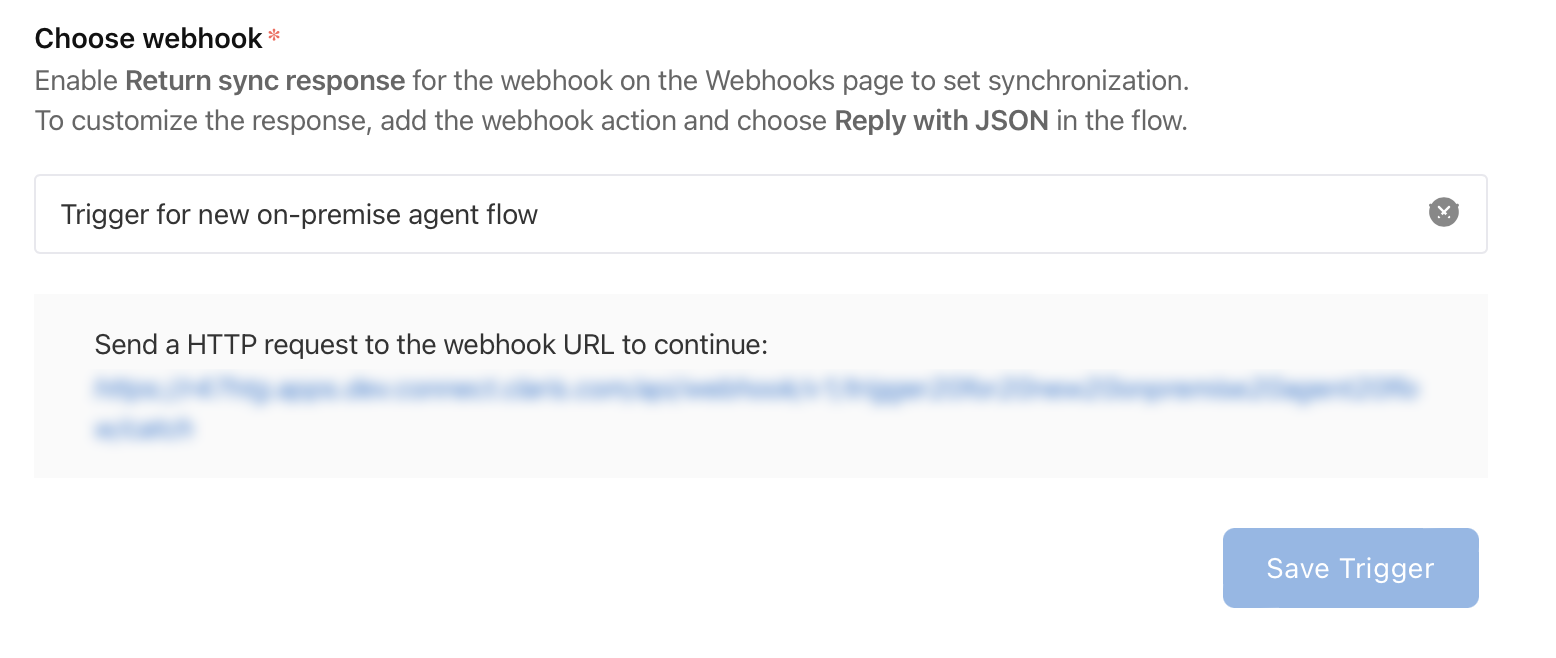
The page then shows the name you entered and a link for the webhook URL.
-
Click the link.
The page shows the code for the trigger, then refreshes.
Note For new triggers, you must click the link before you can save the trigger.
-
Click Save Trigger.
The trigger is saved in the flow and the page shows the trigger.
Step 3: Configure one or more actions for the flow and enable the flow.
In this step, you select the action type for the flow action and then configure the flow action. To configure the flow action, you select an application or utility to perform the flow action, and the action. Then, you connect the application or utility to your data source by signing in to your on-premise account, select the layout for the flow output, and specify any additional parameters.
-
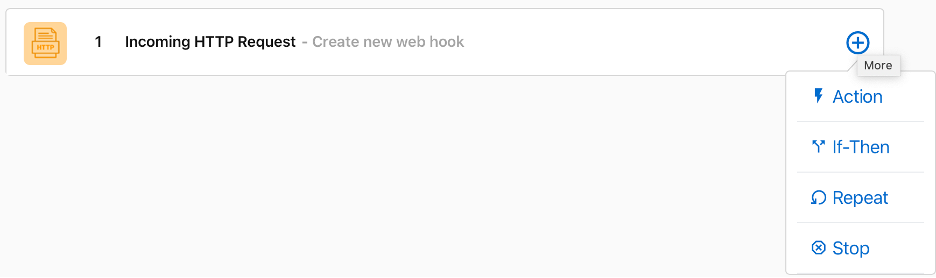
Click
 to the right of the trigger, then choose Action for the flow action.
-
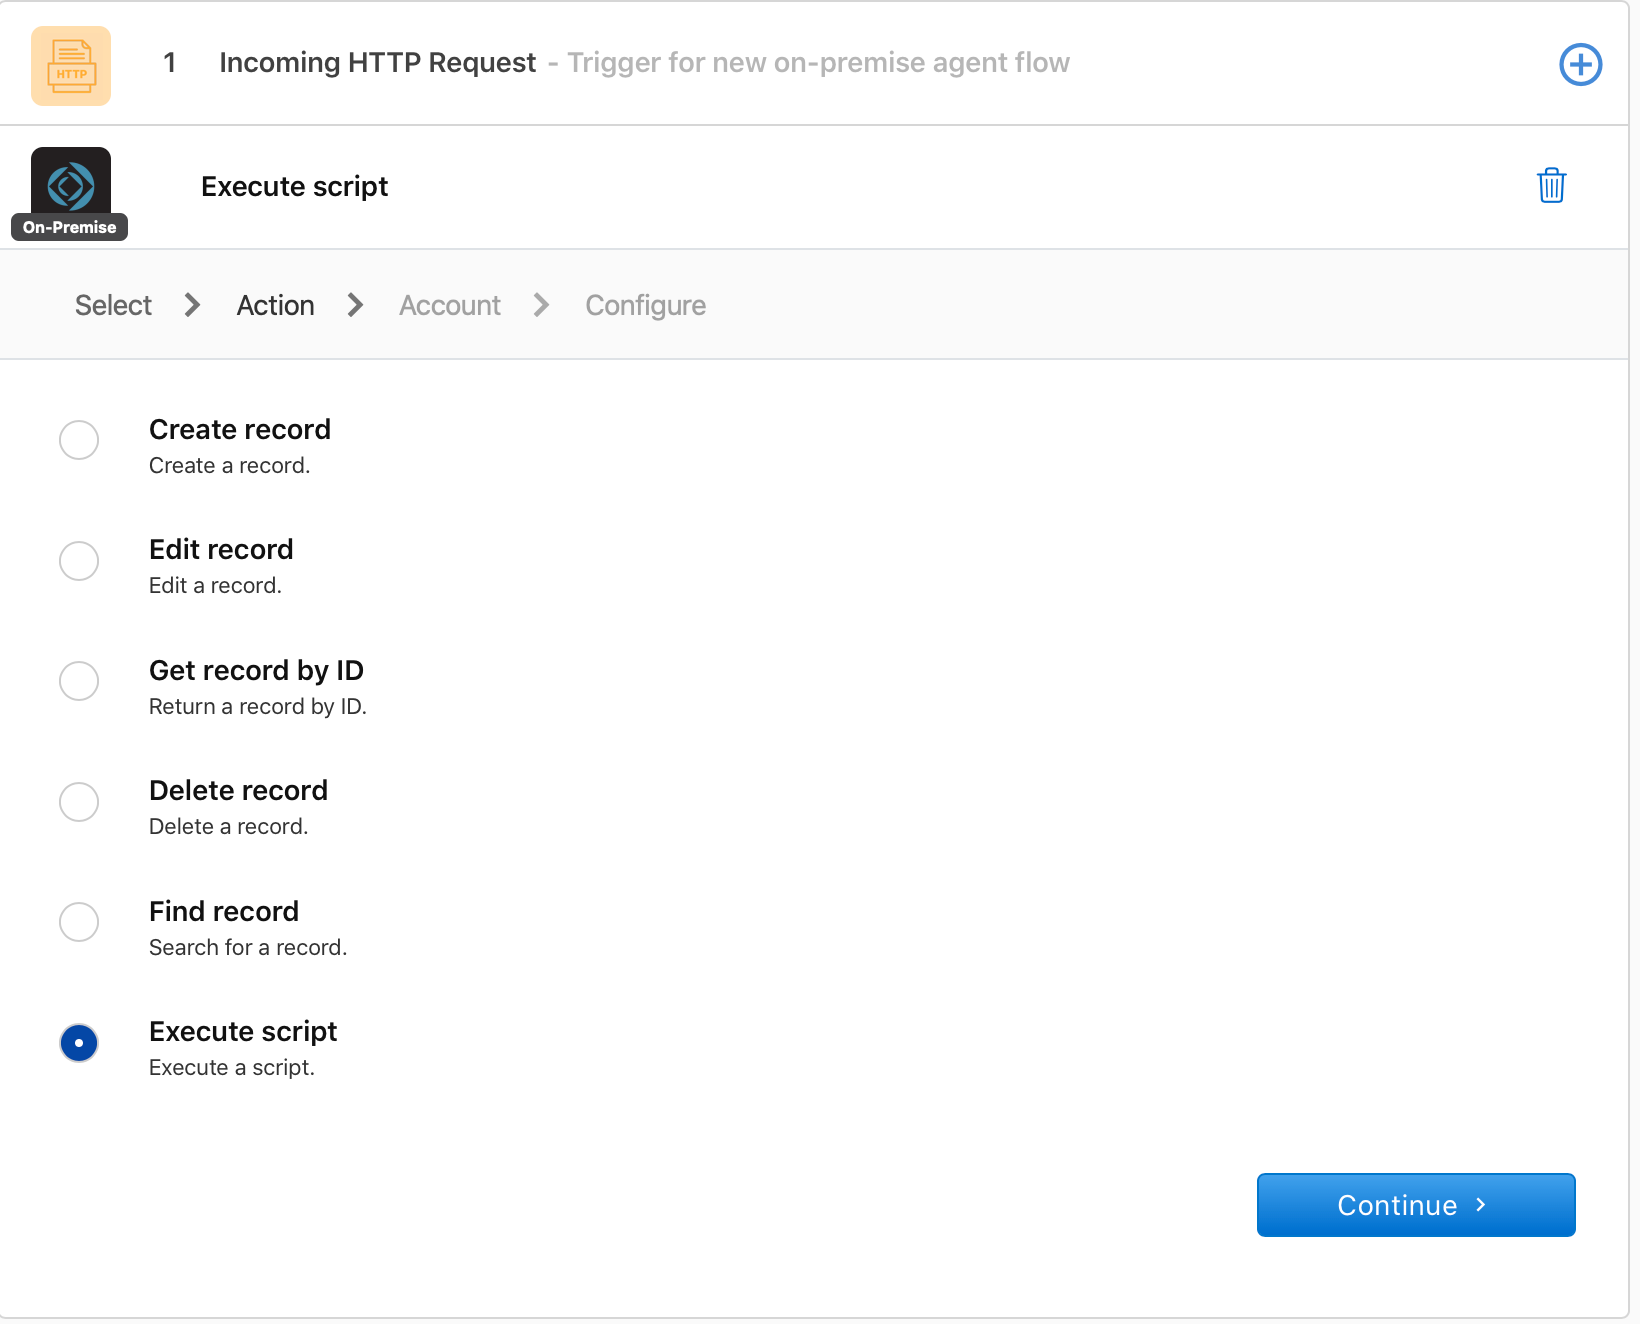
Select the application or utility to perform the flow action.
-
Select the action for the flow from the list of available actions.
In this example, the selected application is FileMaker Server On-Premise and the selected action is Execute script.
-
Click Continue.
-
Do one of the following to create a connection between the application or utility you selected and the data source:
-
Select one of your recent sign-ins.
-
Click the Connect New FileMaker Server On-Premise Account link to use a new sign-in.
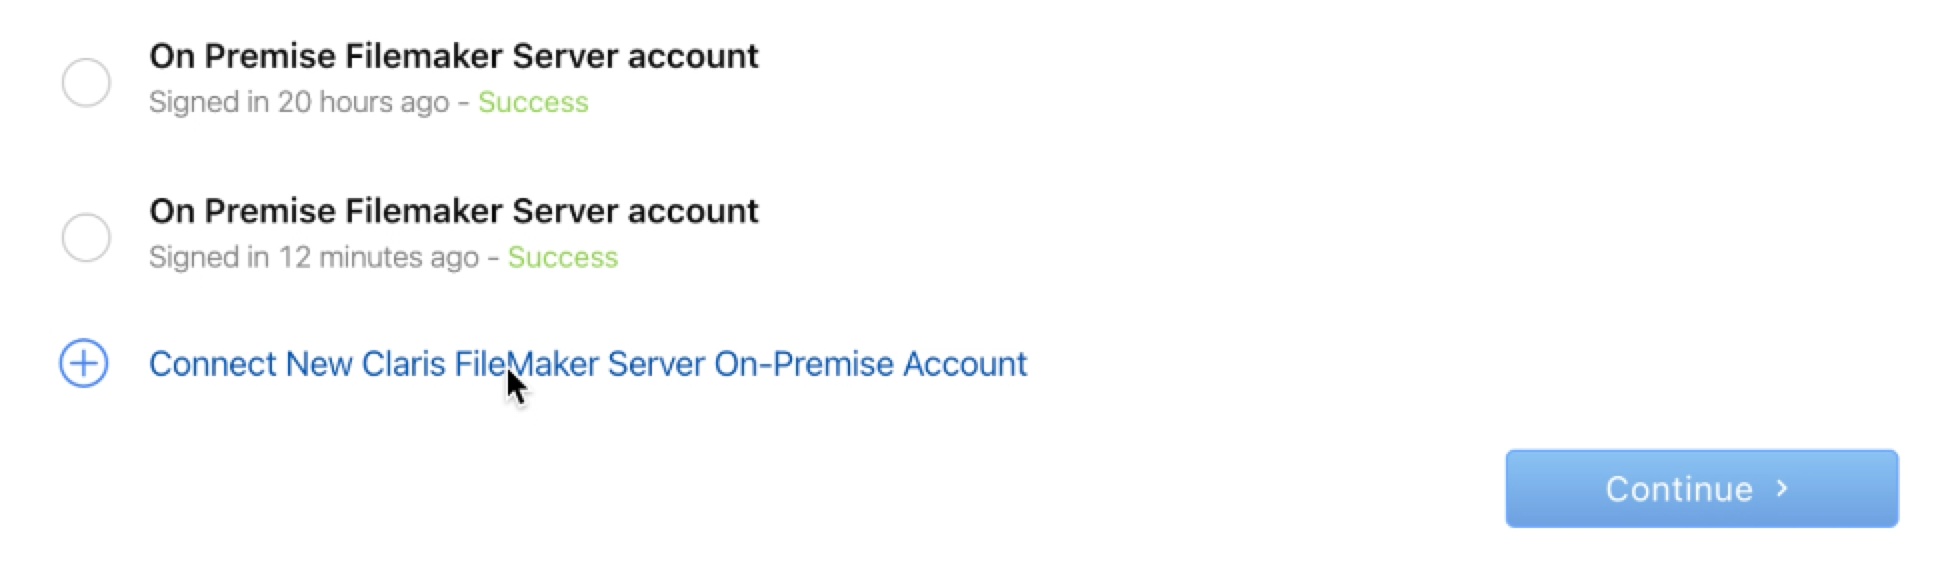
A message prompt asks you to allow Claris Connect to access your account.
-
-
Enter the agent key you copied and a unique name for the new connection.
-
Enter the Connection Name (must be exactly the same as the Agent Name).
-
Click Sign In to access your on-premise account using the new connection.
-
Click Continue.
The page shows layout, script, and script parameter options for the action you selected for the trigger.

-
Select the following for the action:
-
Layout
-
Script
-
Script parameter (not required for some scripts)
-
-
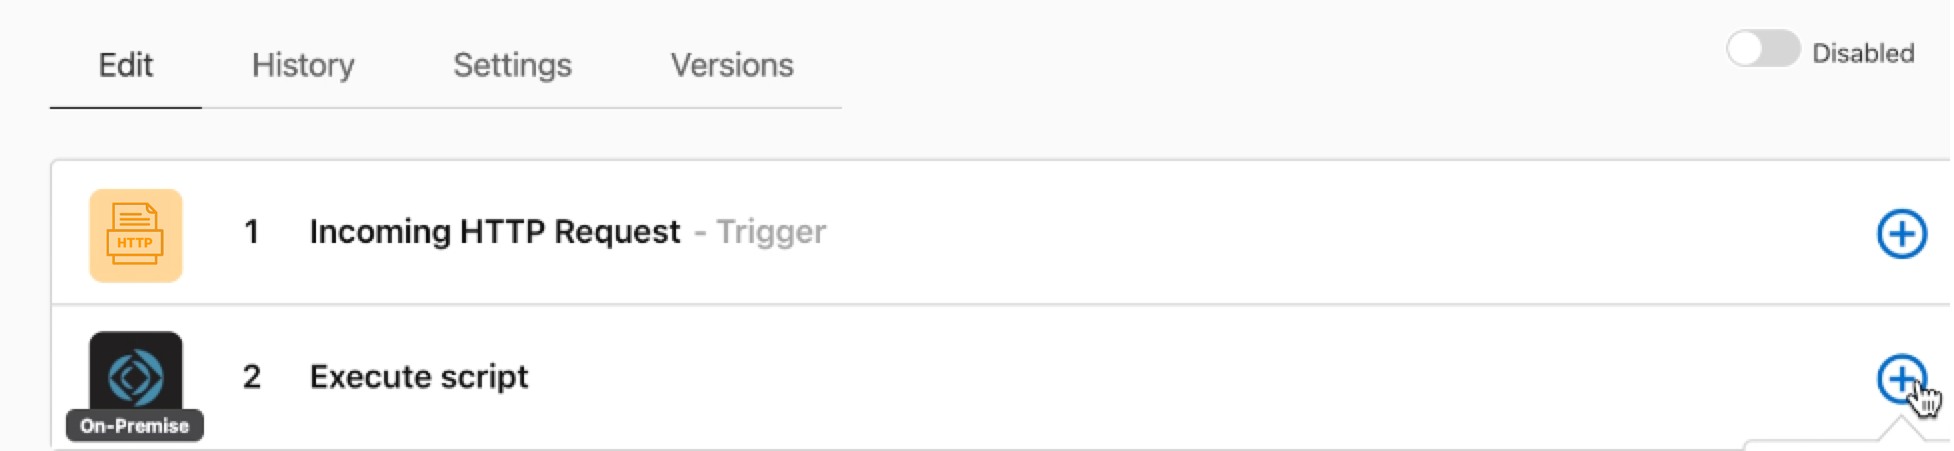
Click Save.
The page shows the trigger and new action you defined for the flow. In this example, there is one trigger and one action.
-
Repeat the steps in this procedure to define additional actions for the flow.
Note When you define additional actions, for step 5, choose On-Premise FileMaker Server account, then select your most recent sign-in.
-
Enable the flow by clicking the slider.
Step 4: (Optional) Verify the flow performs as expected.
In this step, you run the new flow to verify the trigger and action (or actions) in the flow perform as expected before you begin using the new flow.
-
Click the trigger to run the flow.
The page shows details of the trigger. In this example, the trigger is a webhook. For webhook triggers, you can click the link to verify the HTTP request is sent to the webhook URL.
-
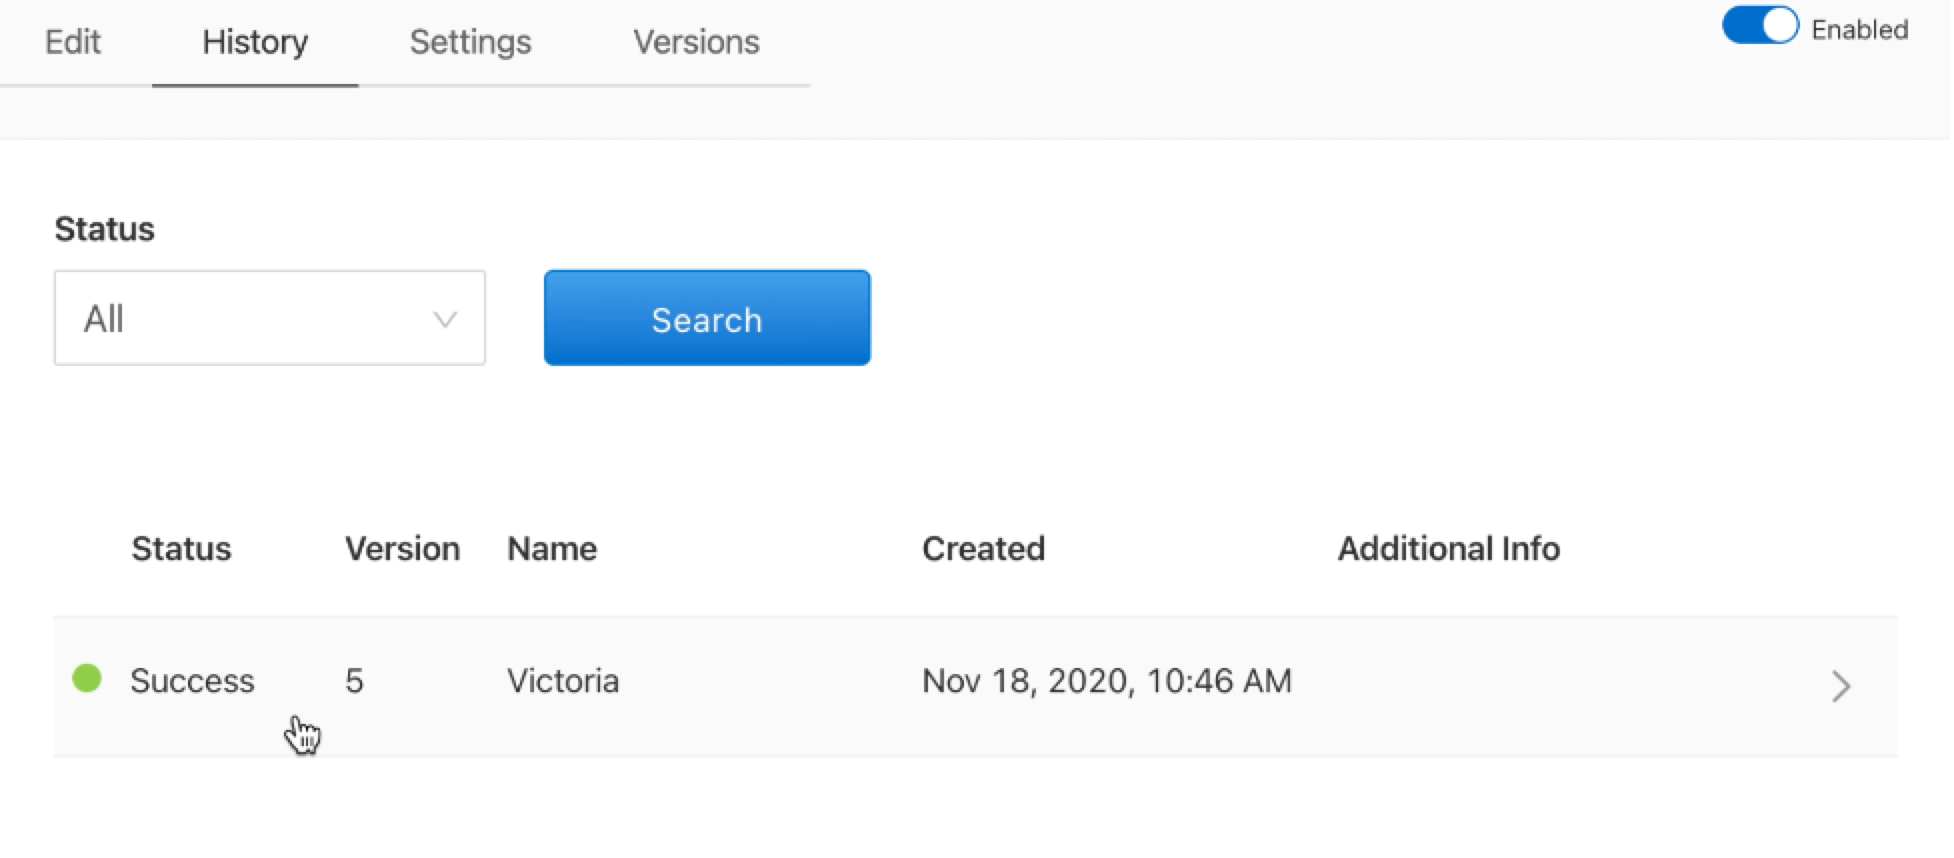
Click the History tab.
The tab shows the history for the flow, including the status (success or fail) for each time the flow was run.
-
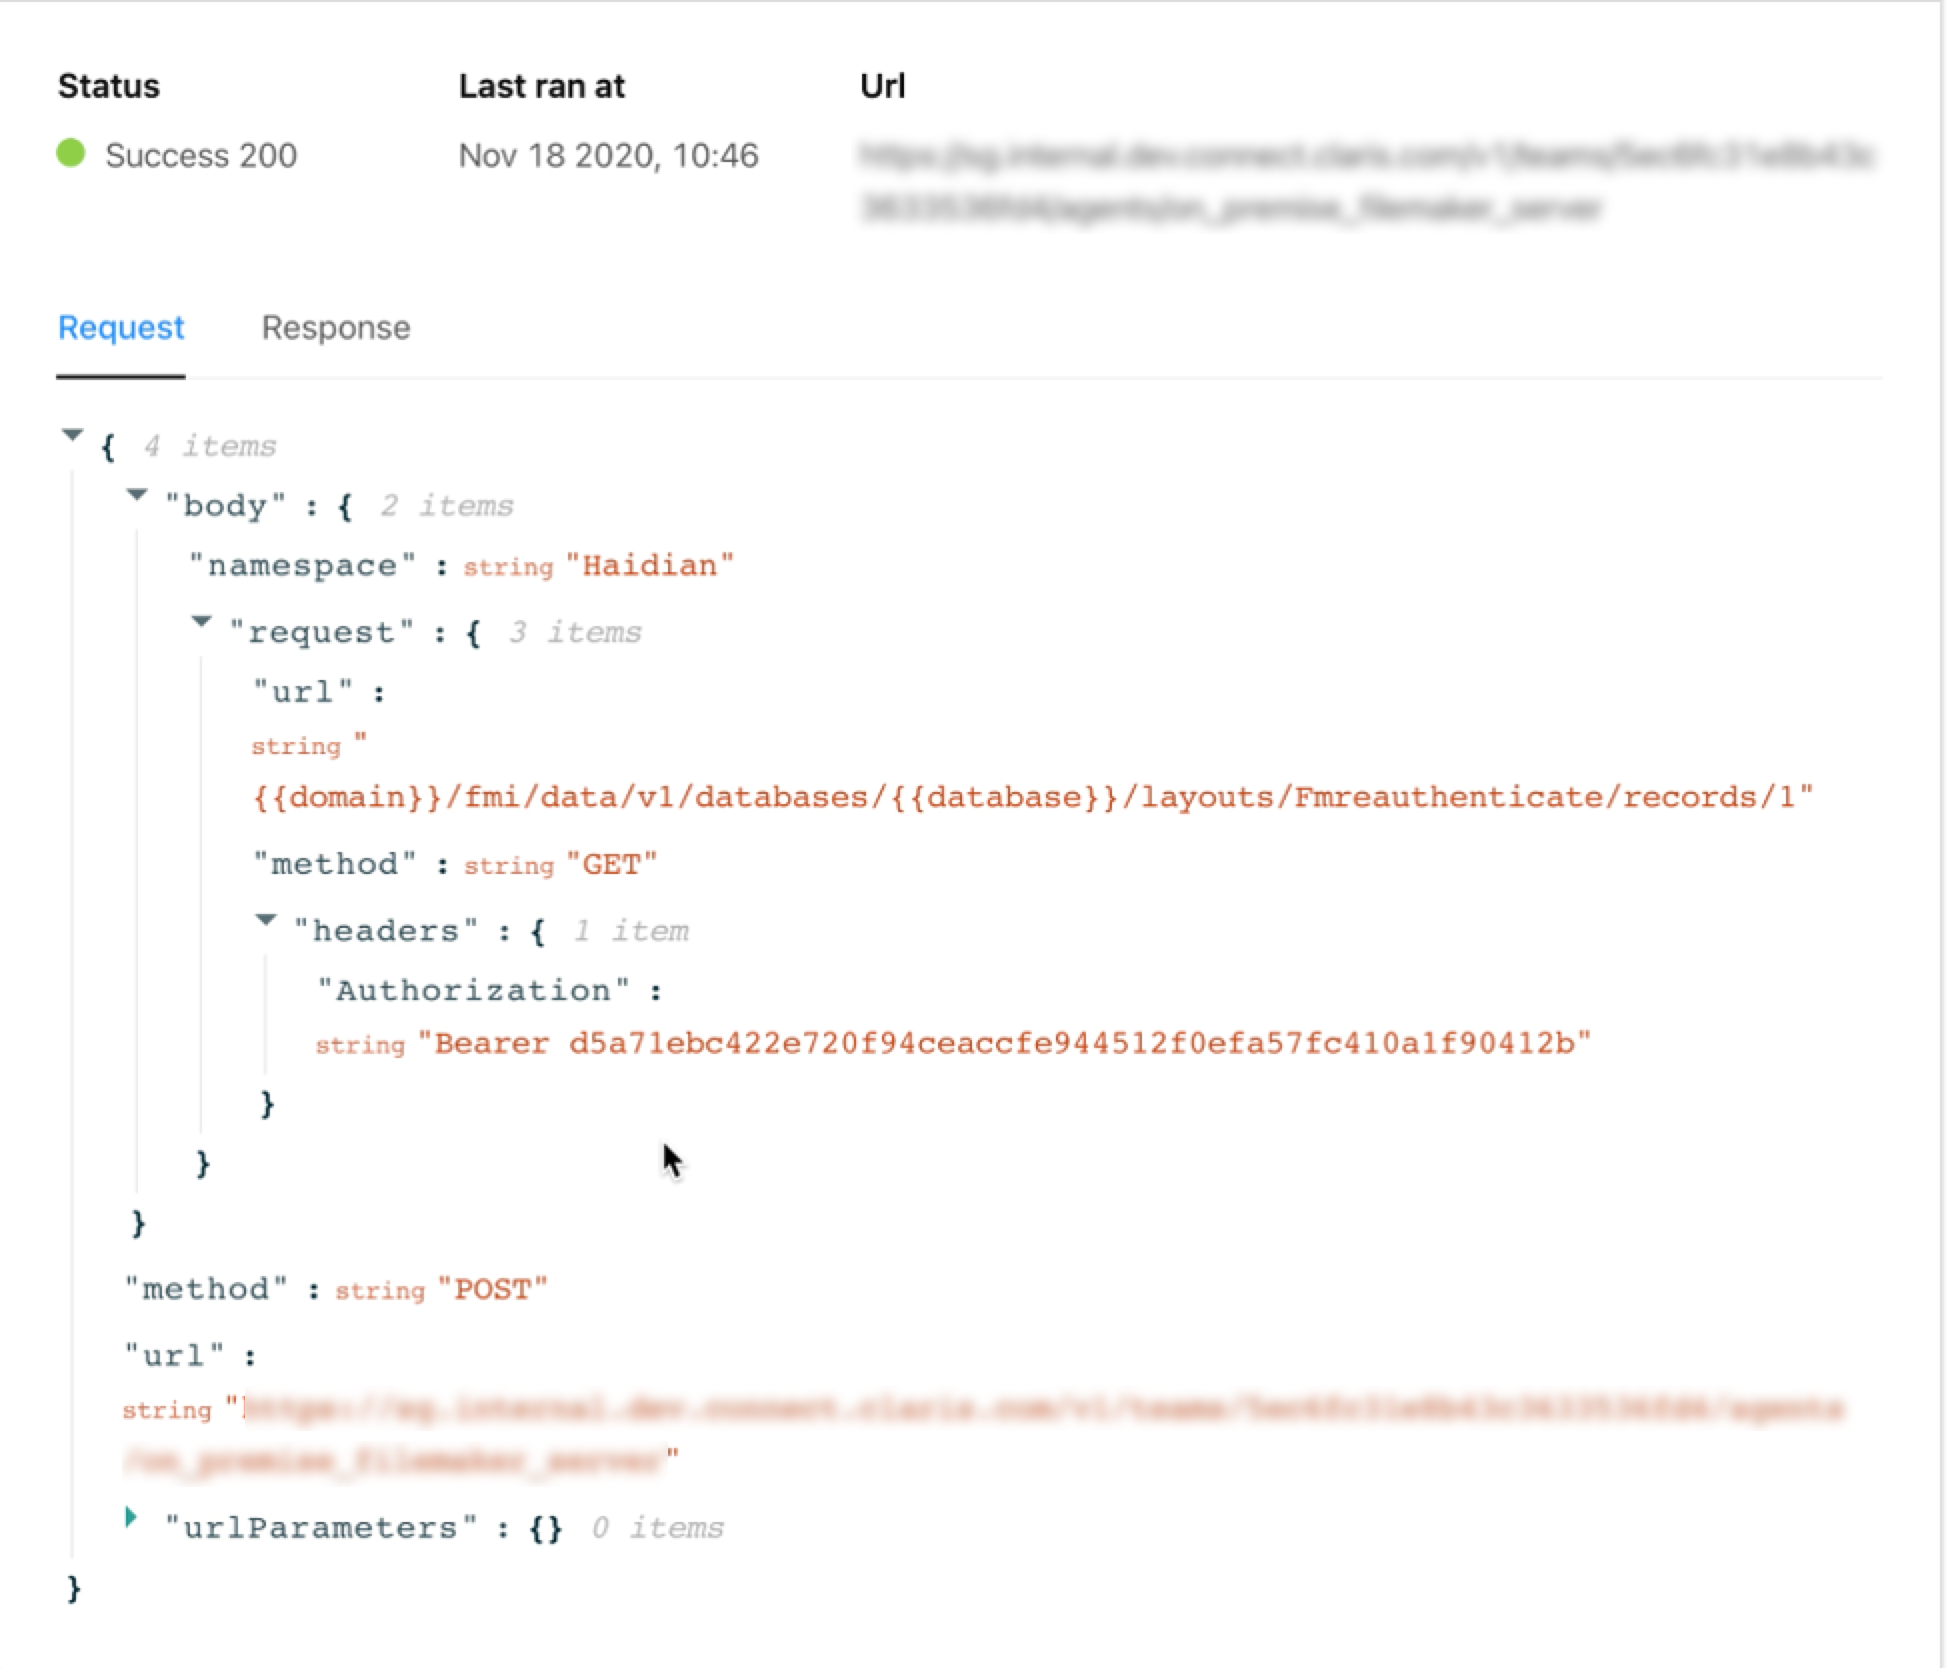
To inspect the request and response details (code), click the Request tab and the Response tab.
-
If needed, modify the trigger and the flow actions until the flow performs as expected.