Install the agent
You download an installer package for the agent and complete the installation process using the Add On-Premise Agent wizard.
To install the agent:
-
In the top right of the homepage, click your account name initials, then click Add On-Premise Agent.

-
Accept the Terms of Service, then click Next.
-
Enter a unique name for the agent, choose the operating system for your computer, then click Next.
-
Agent names can contain spaces and special characters.
-
Agent names are limited to 34 characters.
-
The agent is only available for Windows and macOS. If your FileMaker Server runs on Linux, install the agent on any available Windows or macOS machine on the same network as your FileMaker Server.
-
-
Click Download Installer.
-
In the Agent key box, click Copy to copy the agent key.
You need the agent key to run the installer.
-
Navigate to the installer file, then double-click the file.
-
Enter your username and password to allow the Connect Agent to make changes to your computer, then click OK.
The Connect Agent Setup wizard appears.
-
Click Next.
-
On the Install Directory screen, accept the default install directory or enter a different one, then click Next.
-
On the Agent Key screen, paste the agent key you copied, then click Next.
-
On the Ready to Install screen, click Next.
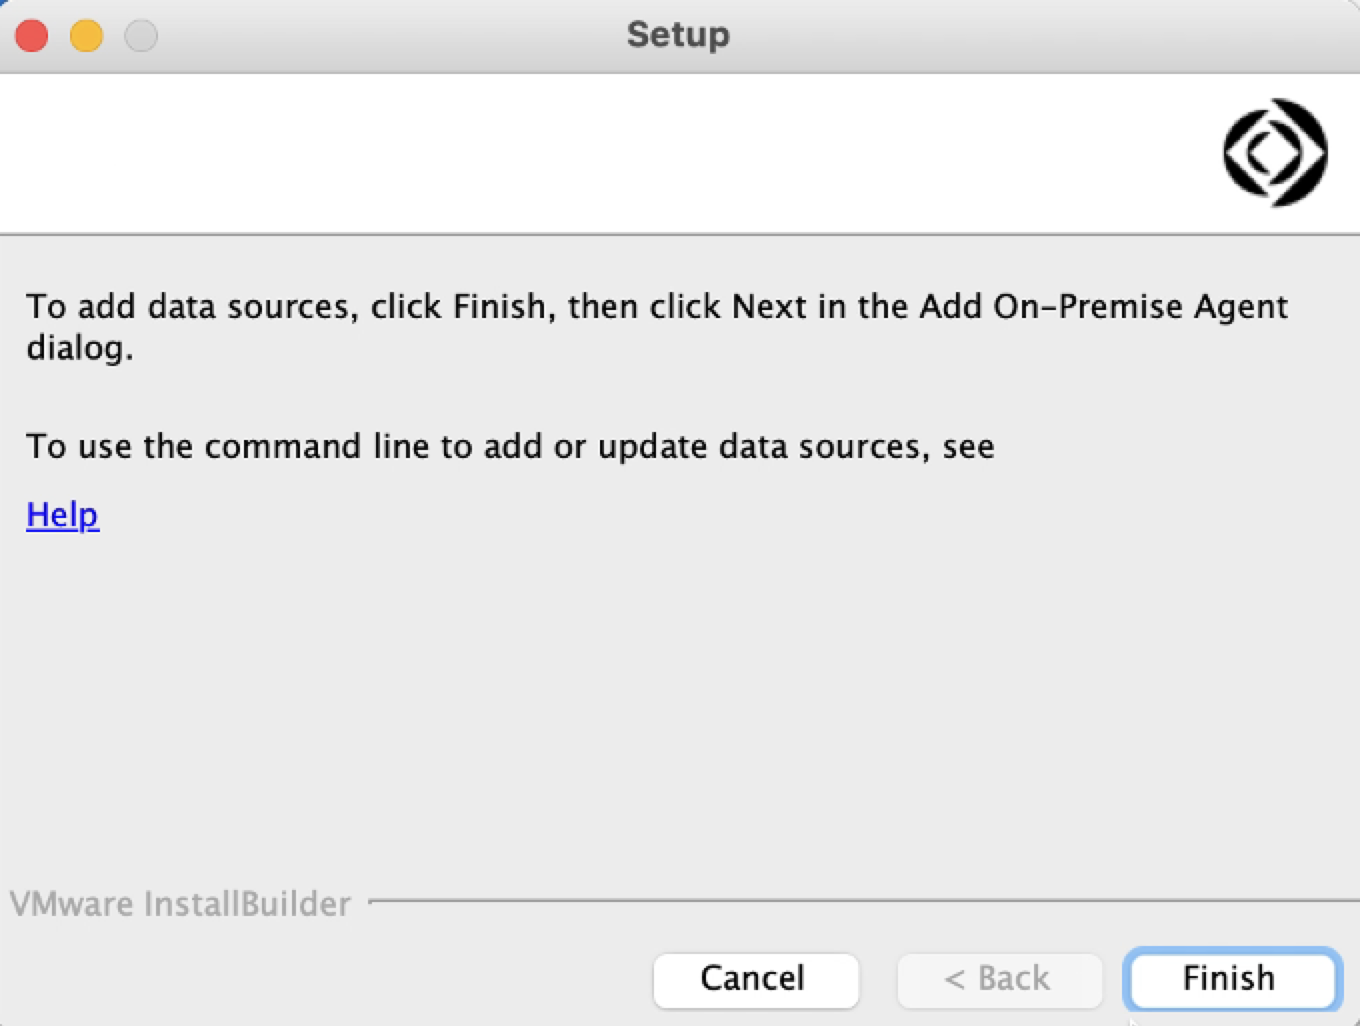
When the installation is complete, the Setup screen shows two options for adding data sources.
-
Use one of the following options:
-
Option 1 - To add data sources using the Add On-Premise Agent page:
-
Click Finish. The Add On-Premise Agent page refreshes.
-
Click Next.
-
Complete the steps in the Add data sources for the agent section.
-
-
Option 2 - To add data sources using the command line, click the Help link on the Setup screen and follow the instructions.
-
After you finish installing the agent:
-
The agent is added to the On-Premise Agents tab on the Claris Connect homepage.
-
The connection status will be updated to confirm the connection between the agent and Claris Connect.
-
The configuration file for the agent (configuration.yml) is automatically added to the install directory you selected. You can edit the file to add or update data sources for the agent.