Add data sources for the agent
After you have installed the on-premise agent, you can add data sources to the agent. You can add one or more data sources to an on-premise agent. The supported data sources are FileMaker Server and MySQL databases.
When you add data sources, you establish a connection between the on-premise agent and the data sources. The connection is established using Claris Connect on-premise connectors.
Add data sources using the Add On-Premise Agent page
-
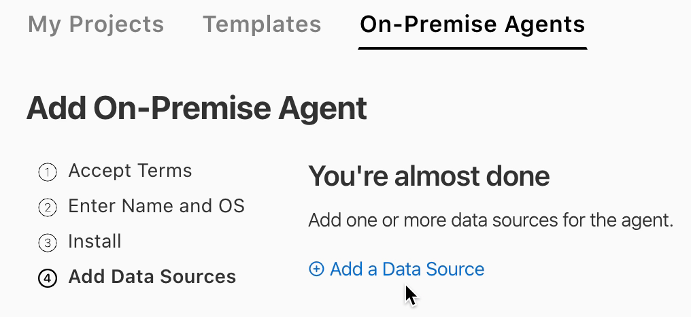
From the Claris Connect homepage, select the On-Premise Agents tab, then click Add a Data Source.

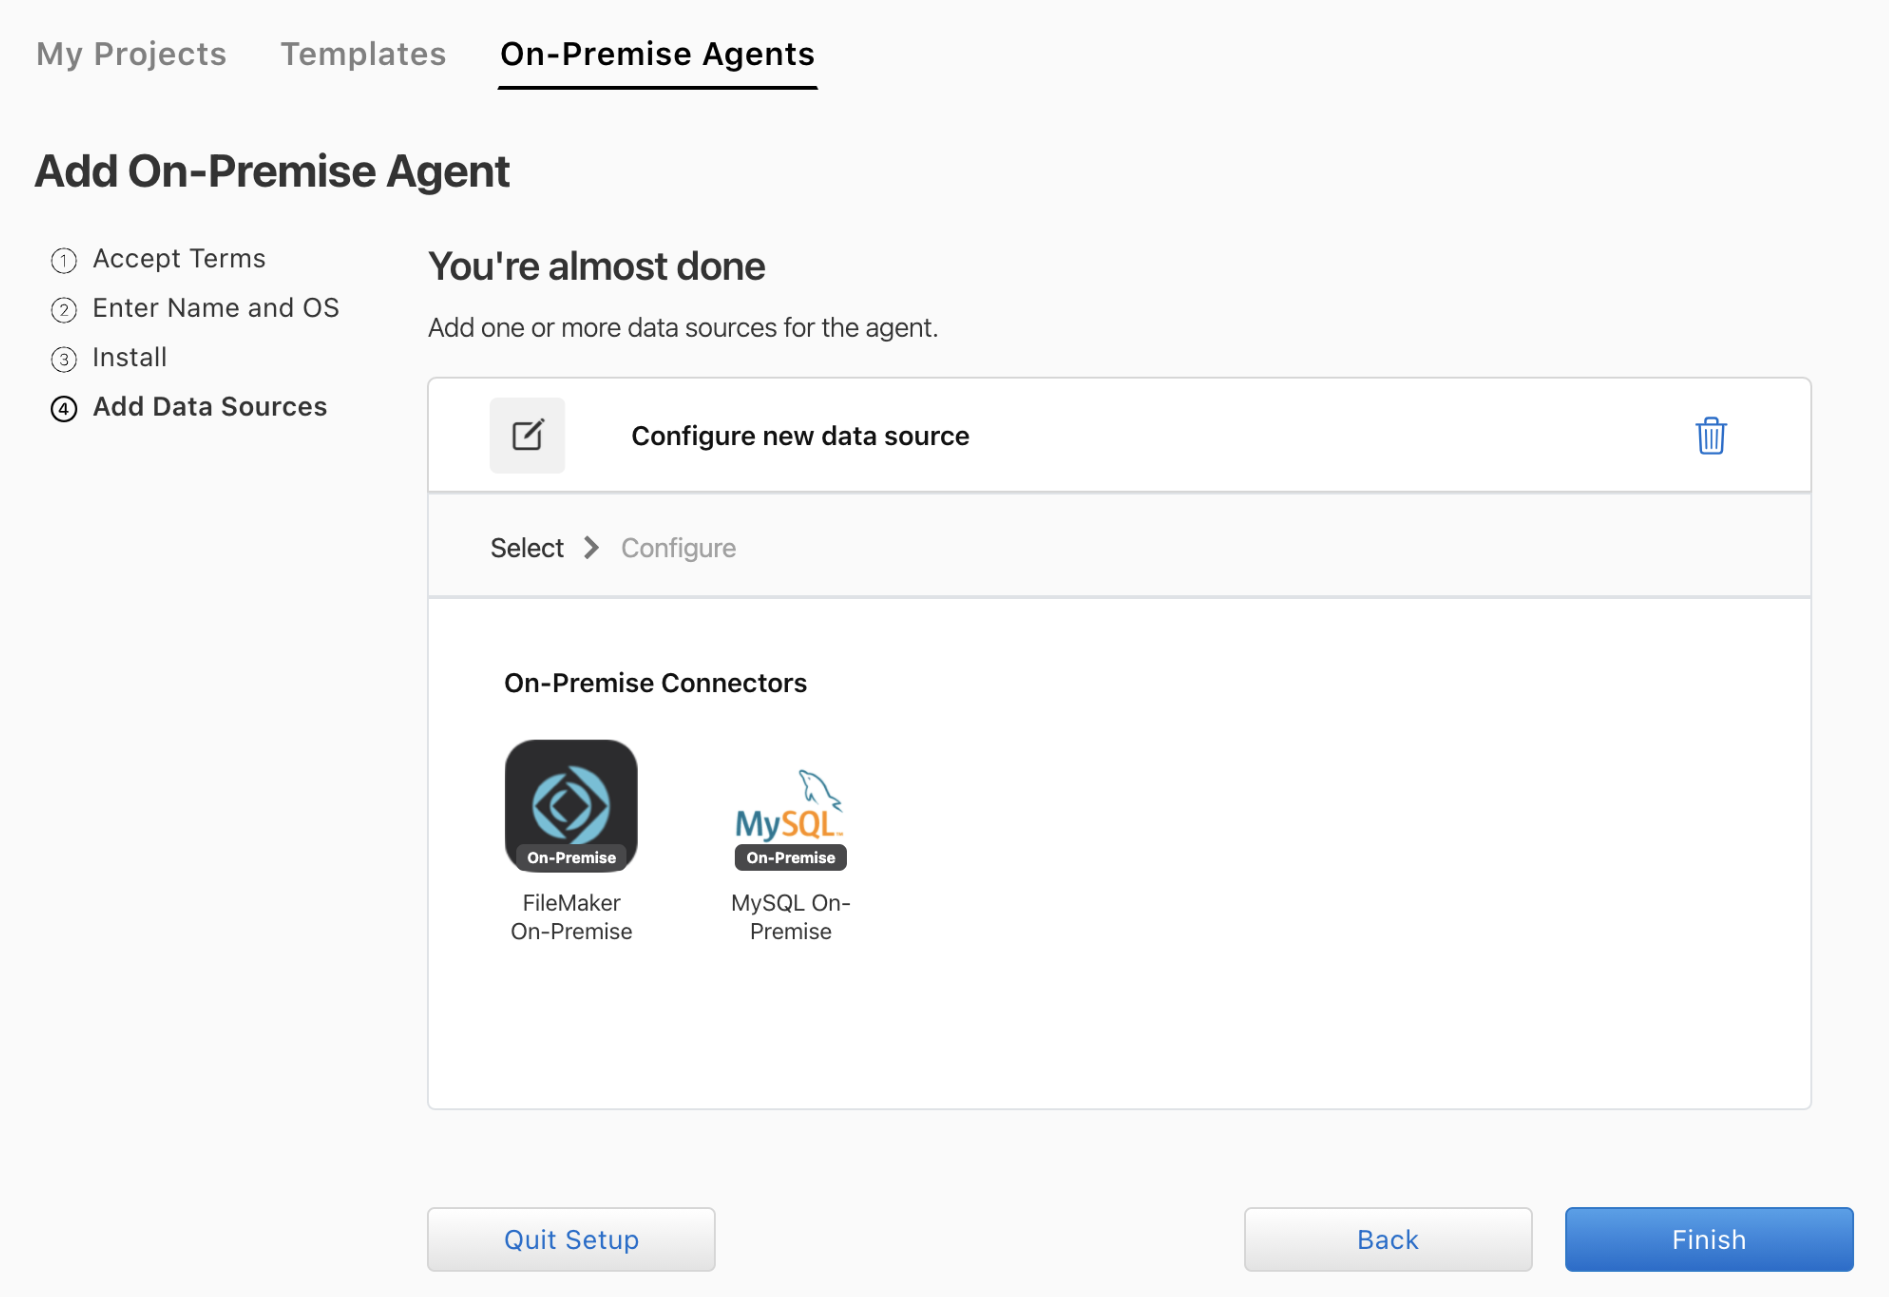
The Add On-Premise Agent page shows the available on-premise connectors.

-
Click the connector type for your data source.
The Add On-Premise Agent page shows the parameters for the connection.
-
Enter the required information to configure the connection to the data source.
-
Connection name: Enter a name for the connection
-
Domain (FileMaker), or Host (MySQL): Enter a new domain or host, or select an existing domain or host for the connection. The domain or host is where the data source resides, and can be any server accessible from the computer on which the agent is installed.
-
FileMaker data source: The URL of the FileMaker domain
-
MySQL data source: The IP address of the MySQL host
-
-
Database: Enter a new database name, or select an existing database for the connection.
-
FileMaker data source: The database name
-
MySQL data source: The database name (optional)
-
-
Username (FileMaker), or User (MySQL): Enter a new user name, or select an existing user name for the database.
-
Password: Enter a new password or select an existing password for the database.
-
FileMaker data source: The password for the database
-
MySQL data source: The password for the host computer
-
-
-
Click Save.
The new connection is saved. If Claris Connect is unable to establish the connection, a message appears at the top of the page.
-
Review the details you entered for the connection and correct any errors.
-
If the connection fails again, troubleshoot the connection.
Add data sources using the command line
When you install an agent, a configuration file for the agent (configuration.yml) is automatically added to the install directory. You can edit the file to add data sources for the agent or to update the settings for existing data sources.
By default, the following fields are automatically populated with the values you specified when you set up the agent:
-
Name — the name of the agent you specified
-
ID — the agent ID
-
Team — the team ID
-
Host — the URL of the host
To add FileMaker or MySQL data sources for the agent:
-
Find the configuration.yml in the install directory. The default install directory for each operating system is:
MAC —
/Library/ConnectWindows — Program Files
-
Specify the values for the fields that were not automatically populated.
Notes
-
Use single quotation marks for fields that you want parsed as a string, such as the domain name.
-
Indentations are required. Use two spaces for indentation (see Example configuration.yml file below).
|
Field name |
Description |
|
connector_name |
mysql or filemaker |
|
connection_name |
Identifies this instance of the connector. Because each named connection has its own namespace, you can have multiple named connections to different databases. |
|
The IP address of the MySQL host, or the URL of the FileMaker domain. |
|
The database user name. |
| password |
|
| database | The database name (optional for MySQL). |
Example configuration.yml file
Here is a complete configuration.yml file with the proper indentation (two spaces).
 1:name:  Bedford Falls
 2:id:  7c2f37ca-854e-4564-8705-24c2e08846a0
 3:team:  58ecd75244b1e4406592e666
 4:host:  'https://localhost:3000'
 5:mysql:
 6:  pottersville:
 7:    host:  127.0.0.1
 8:    user:  potter
 9:    password:  BankL0an$
10:    database:  finance
11:filemaker:
12:  bailey-park:
13:    domain:  https://example.com
14:    username:  bailey
15:    password:  0dB0dy!
16:    database:  angels