Creating and using client secrets for authentication via OAuth2
Custom connectors support authentication via the Open Authorization (OAuth) 2.0 authorization framework by allowing you to create client secrets and generate callback URLs with the built-in editor. In general, the process for configuring a custom connector to use OAuth2 is as follows:
-
Create client secrets with the built-in editor.
-
Reference the secrets in the JSON.
-
Specify third-party URLs for authorization, the token, and the scope.
Note Refresh tokens are not supported. See Limitations on creating custom connectors.
-
Authorize the generated callback URL in the third-party app.
Important This feature is not yet available to all users.
Creating client secrets:
-
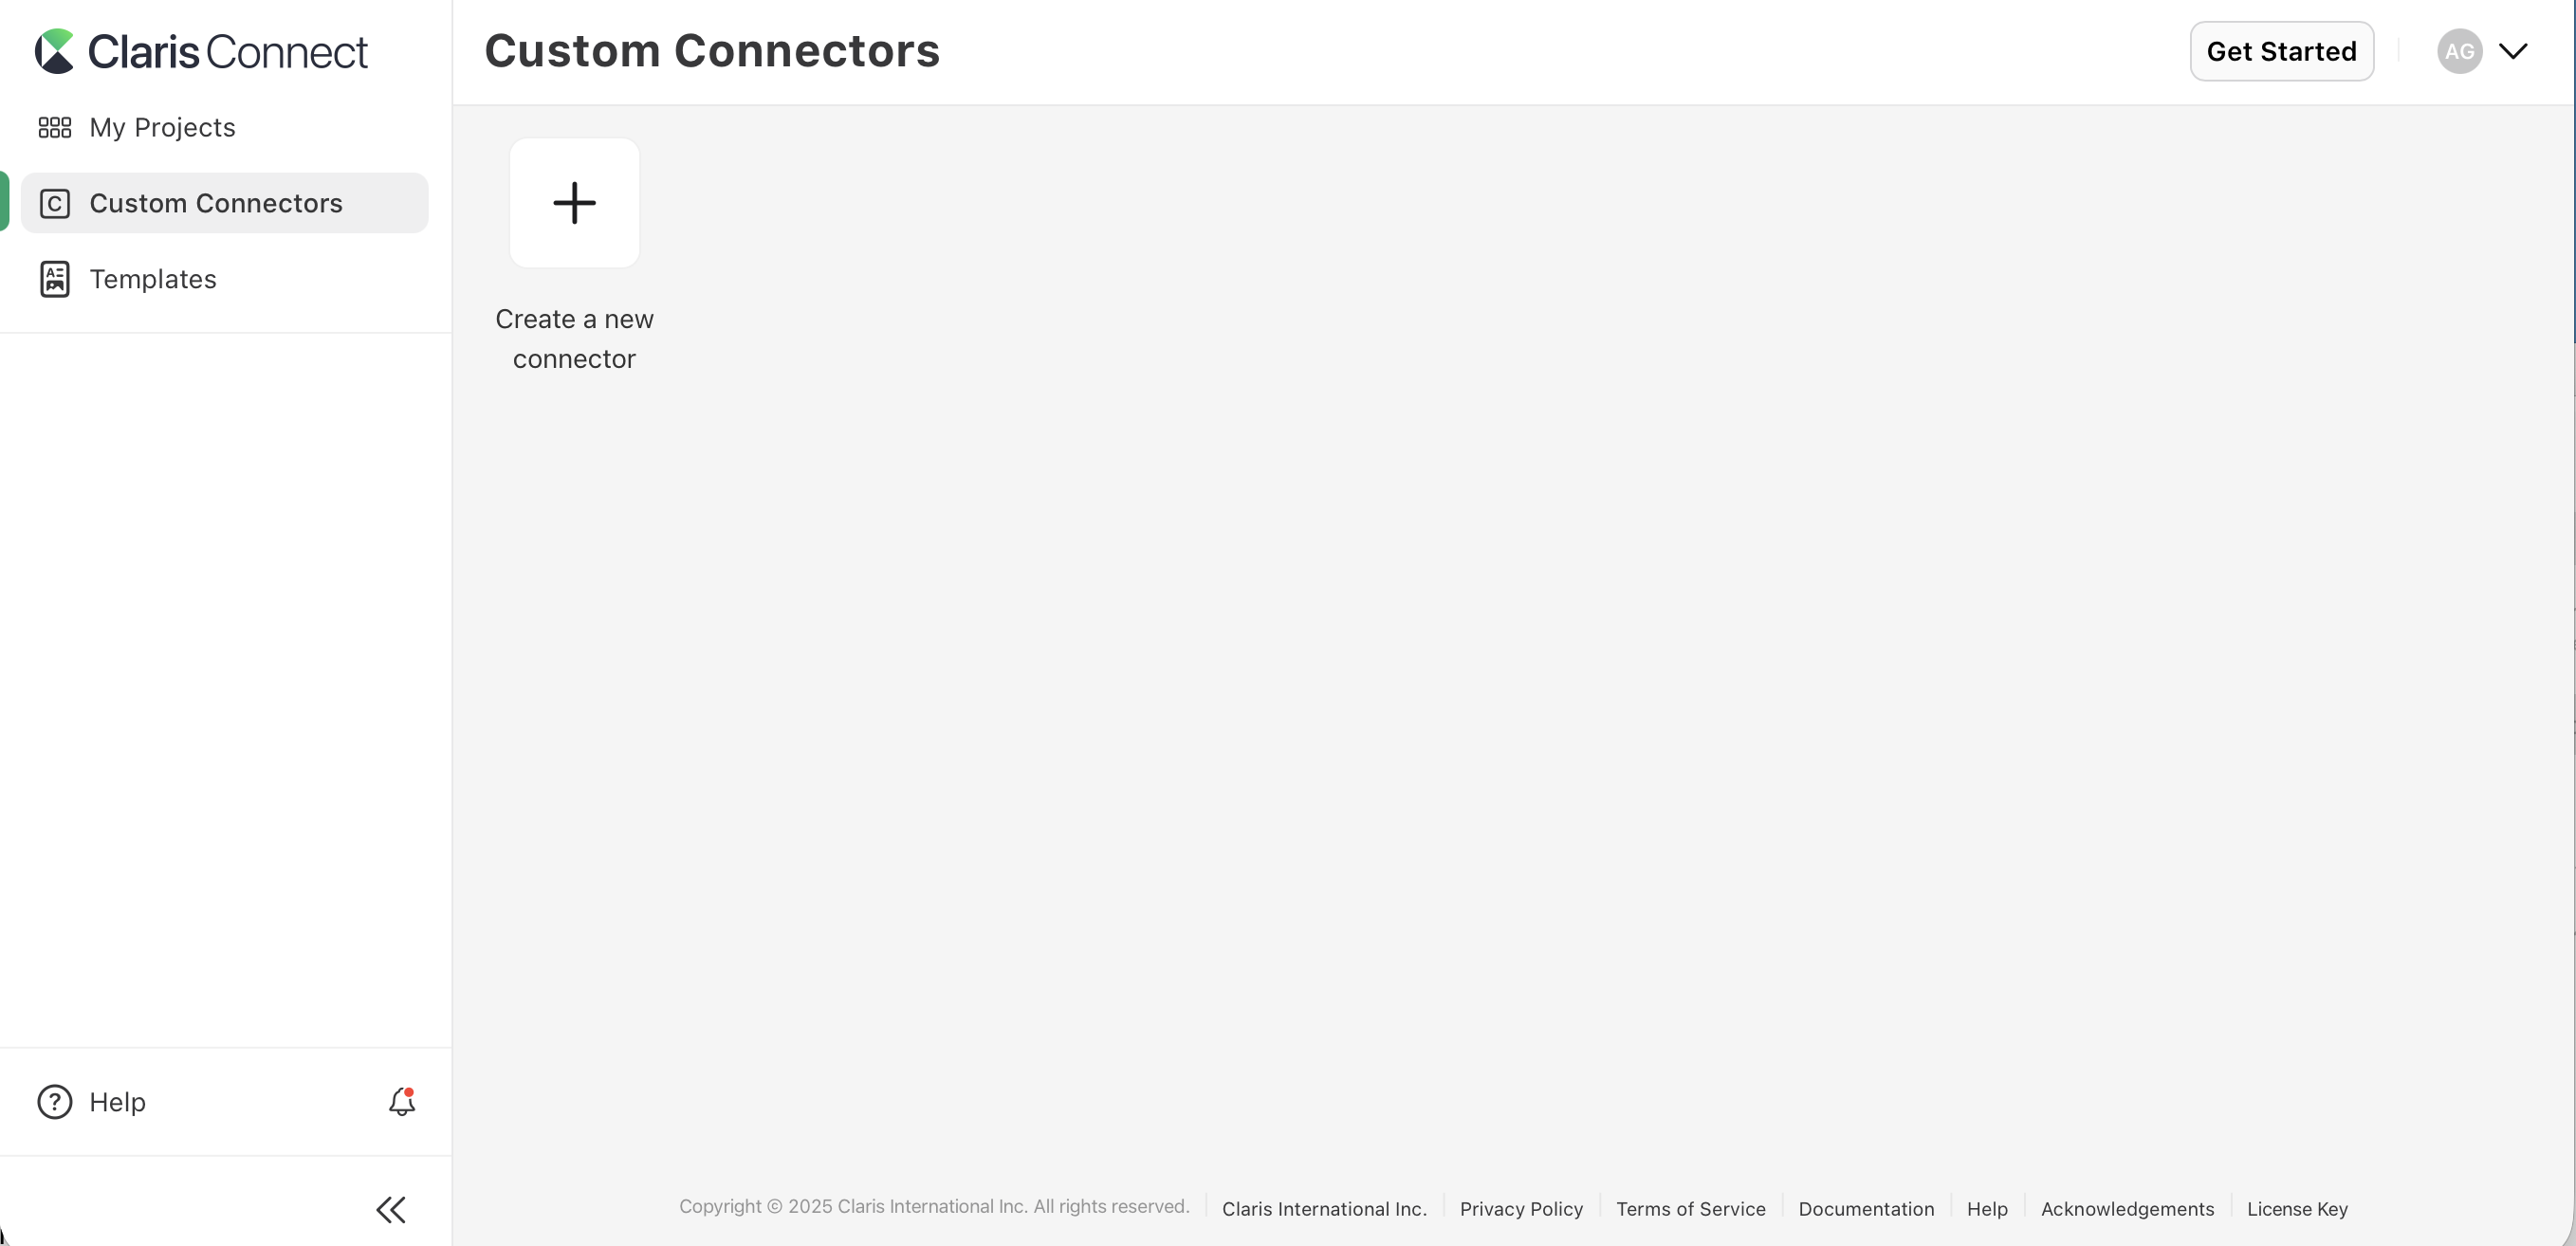
Click Custom Connectors in the sidebar.
-
Click an existing connector or click Create a new connector.

-
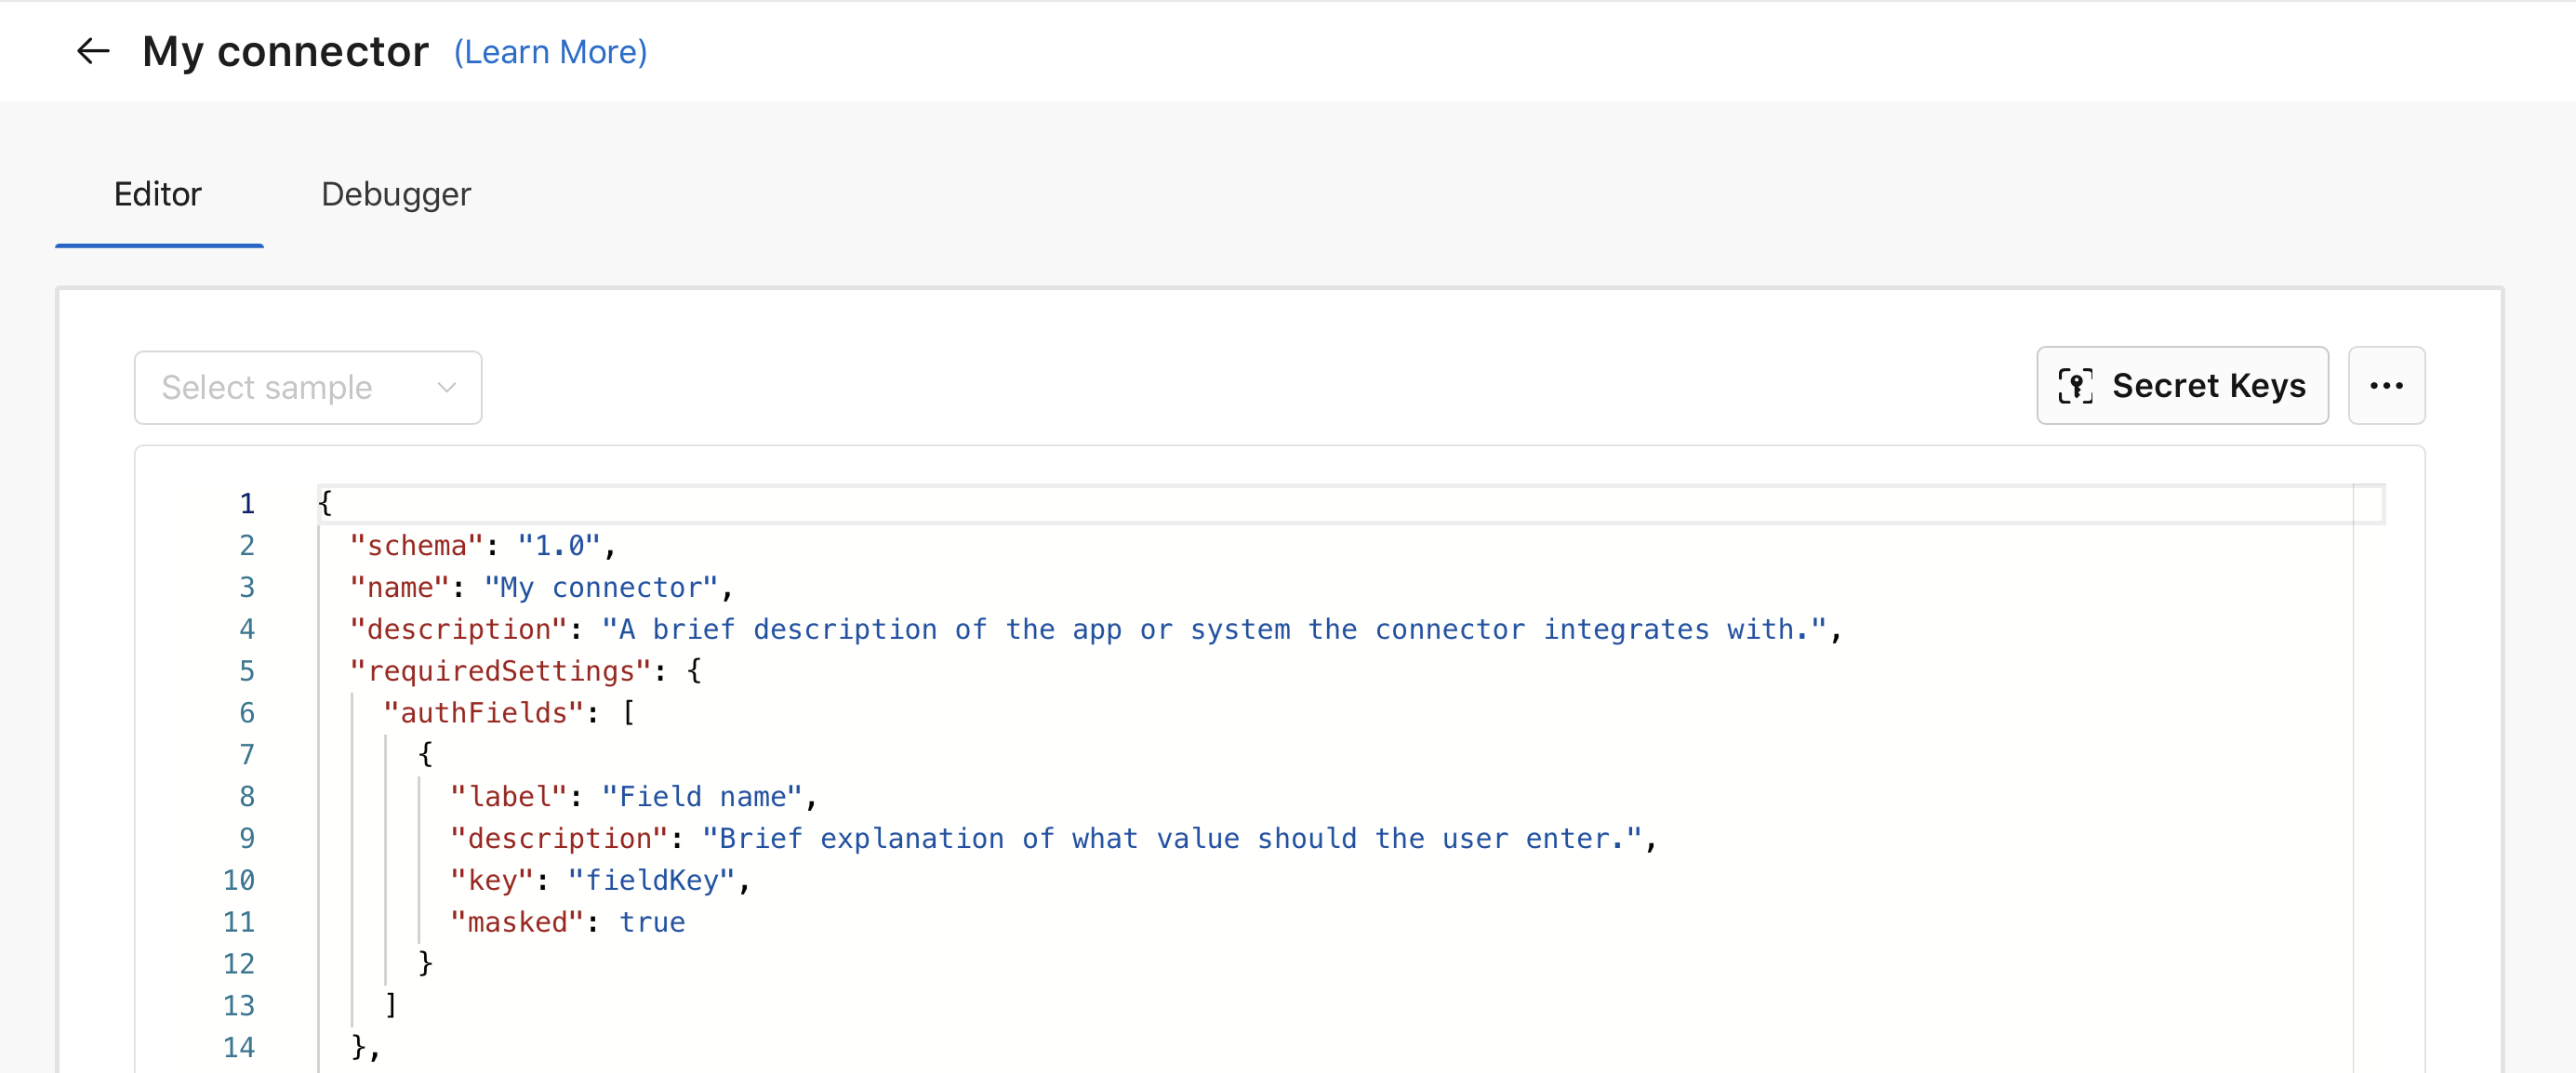
In the editor, click Secret Keys.

-
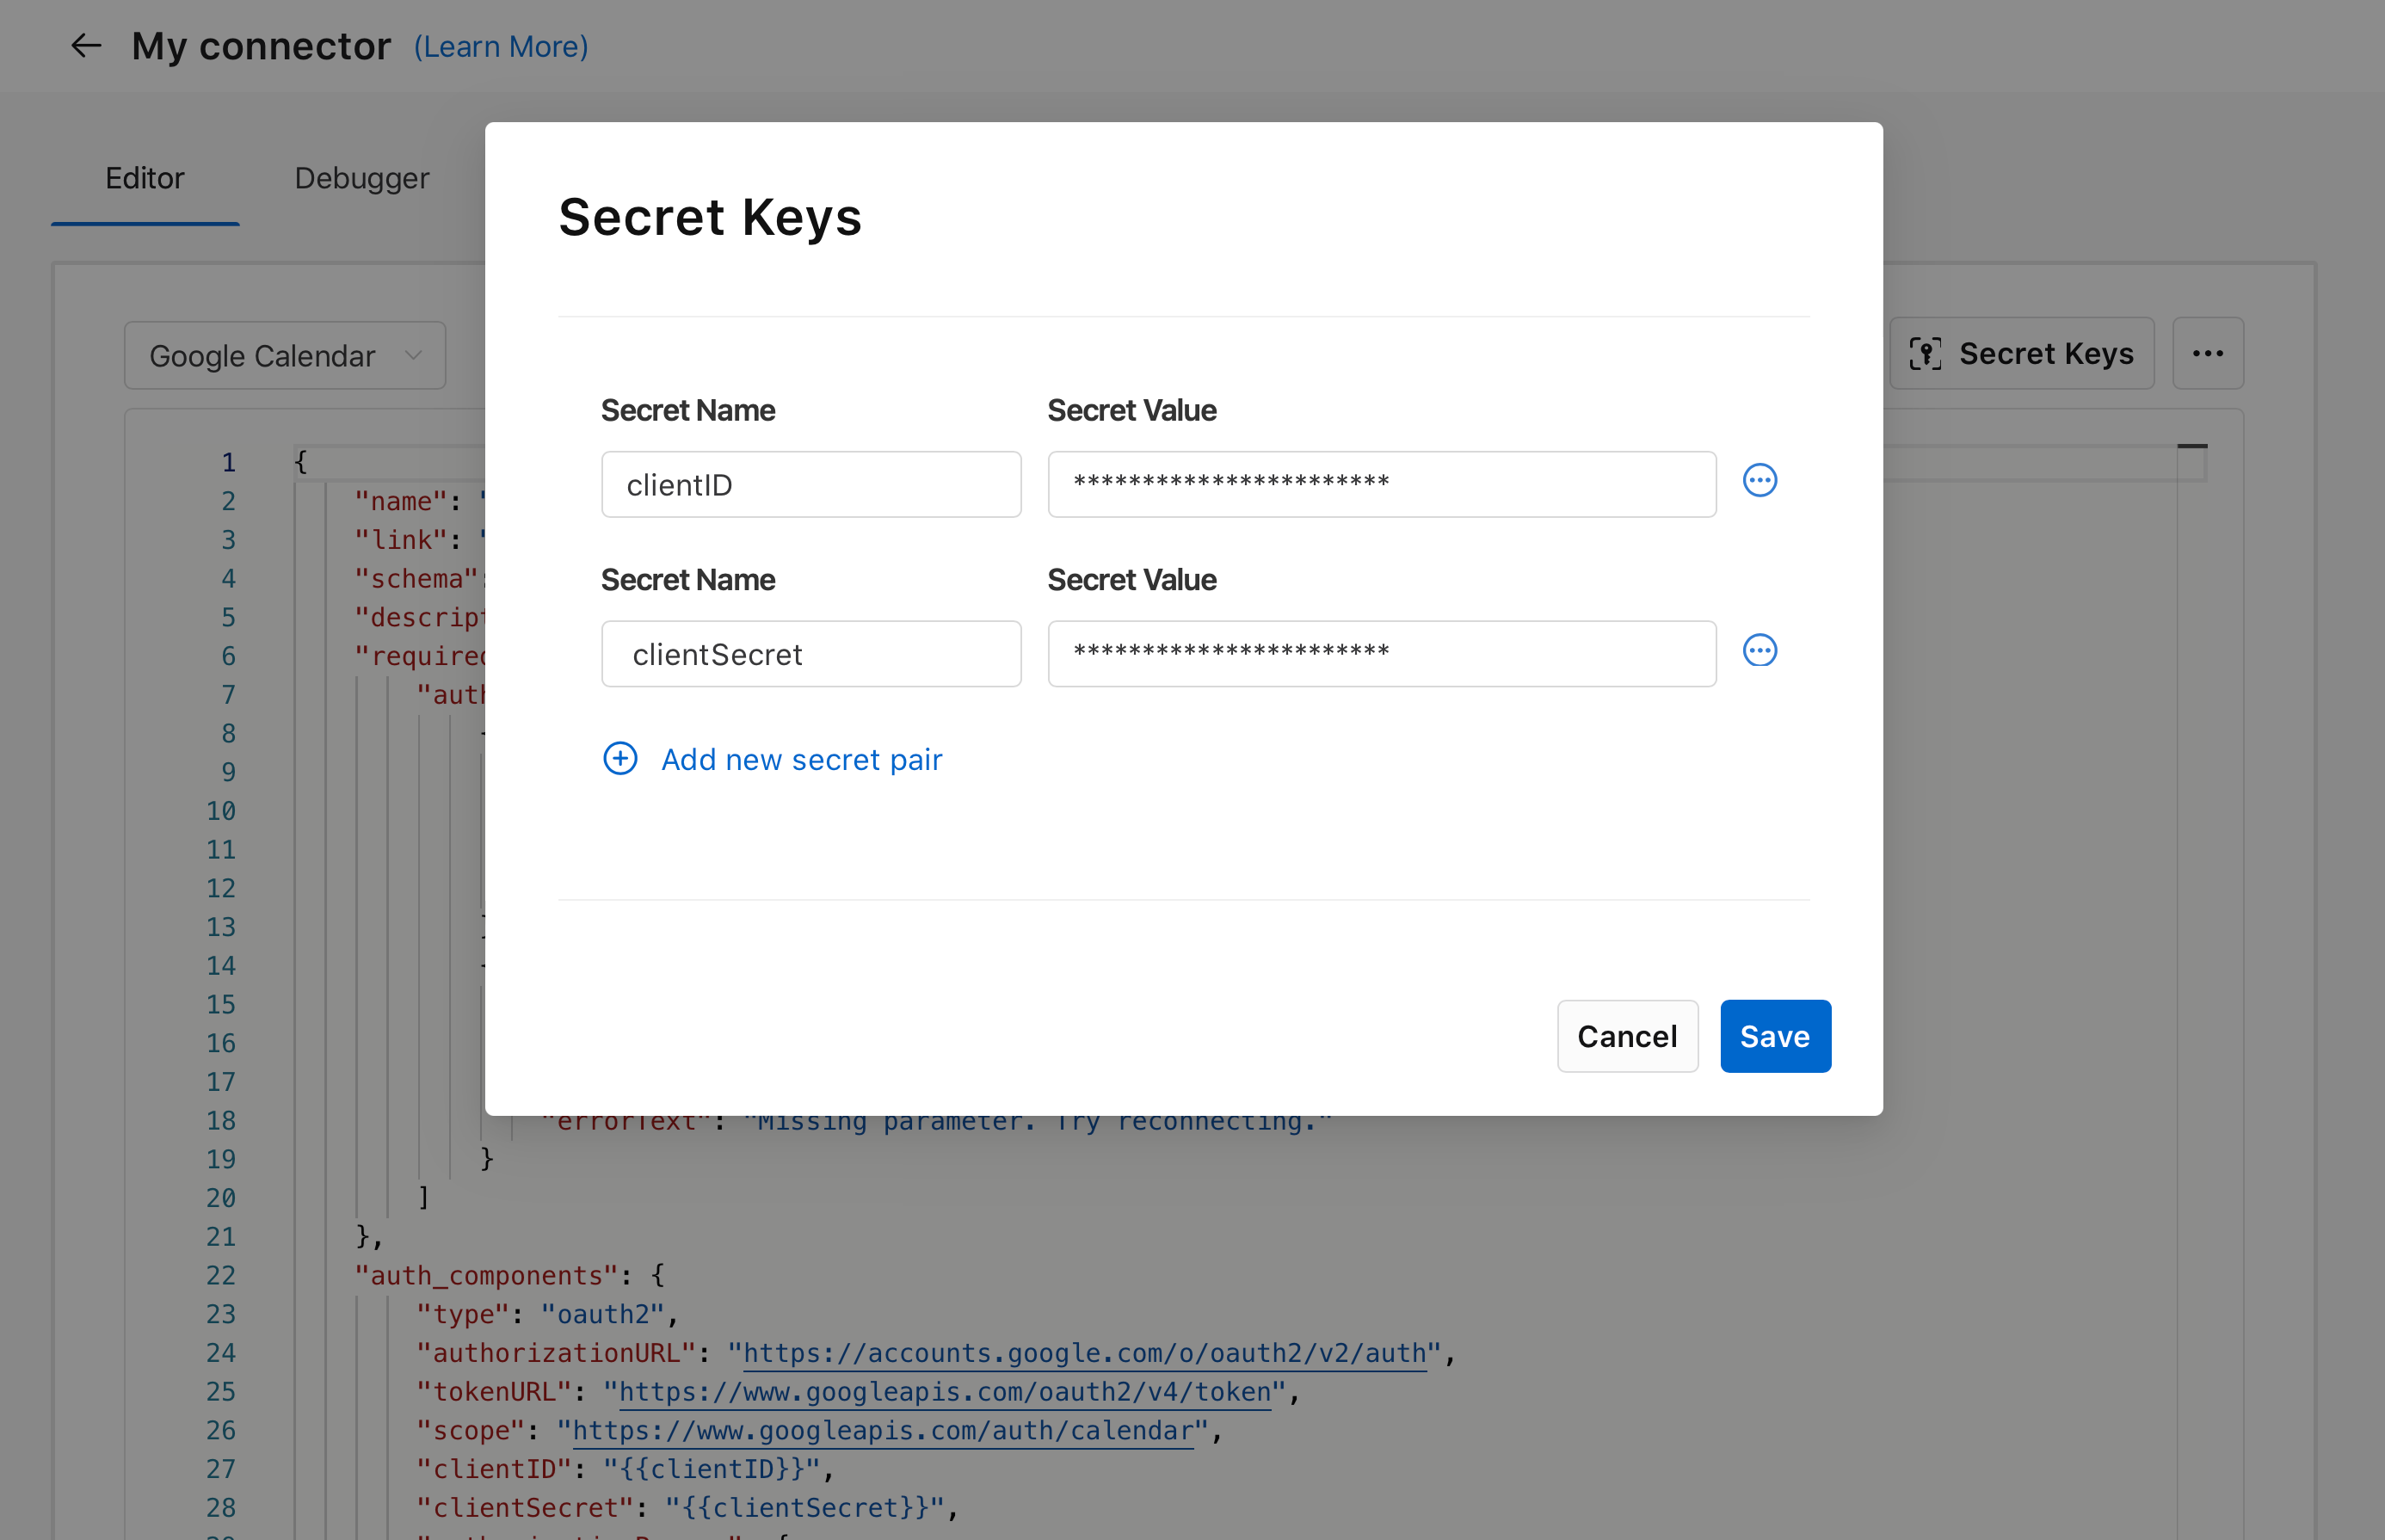
In the window that appears, enter values for Secret Name and Secret Value, then click Save. You can add more secret pairs by clicking Add new secret pair. In general, you need two secret keys for authentication: one for the client ID, and one for the client secret.

The Secret Names can be whatever you want—for example
clientIDandclientSecret—but the respective Secret Values must come from the third-party app or API for which you're creating the connector.Important After being saved, Secret Values can't be changed.
Referencing the secrets
After you've created the secrets, you must reference them in the auth_components object using double braces ( {{ }} ). See Schema definition.

Specifying the authorization, token, and scope URLs
In addition to the client ID and client secret, you must also specify the authorizationURL, tokenURL, and scope in auth_components object. Refer to developer documentation for your app for help finding the appropriate values. The example below shows URLs for the Google Calendar sample:

Authorizing the generated callback URL
Finally, you need to authorize the callback URL generated by Claris Connect with your third-party app or API so that the two can communicate with each other. To generate the callback URL, you must first test your connector.
-
In the Editor, click Save & Test.
-
In the Debugger, after testing authentication and each action, click Return to Editor.
-
Back in the Editor, hold the pointer over
 , then click Copy Callback URL.
-
Authorize or register the callback URL with your app or API. If you're unsure how to do this, refer to relevant developer documentation for your app or API.
Deleting a client secret
-
Go to the custom connector with the secret you want to delete.
-
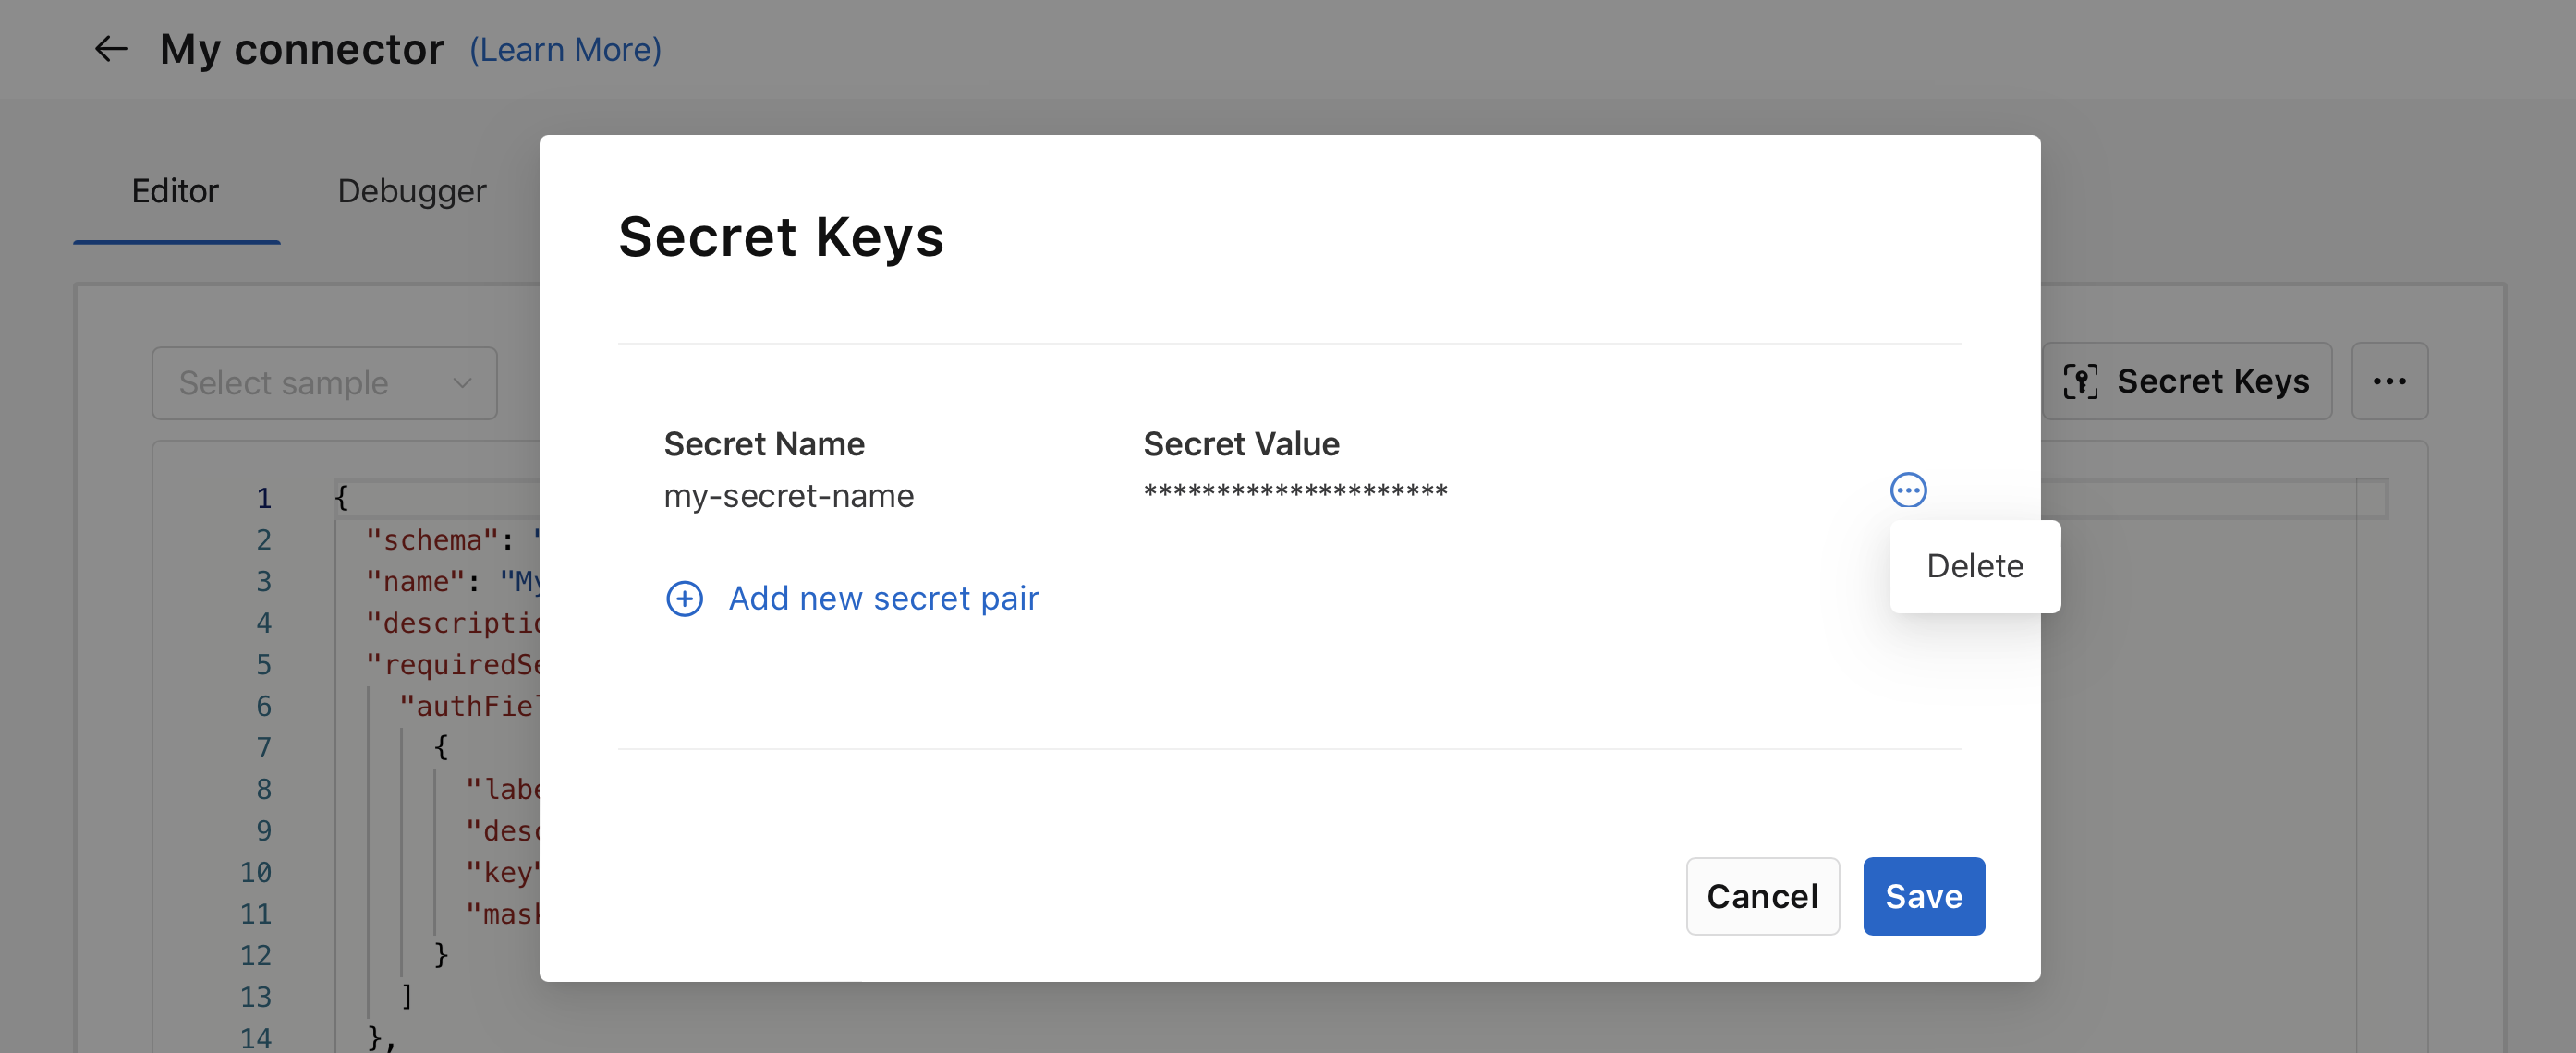
Click Secret Keys.
-
Hold the pointer over
, click Delete, then click Save.

Notes
-
Secrets are created per connector, meaning you can't use secrets from one connector for authentication with another connector.