Creating webhooks
The HTTP utility allows you to create a webhook that can trigger a flow as well as retrieve data through an HTTP request to a unique URL generated by Claris Connect. This utility also allows you to respond to HTTP requests with JSON data as well as make custom HTTP requests.
To create a webhook to use in flows:
-
In the left-hand navigation pane, click Webhooks, then:
-
Click Create a webhook if you're creating the first webhook for the project.
-
If the project already has a webhook, continue to step 2.
-
-
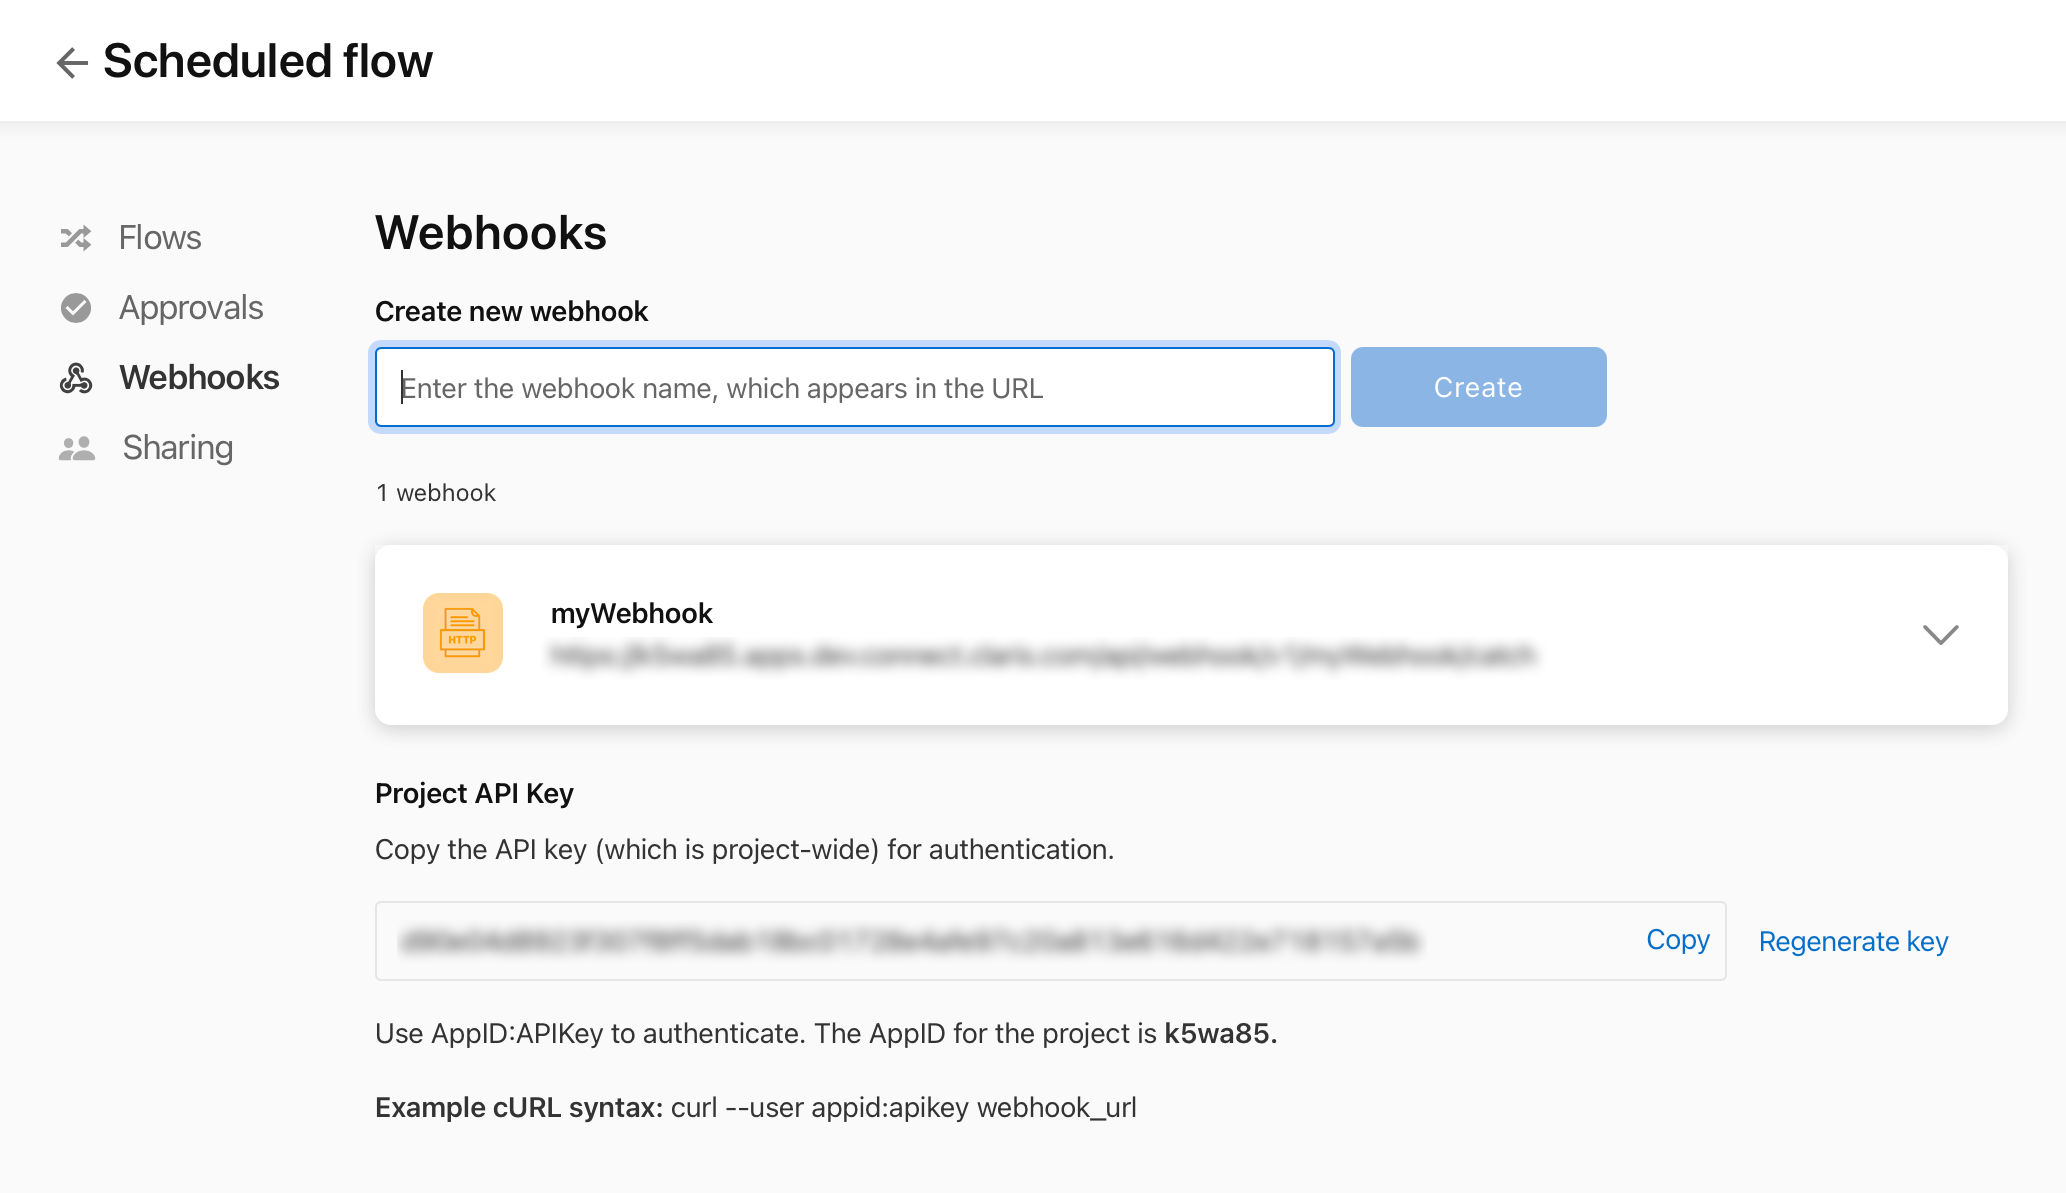
Under Create new webhook, enter a name, which appears in the webhook URL, then click Create.
-
Once created, you can click the webhook to open a menu where you can adjust the settings for the webhook or delete it:
-
To require authorization to use the webhook, turn on Use authentication.
When on, the AppID and the APIKey values are required for authentication when sending requests to the generated URL. The AppID for the project appears under the Project API Key field in the Webhooks tab.
-
To get a sync response when the webhook is accessed, turn on Return sync response.
When on, the webhook waits until the entire flow finishes running before responding to an HTTP request. You can then use the Reply with JSON data action to customize the response returned to the application that sent the request.
-
To delete the webhook, click Delete webhook.
Note Webhooks can only be deleted after they've been removed from any flows in the project they're used in. If you delete a webhook, the endpoint will no longer be available to accept requests.
-
If you turned on Use authentication and want to send a webhook to a user, copy the project API key and provide it to the user. You can also generate a new key. If you generate a new key, you must provide the new key to the user.
After you configure a webhook, it is available for use in flows in the project it was created in.
Notes
-
You can also create a webhook with the HTTP utility while creating a flow. To do this, add the Incoming HTTP Request trigger to a flow, name the webhook, test it, then click Save Trigger. See Using webhook triggers and HTTP requests in a flow.