Working with contexts
Contexts are snapshots of your connections and tools that can be used when connecting to AI clients.
Contexts can have multiple connections and go through an "Edit, Test, Updated" state workflow as you develop the context, evaluate its functionality, and deploy it to production for you and others to use.
Creating a context
To create a context:
-
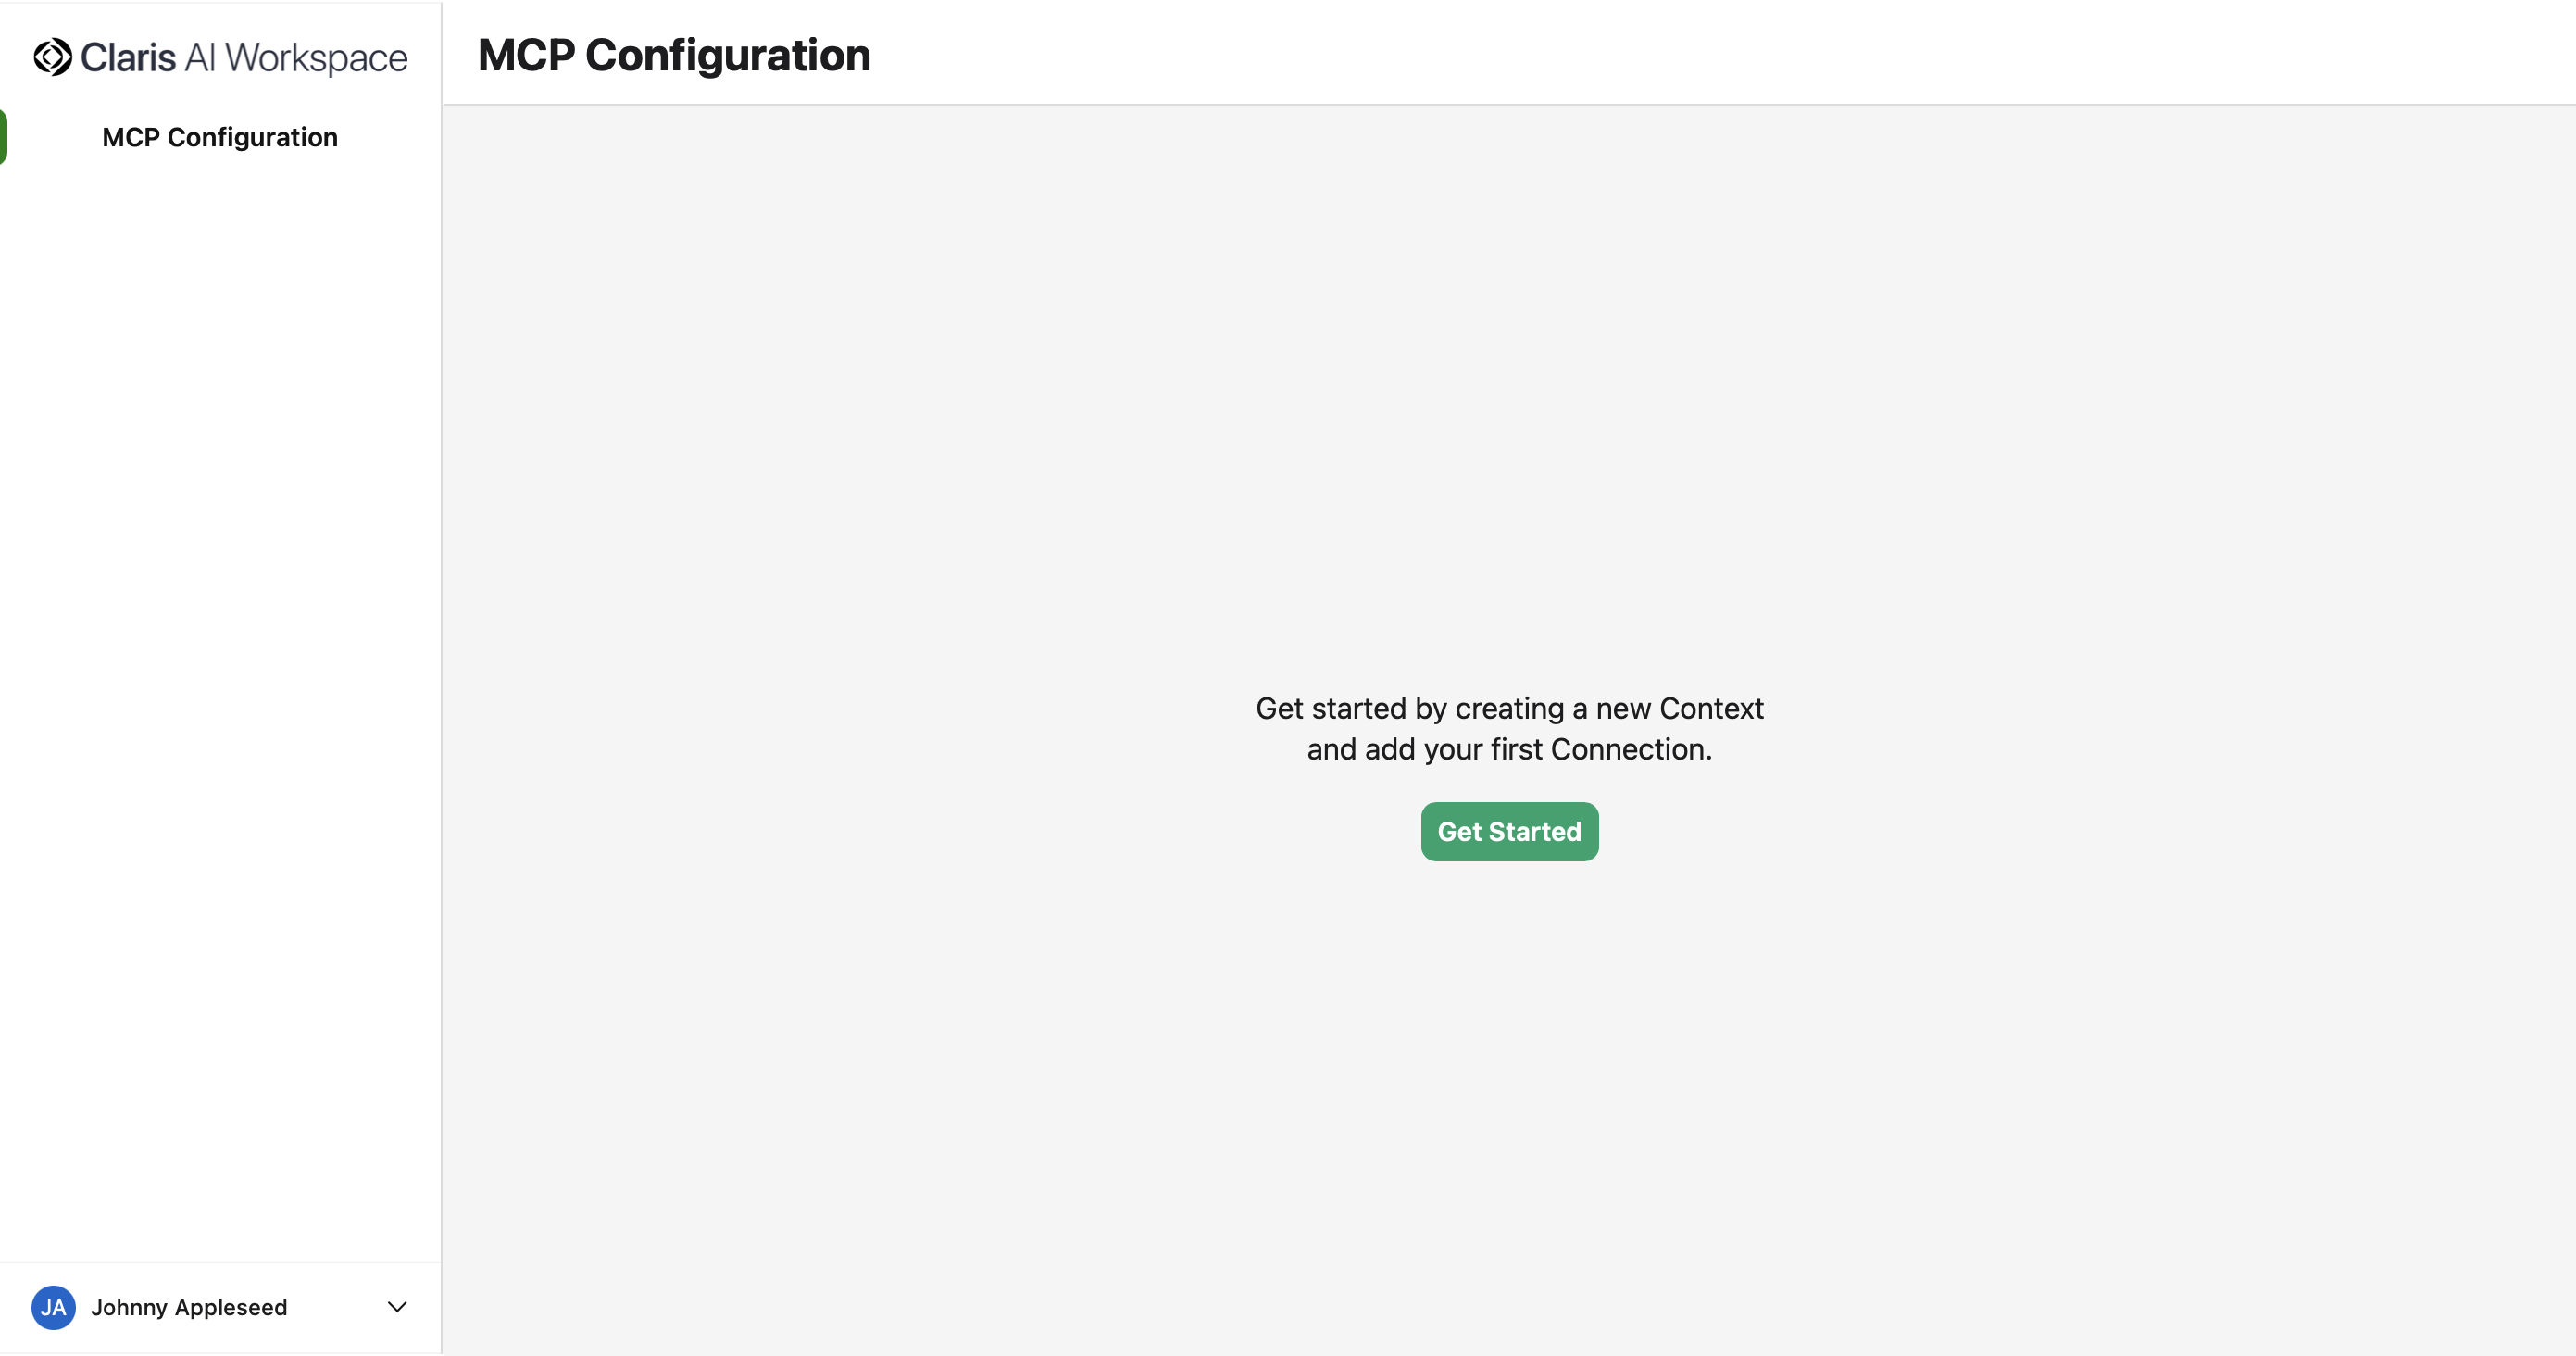
In the MCP Configuration tab, do one of the following:
-
If you have no existing contexts, click Get Started in the center of the screen.
-
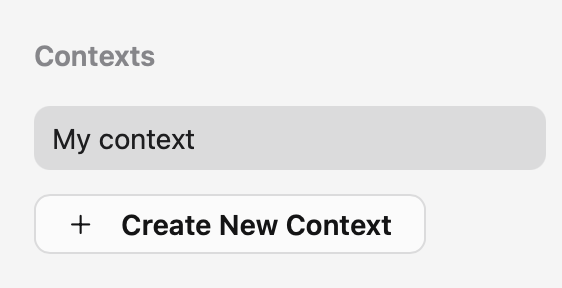
If you have existing contexts, click + Create New Context in the Contexts list.
-
-
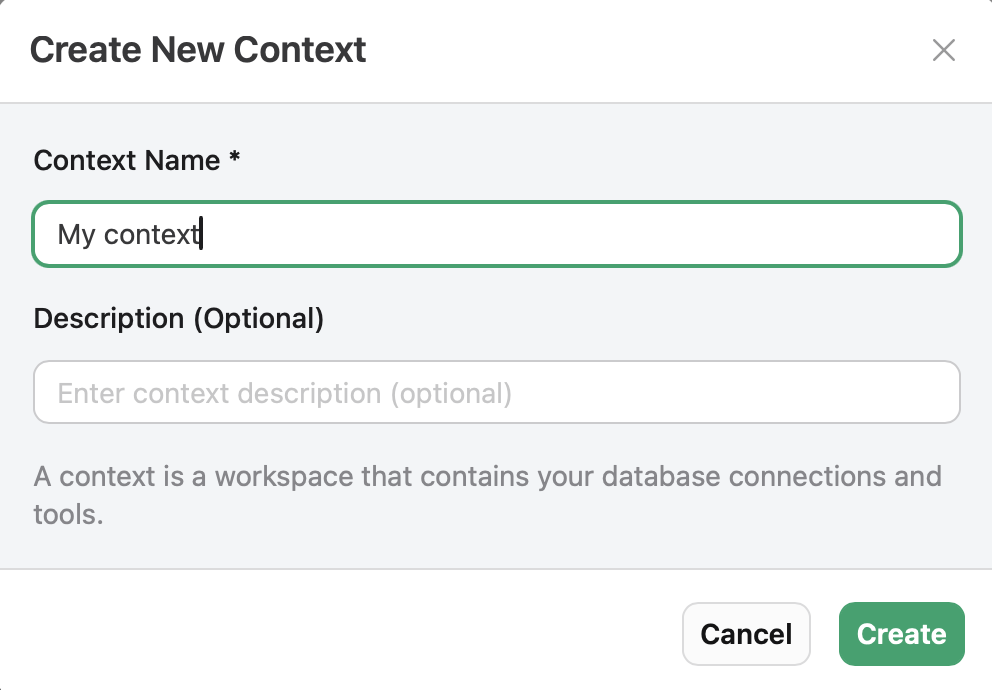
Enter a name and optional description, then click Create.
After you create a context, you can start creating connections for that context. See Working with connections.
Context state workflow
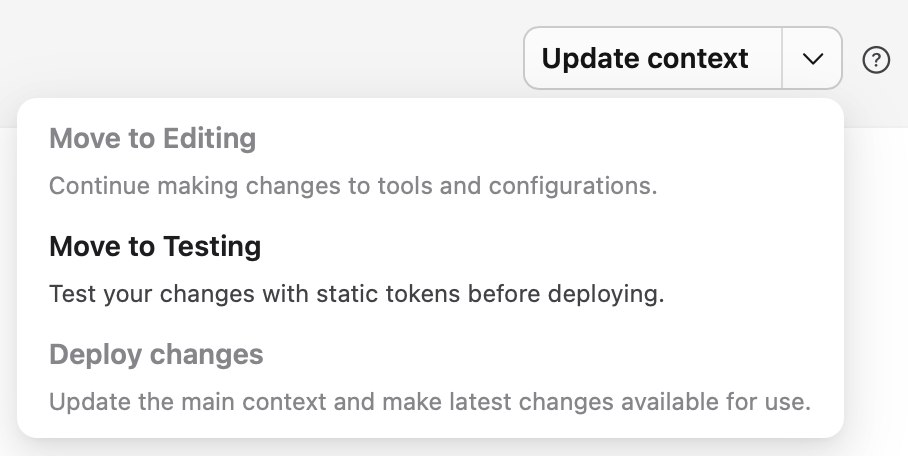
Contexts have three states, indicated by a badge next to the context name, that you can move between using the Update context drop-down menu:
-
Editing - Allows you to make changes to tool configurations
-
Testing - Allows you to test changes made to tools before updating the context
-
Deployed- Ready for production
Editing
New contexts start in the Editing state. In this state, you can:
-
Toggle tools on or off
-
Edit tool details and input schema
-
Add or delete connections
However, you can't access generated configuration snippets yet.
See Managing connections.
When you're done editing tools, select Move to Testing from the Update context drop-down menu so you can generate configuration snippets and test changes made to your tools.
Testing
When a context is moved to the Testing state, you can:
-
Click { } Configuration to access generated configuration snippets
-
Move the context back to the Editing state to make more changes
However, you can't:
-
Toggle tools on or off
-
Add or delete connections
When you're satisfied that your connection is functioning how you want, click Deploy changes from the drop-down menu to finalize the changes. You can also select Move to Editing to make further changes.
See Configuring your integration.
Deployed
In this state, the context is considered finalized and production ready.
If you need to make additional changes to the context, you can create a context branch where you can make changes separately from the main context.
To create a new branch, select Move to Editing from the Update context menu.
Context branches
If you're familiar with version control systems like git, this concept will be familiar. New contexts could be considered the "main" branch where all finalized changes live, and when you create a new context branch—a "feature" or "side" branch in git terms—a copy of the main context branch is created.

In side branches, you can make changes to the context tool set without affecting the main context.
After you're finished editing and testing changes, clicking ![]() Update will merge the side branch back into the main branch, saving your changes.
Update will merge the side branch back into the main branch, saving your changes.
This functionality was included so that you can make updates to your context's connections and tools without affecting a context being used in a production environment.