Working with connections
After you create a context, you can start creating connections to it from your hosted FileMaker databases.
Creating a connection
Creating a database connection is a four-step process that walks you through connecting to your FileMaker database and configuring the available tools.
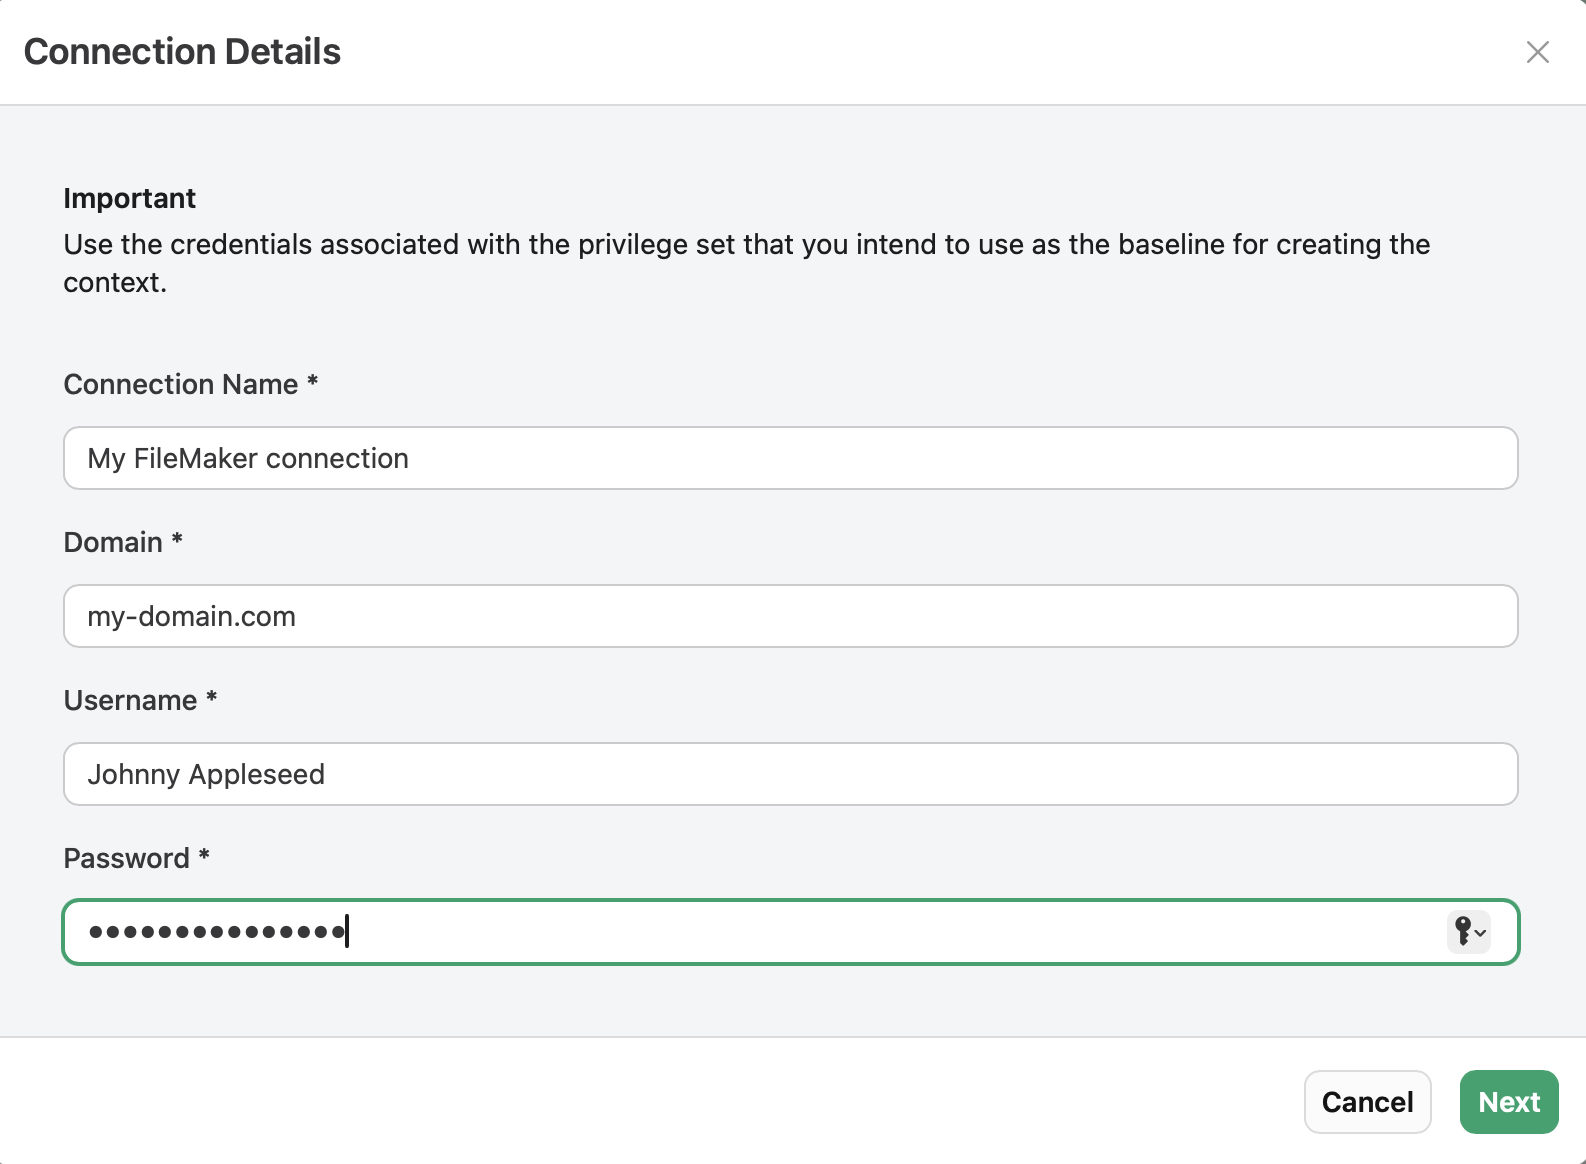
Step 1: Connection details
-
Do one of the following:
-
If you don't have an existing connection, click + Add Connection in the center of the screen.
-
If you have existing connections, click the Connection drop-down menu, then click + Add Connection.

-
-
Enter the following information.
-
Connection Name - A descriptive name for this connection that will appear in your connection list
-
Domain - The FileMaker Server domain
-
For example:
example-server.comNote Do not include https:// or a trailing slash (/). Must also be a fully-qualified domain name (FQDN).
-
-
-
Database - The exact name of your FileMaker file
-
For example:
my-file
-
-
User name - Your file account user name
-
Password - Your file account password
-
Click Next to continue to database selection.
For connection requirements, see System requirements.
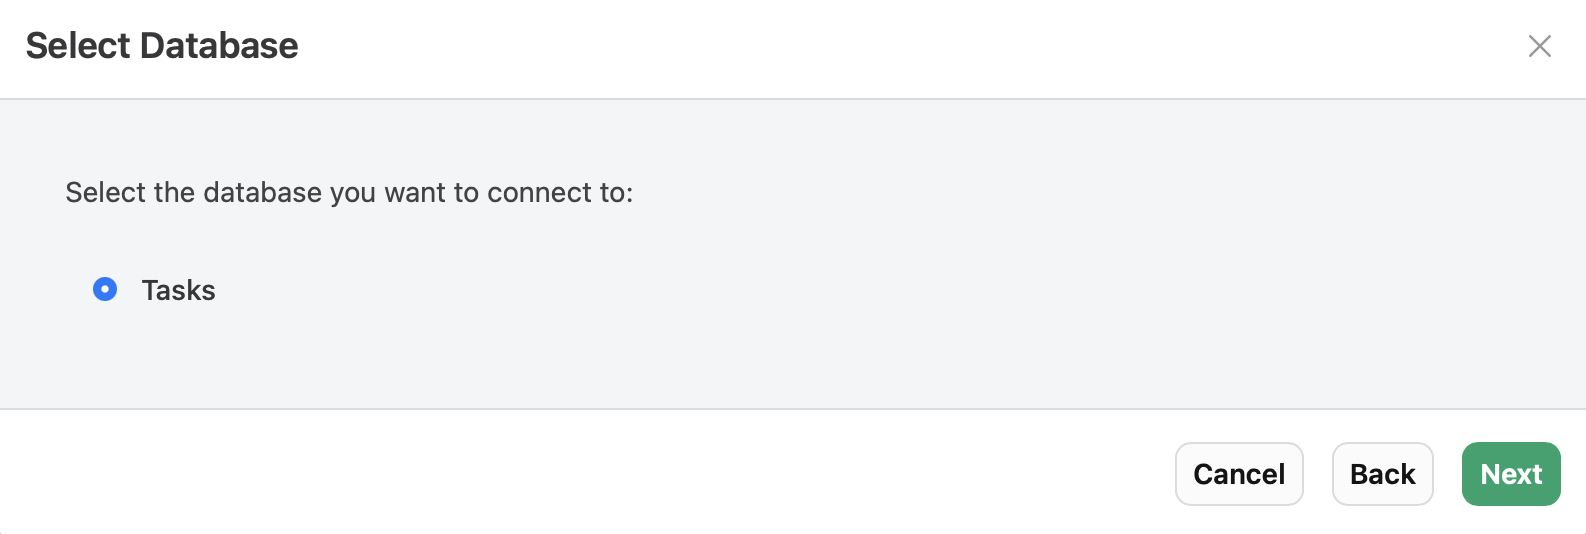
Step 2: Select a database
Based on the credentials you used, you will see a list of databases that you have access to. Select one from the list, then click Next to continue to table selection.
Step 3: Select tables
After you make the connection, you'll see all the available tables in your FileMaker file. Here, you can:
-
Search tables - Use the search box to filter tables by name
-
Select or deselect tables in bulk - Click Select All to include all available tables or Clear All to remove all selected tables
-
Select individual tables - Select or deselect specific tables
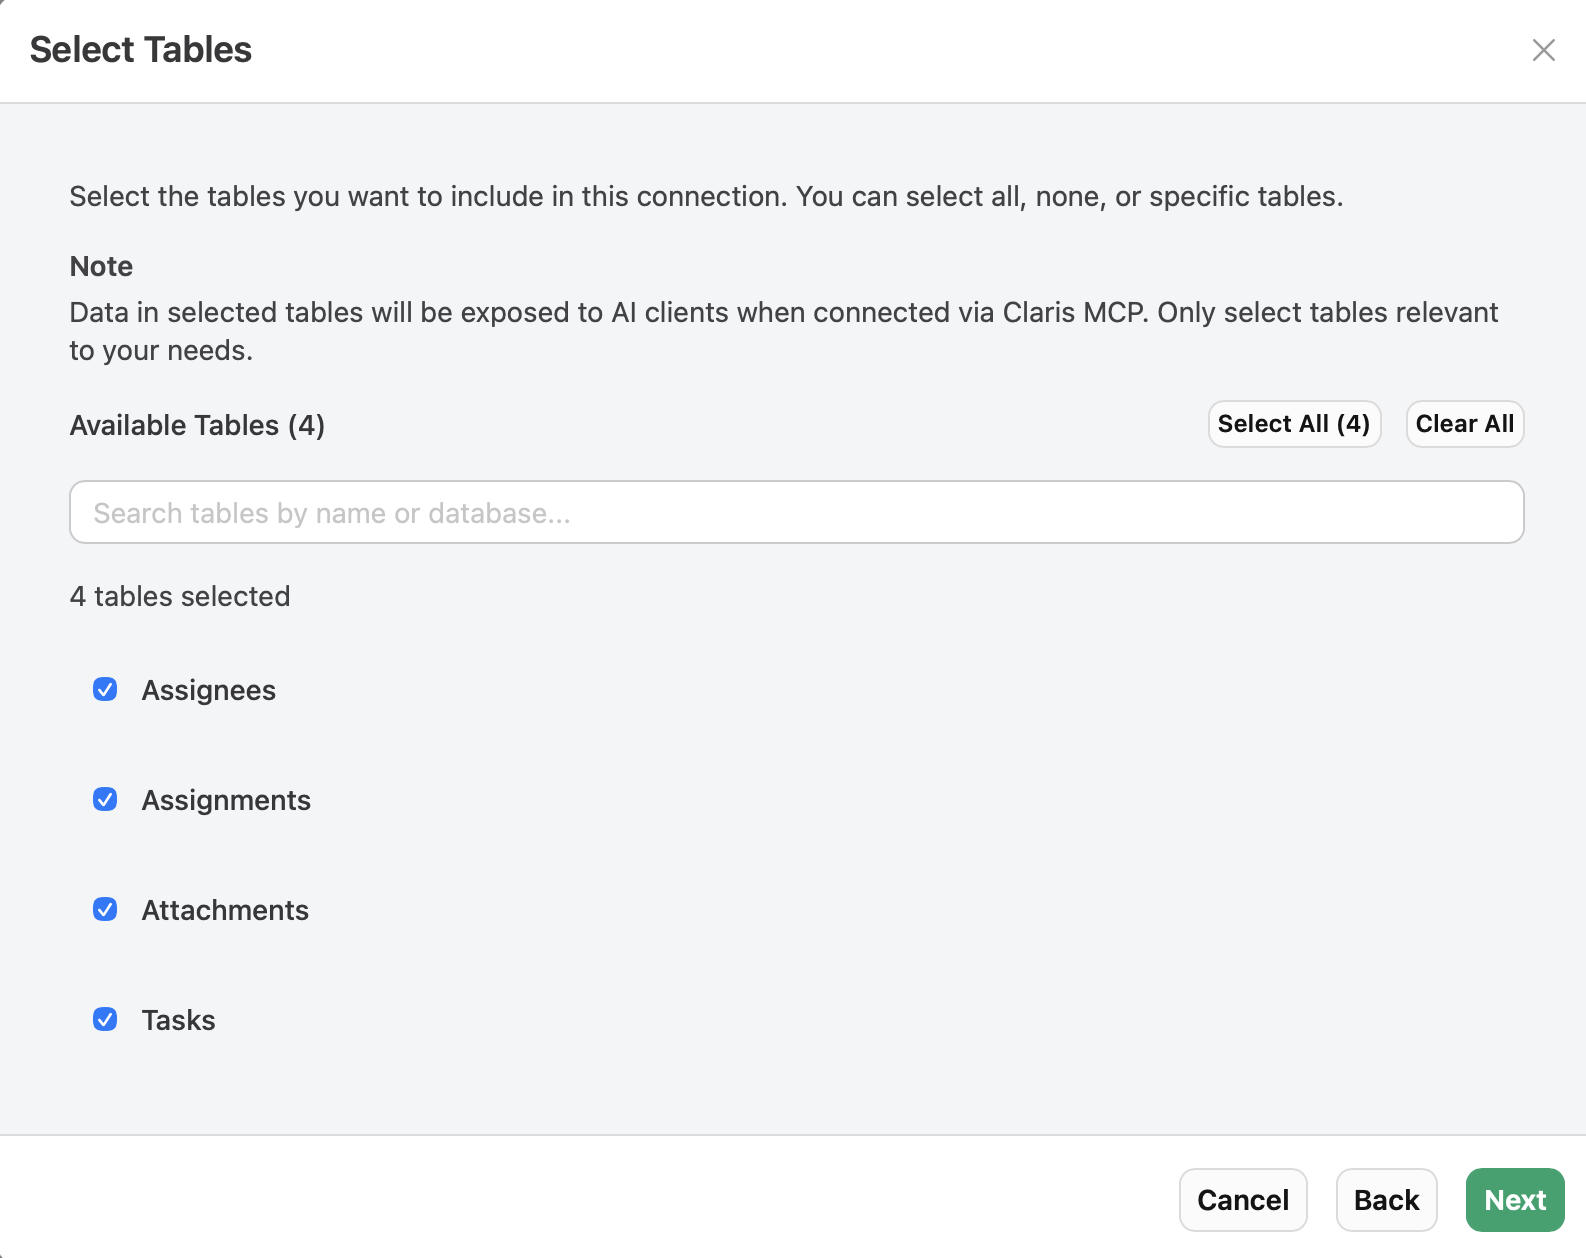
The tables you select will be accessible via the Claris MCP when connected to AI assistants and MCP clients.
When done selecting tables, click Next to continue to script selection.
Step 4: Select scripts
Similar to table selection, this step allows you to choose which FileMaker scripts to include. Here, you can:
-
Search scripts - Filter scripts by name using the search box
-
Select or deselect scripts in bulk - Click Select All to include all available scripts or Clear All to remove all selected scripts
-
Select individual scripts - Select or unselect specific scripts
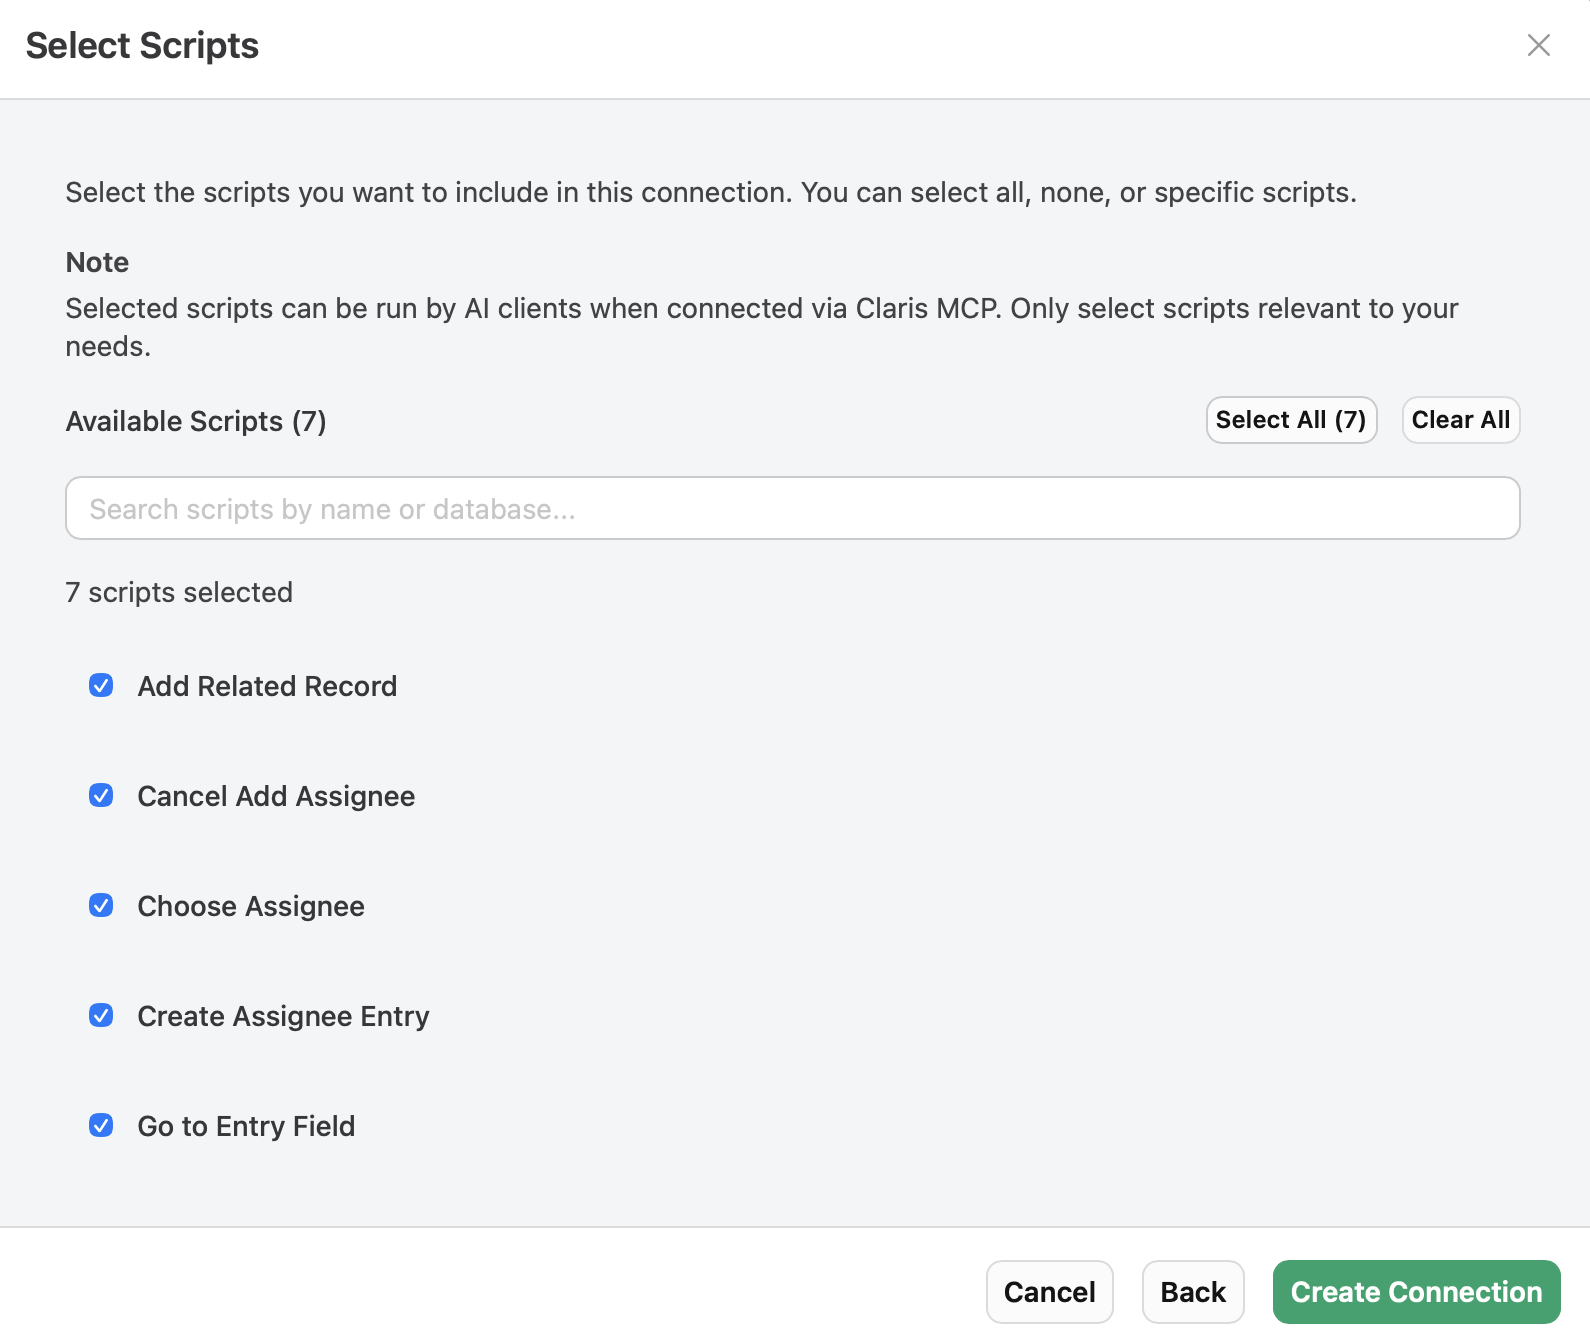
The scripts you select will be accessible via the Claris MCP when connected to AI assistants and MCP clients.
When finished selecting scripts, click Create Connection to finish creating the connection.
After setup, the connection is tested. If the connection test is successful, a set of tools are generated that AI assistants and MCP clients can use to interact with your tables and scripts.
If the connection test fails, you'll receive an error message with details about what went wrong (for example, invalid credentials, database not found, network issues, etc.).
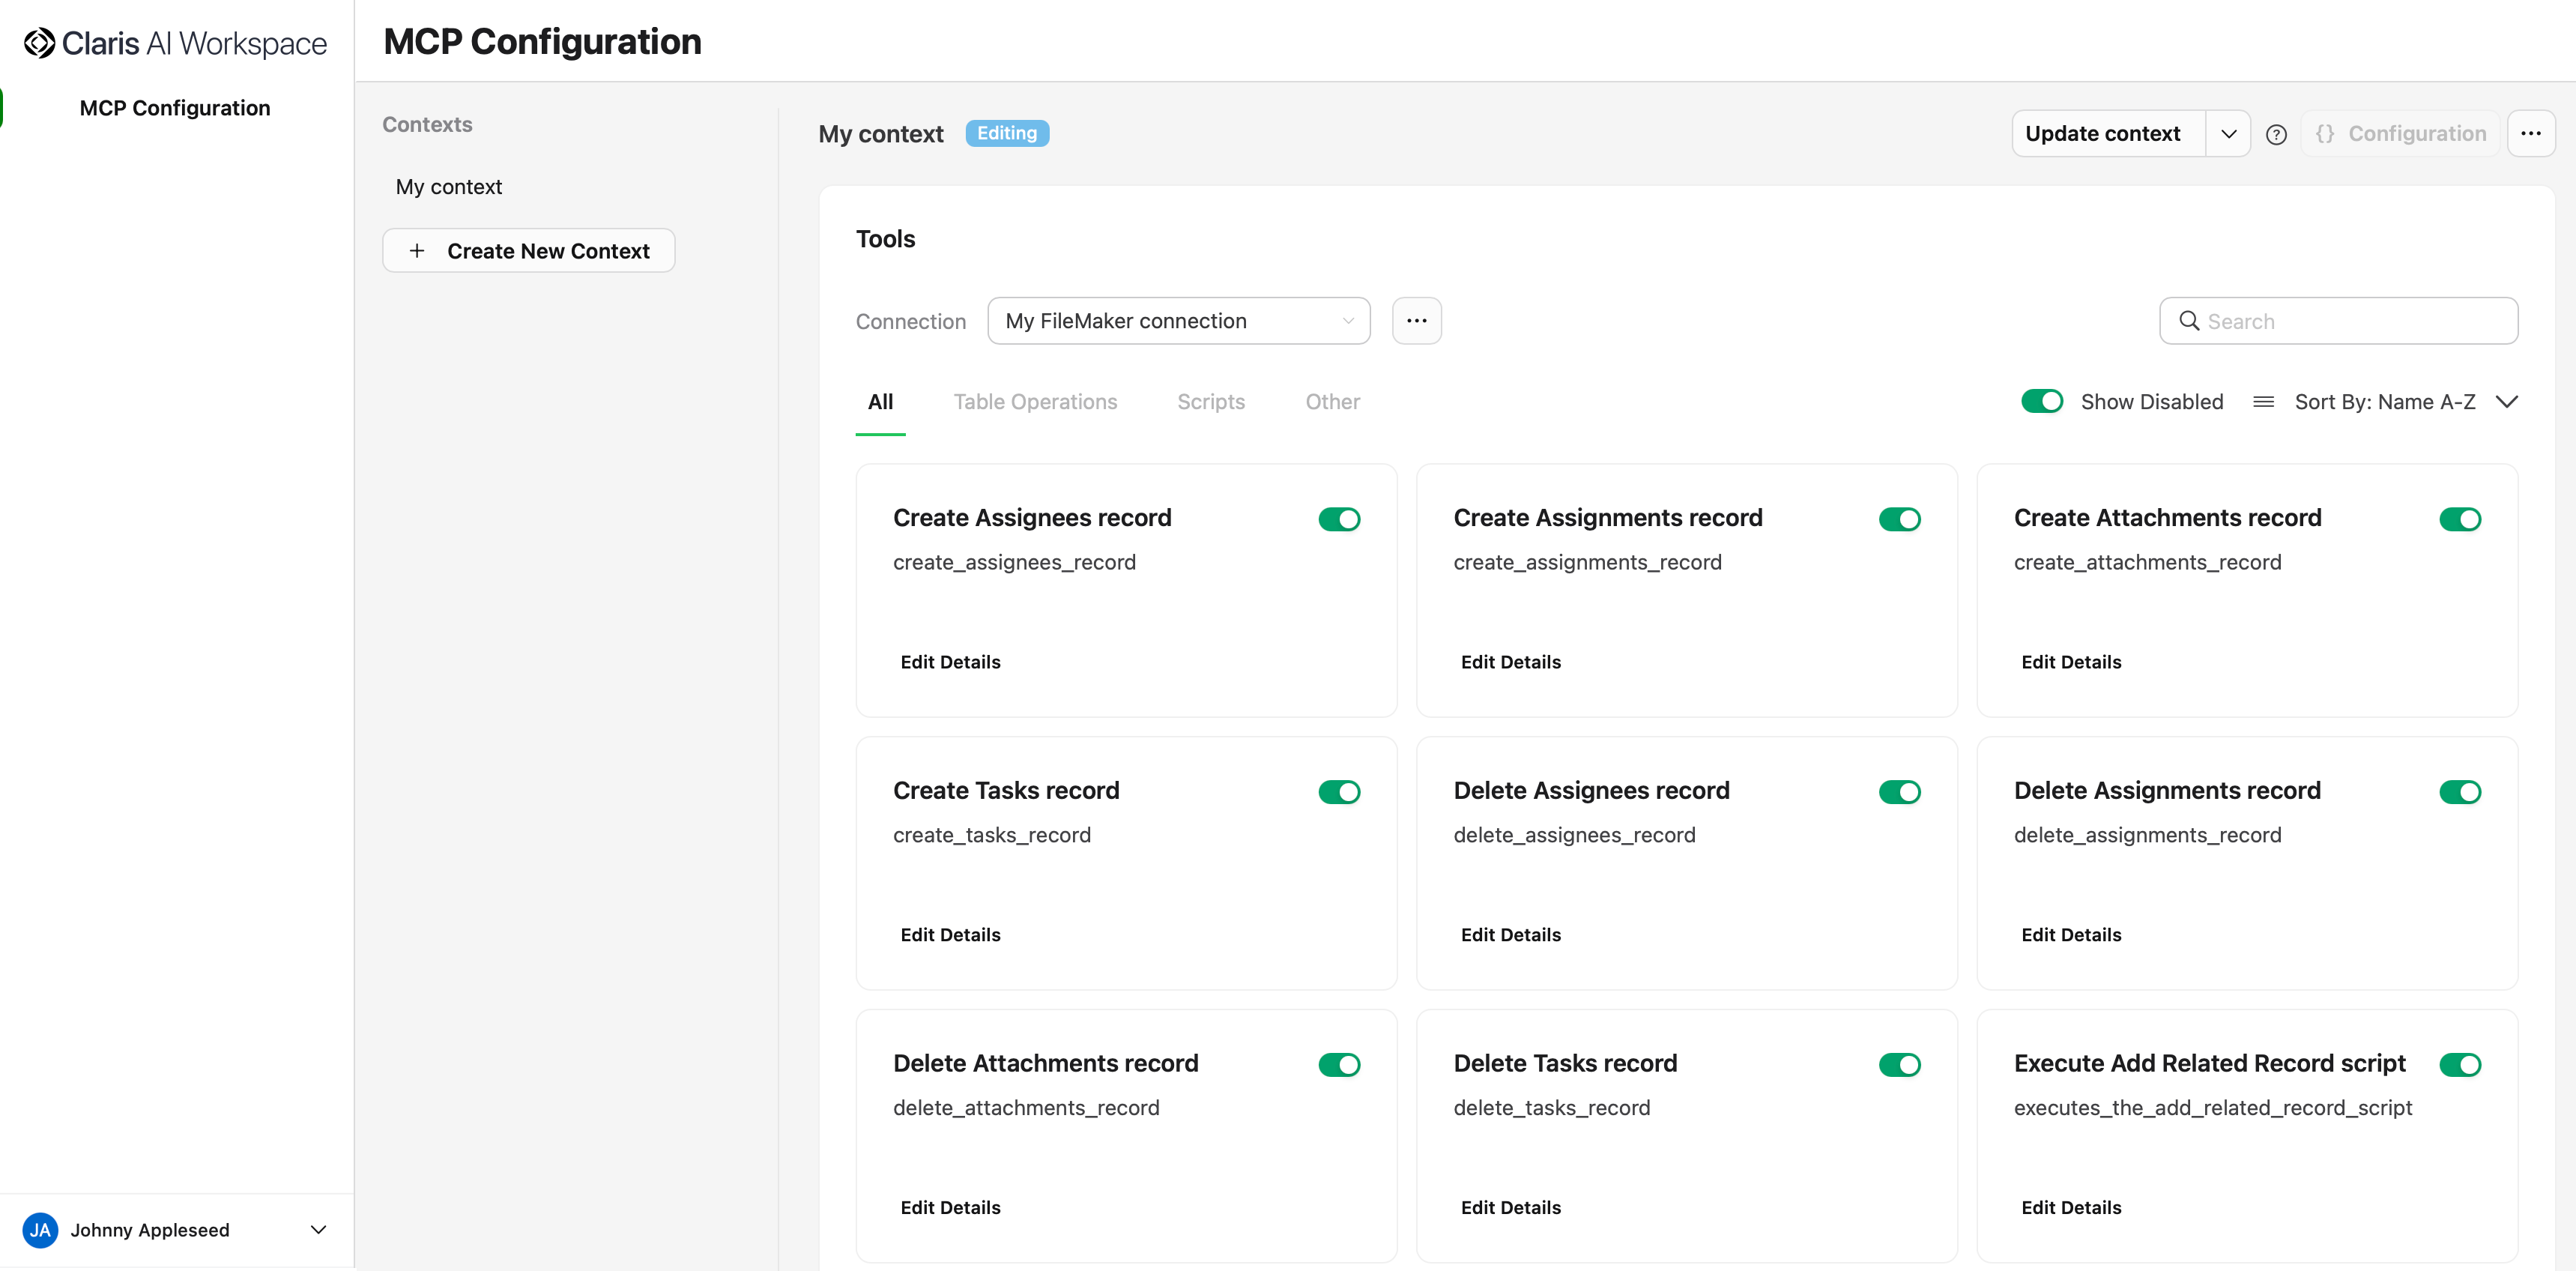
Next steps
Once your connection is created successfully, you can:
-
Click the connection name in the sidebar to view and manage its tools
See Managing connections.
-
Click Generate Configuration to create a JSON snippet for connecting to AI clients
See Configuring your integration.
Note Contexts must be in the Testing or Deployed state for configuration snippets to be available.