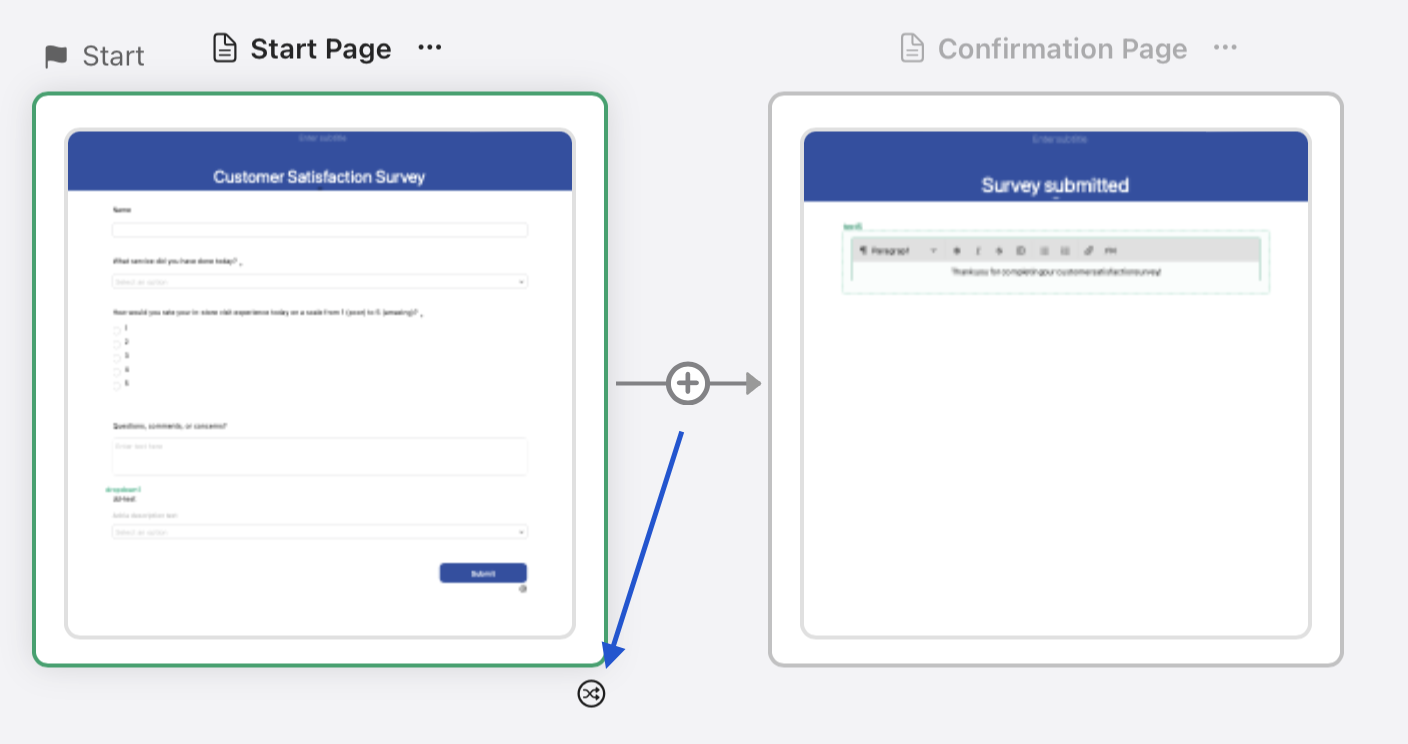
Create branching page workflows in form views
By default, form views give you a basic two-page workflow for collecting data—one for users to input data, and another to confirm that their submission was successful. However, you can use conditions to create a much more flexible workflow that directs users to different pages when certain conditions are met. For example, if a user submits a low rating or bad review for a product on the submission page, you can set a condition that takes them to a secondary feedback page to collect additional information before they get to the standard confirmation page.
To configure branching pages:
-
In a form view, do one of the following:
-
Click
underneath the page you want to apply conditions to.

-
Click the page you want to apply conditions to, then click
underneath either the Next or Submit button.
-
-
In the dialog that appears, click + Add a Condition.

-
Configure the condition by choosing a field, an operator, a value (if necessary), and the page you want the user to go to when the condition is met.


-
Optionally, click + to add more conditions. You can click the toggle to the left of each condition to turn it on or off. To delete a condition, click -.

-
Click Save. After the condition is saved,
will turn green to indicate that a condition has been set and is active.
Along with Automate object visibility and value, utilizing branching page workflows gives you the flexibility to create highly complex and advanced flowchart-style paths for your users, allowing you to collect more granular data or provide a more tailored experience to each user.