Quick start: Kanbans
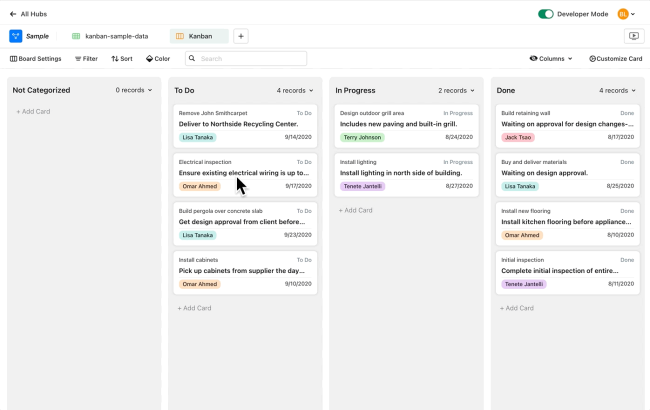
In Claris Studio, you can use a kanban view to organize tasks into columns and cards. This will allow you to track the progress of the tasks in your project.
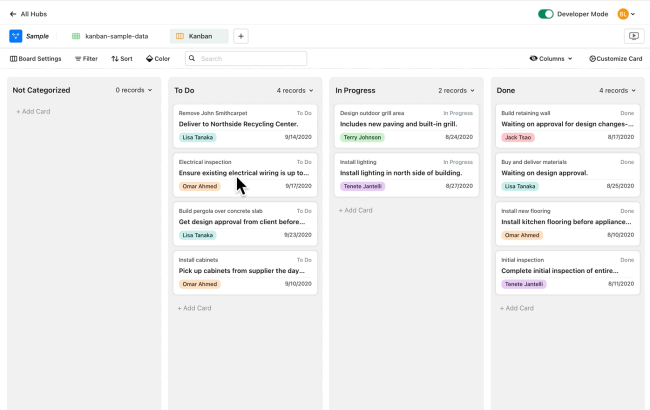
The columns in kanban view are based on the values of a single choice field or a drop-down field. Each card is a record, in the same way each row is a record in a spreadsheet view. Your kanban has four default columns: Not Categorized, To Do, In Progress, and Done, but can be customized to your project needs.
Use one of these options to create a kanban:
-
Create a kanban from scratch.
-
Use data in an existing view to create a kanban.
Create a kanban view from scratch
-
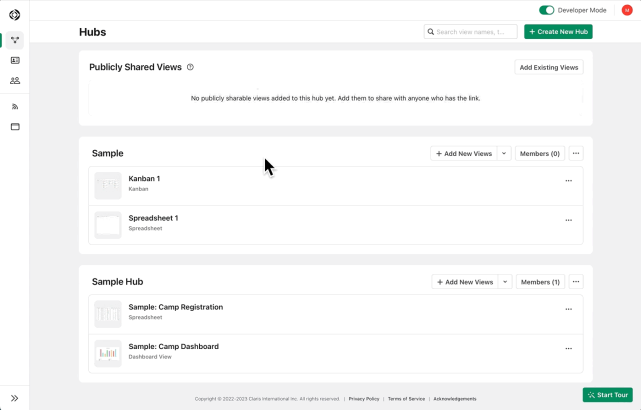
Go to Claris Studio and turn on Developer Mode if it's not on.
-
On the Hubs page, locate an existing hub you'd like to create a kanban view in.
If you don't have any hubs yet, click Create New Hub and give your new hub a name.
-
In your hub, click + Add New Views.
-
Choose Kanban, then click Next.
-
For Name, give your kanban view a name.
-
For Data for View, choose Create New, then click Create.
Your new kanban view opens, ready for you to customize settings.
Try out your kanban
Now that you've created your first kanban, you can try out a few cool tasks.
-
In Claris Studio, turn off Developer Mode.
-
Open your kanban and click + Add Record.
-
Fill out the details for your new card.
-
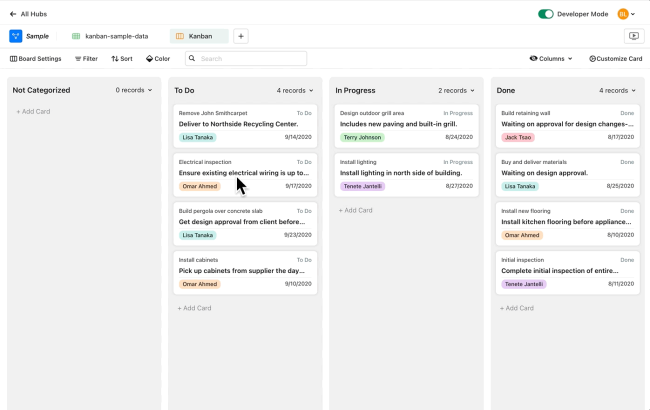
If you want to update any of your cards, click the card, or right-click the card and choose Expand Record.
-
Drag a card from one column to a different column.
This changes the value in the Status field for this card, because the Status field is the default field used to group cards into columns.
-
Drag a card in a column to a new location in the same column, or right-click a card and choose Move to Top or Move to Bottom.
Use data in an existing view to create a kanban
If you have another view, you can create a kanban view using the same data.
To create a kanban view using another view:
-
Turn on Developer Mode if it's not on.
-
In the left pane, click
Hubs.
-
Find the hub containing your existing view. In that hub, click + Add New Views.
-
Choose Kanban, then click Next.
-
For Name, give your kanban view a name.
-
For Data for View, select the view that you want to use for your kanban, then click Create.
Your new kanban view opens.
-
In the Update Kanban Board dialog, for Kanban Columns, specify a field to use for grouping cards into columns. For Select a field for grouping cards, choose an existing single choice or drop-down field, or click + Add Field to create a new single choice field to use.
Customize your kanban board
Anyone on your team can customize your kanban board to do the following.
| To | Do This |
| Color code your cards |
Click Color, click Add Color, choose a color, then click |
| Choose which cards to show |
Click Filter, then click Add Condition to set conditions for the records to show. |
| Search for specific text or data | Enter the text or data in the search box. |
| Change the sort order of your cards | Click Sort > Add Rule. Select the fields for sorting the cards, and choose the sort order. |
As a team manager, you can also customize your kanban board to do the following if Developer mode is on.
| To | Do This |
| Select a field to group cards |
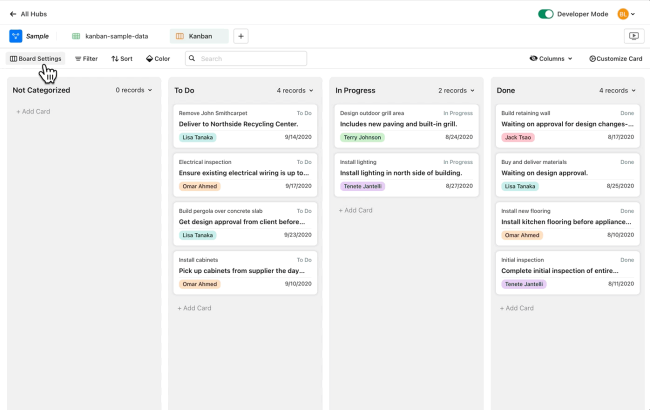
Click Board Settings. For Select a field for grouping cards, choose an existing single choice or drop-down field, or click + Add Field to create a new single choice field to use. |
| Change your card sizes | Click Board Settings, then select your preferred size. The larger the card size, the more fields you can choose to show in each card. |
| Edit your record field settings | Click the card, or right-click the card then choose Expand Record. |
| Add a new field to your cards (records) |
Click a card, or right-click a card then choose Expand Record. Scroll down and select + Add New Field. |
| Show or hide fields for cards | Click Customize Card. Choose the fields to show or hide. |
| Show or hide columns on the board | Click Columns. Choose the columns to show or hide. |
| Add a new column | Click |
| Delete a column |
Click Deleting a column doesn't delete the cards in that column. It moves the cards to the Not Categorized column and deletes the column. |
| Reorganize a column |
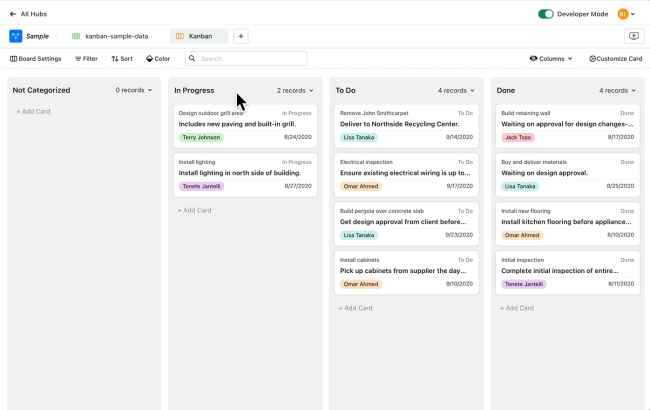
Drag a column to a new location. |
Next steps
-
Try bringing your own data into a kanban view:
-
In a spreadsheet view, import your data from a CSV file. See Quick start: Spreadsheets.
-
When you create a kanban view, for Data for View, choose the spreadsheet that contains your data. See Use data in an existing view to create a kanban.
-
-
To visually track the dates for your tasks, try creating timeline or calendar views that use the same data as your kanban view.
-
For more ways to work with project information, try the starter views for project management. See Project management with Claris Studio starter views.
